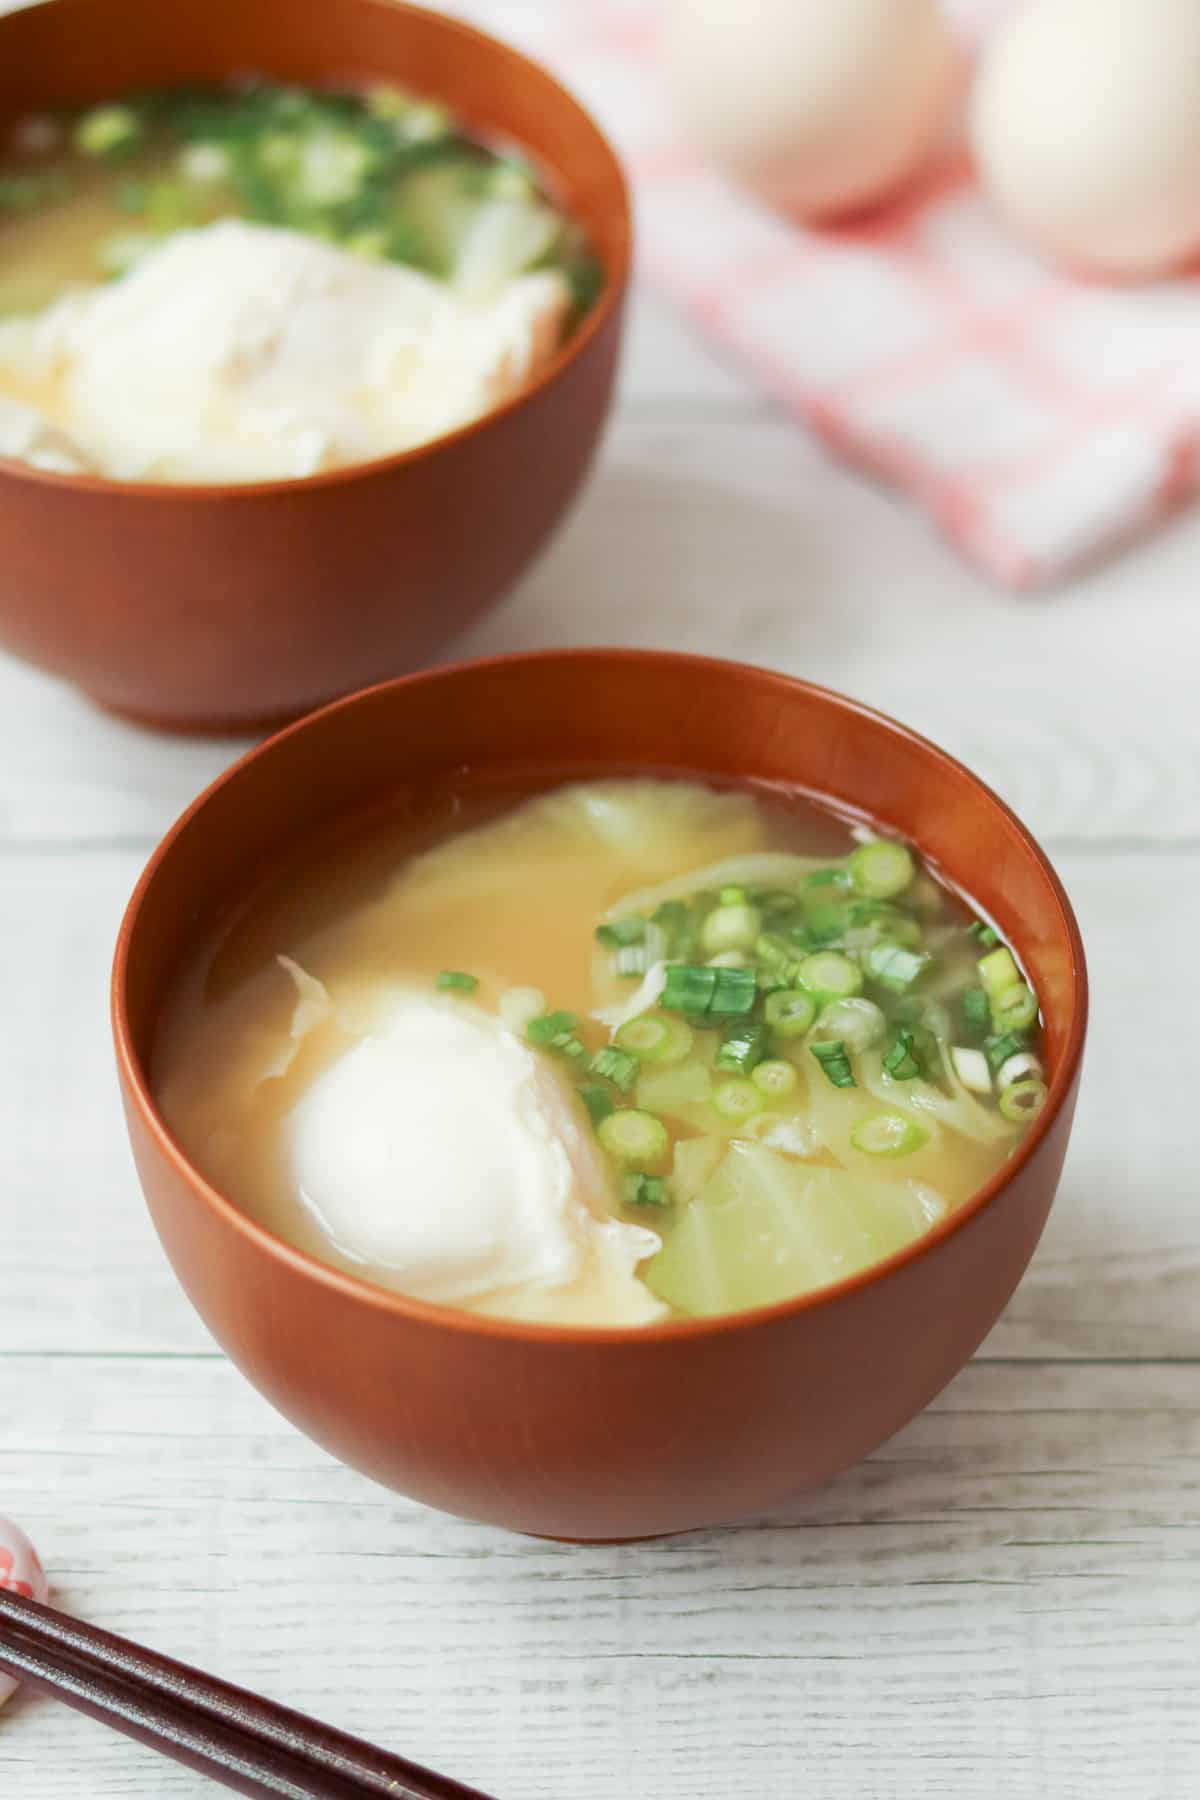
There are many different variations of miso soup, but Miso Soup with Poached Egg is one of my absolute favorites. The richness of the miso and the mellow flavor of the poached egg complement each other perfectly, offering a unique twist on traditional miso soup.

Jump to:
What is Miso Soup with Poached Egg?
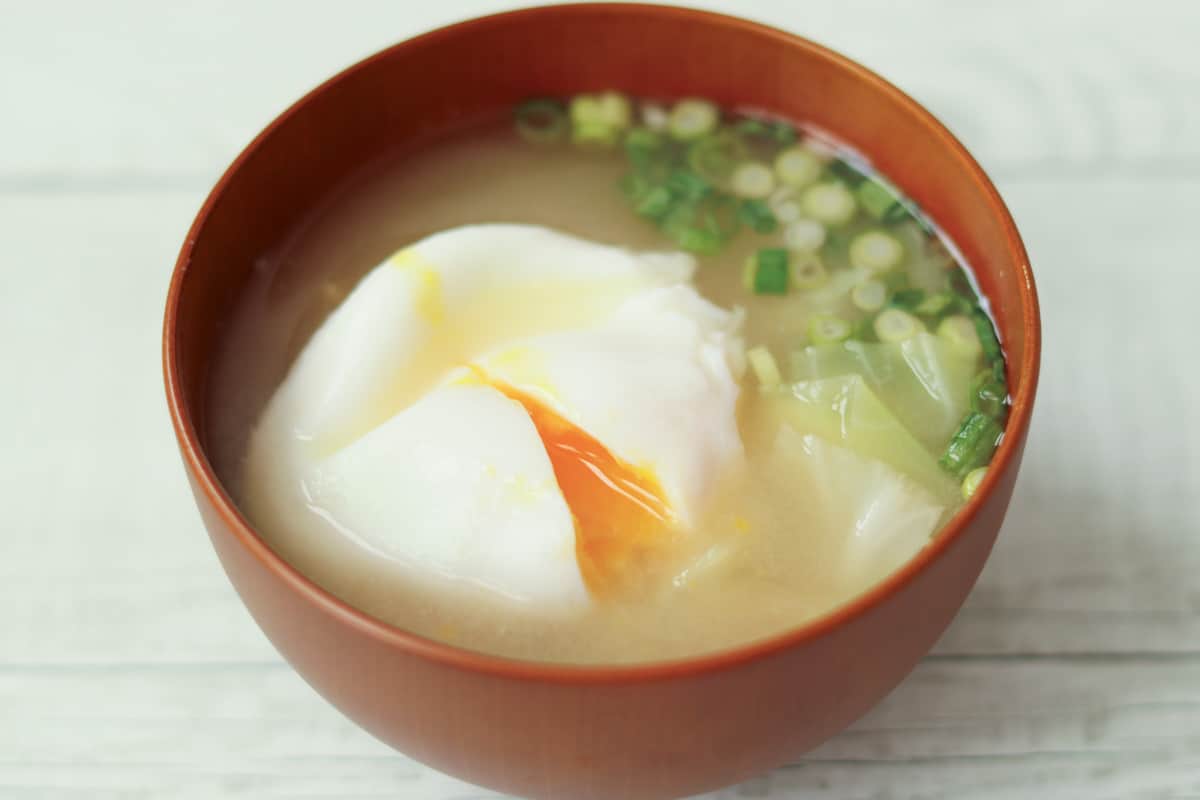
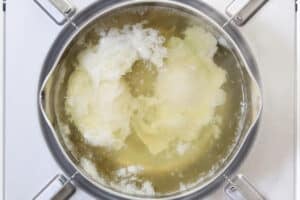
Miso Soup with Poached Egg is a dish that incorporates an egg into miso soup. By adding an egg during cooking, the rich flavor of the miso blends with the egg’s mellow taste, creating a unique and comforting dish. Breaking the yolk while eating allows you to enjoy another layer of richness and flavor.
Nutritious and satisfying, it is a great choice for a healthy meal. This dish is also easy to prepare—simply crack an egg into regular miso soup while it cooks. Feel free to try it as a twist on the traditional version.
Optional ingredients
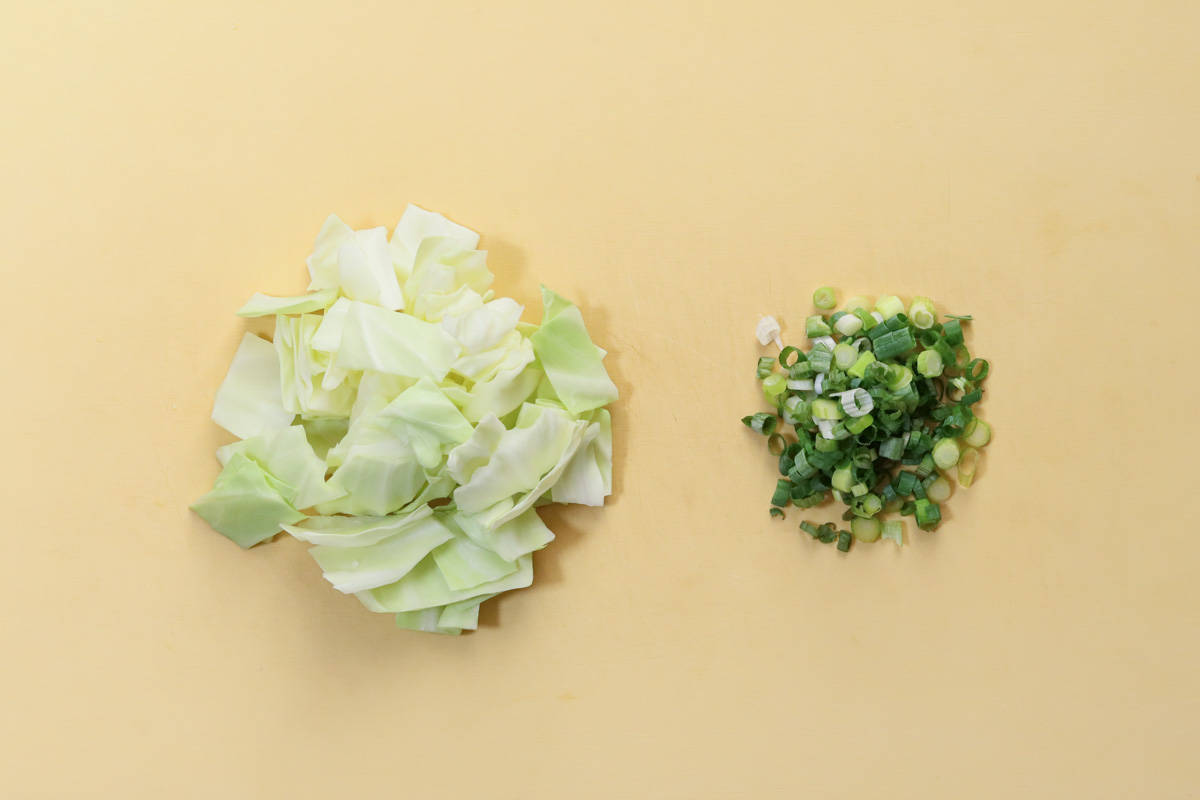
This miso soup can include various ingredients, just like traditional miso soup. Green cabbage, spinach, onions, carrots, and green onions (scallions) are popular choices, but you can also add any other ingredients you like. Feel free to use whatever you have on hand.
However, since miso and egg are the main ingredients in this dish, I recommend limiting additional ingredients to no more than three so that you can fully enjoy the flavors of the egg and miso. Even without any extras, it is still delicious.
How to achieve the perfect poached egg texture
For this dish, the goal is to cook the egg until it reaches a poached consistency. While you can adjust the doneness by changing the heat or cooking time, keep in mind that boiling it until the yolk is fully set will prevent the flavors of the miso soup and egg from blending properly.
As a general rule, it takes about 3 to 4 minutes over low heat for the egg to reach that poached texture. Be careful not to use high heat, as the egg will cook too quickly and become too firm.
When to add miso
To enjoy miso soup at its best, the key is to add the miso toward the end of cooking and avoid boiling it afterward. This is because heating miso after it has been added can diminish its flavor and beneficial bacteria.
However, if you are concerned about breaking the poached egg while cooking, it is fine to dissolve the miso before adding the egg. A broken poached egg can affect both the appearance and the flavor of the dish, so it is best to prioritize keeping the egg intact during cooking.

📋Step-by-step recipe
Ingredients
- 1.8 oz green cabbage
- 2 green onions / scallions
- 2 pasteurized eggs
- 2 Tbsp miso
Awase Dashi:
- 2 cups water
- 0.2 oz kombu (dried kelp)
- ½ cup bonito flakes (katsuobushi)
Instructions
🕒 Total: 55 minsIf you already have awase dashi or another type of dashi, start from step 5. In that case, use 1 ⅔ cups (400 ml) of your dashi for 2 servings.
Step 1
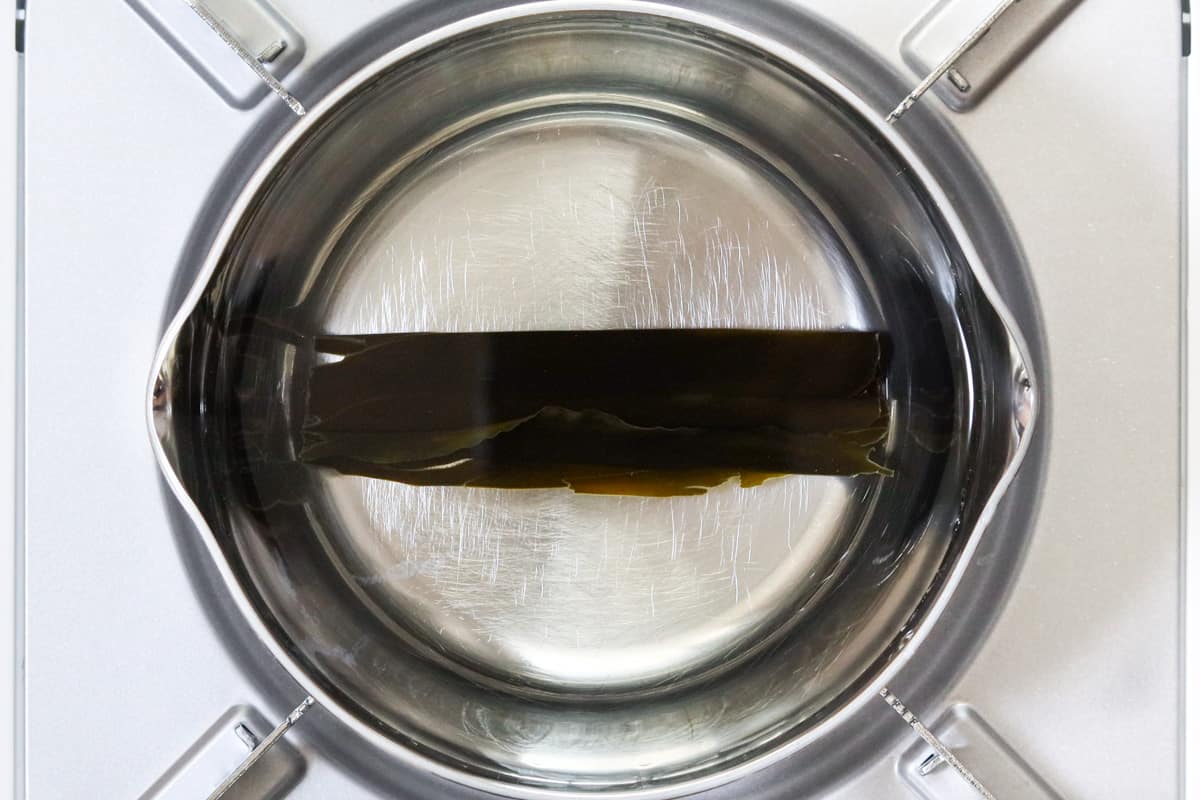
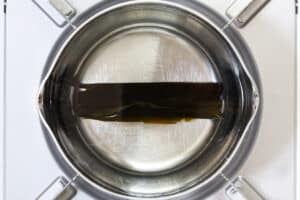
Put water and kombu in a pot and let it sit for at least 30 minutes until the kombu softens.

Step 2
Heat the pot over very low heat for about 10 minutes or longer. When small bubbles start to appear on the surface, remove the kombu.
Step 3
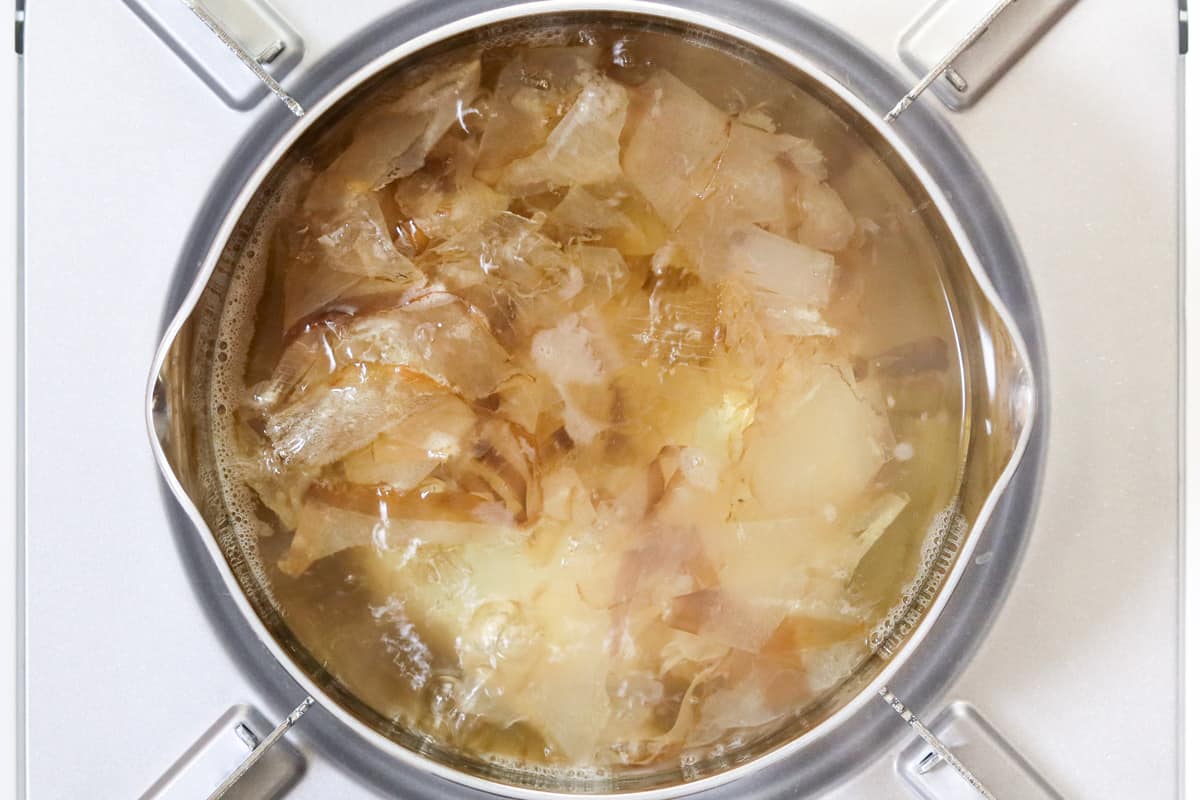
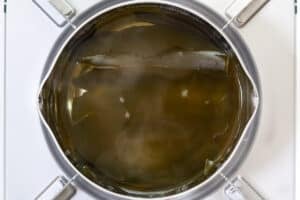
Increase the heat and bring the water (kombu dashi) to a boil. Once boiling, reduce the heat to low, add bonito flakes, and let it simmer for 3 minutes.
Step 4
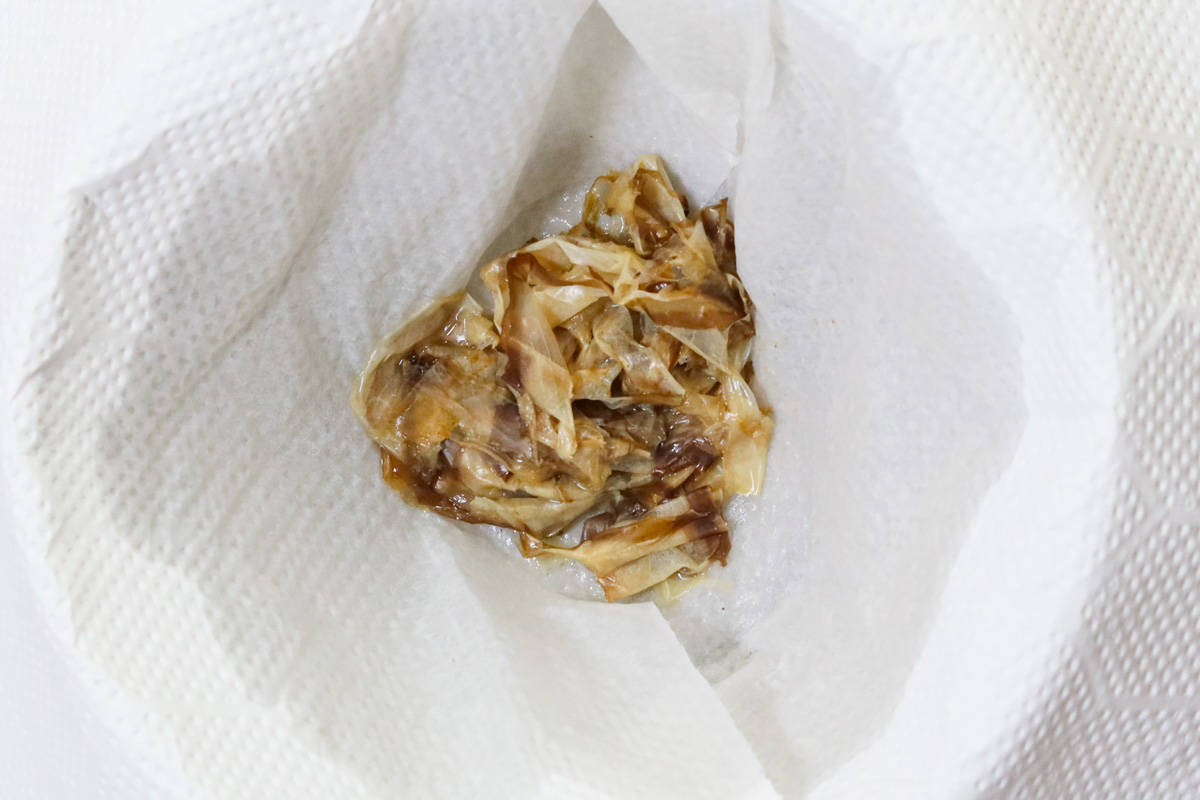
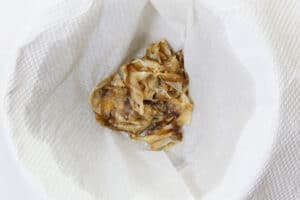
Turn off the heat and strain the mixture through a sieve lined with paper towels or a cloth (such as cheesecloth). Alternatively, if you don't mind a few fine bonito flakes remaining, you can simply use a fine-mesh strainer. Awase dashi, which combines kombu dashi and bonito dashi, is now ready.
Step 5
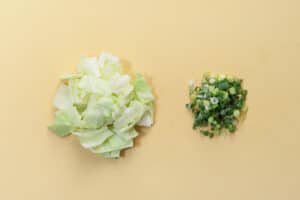
Cut the cabbage into bite-sized pieces. Thinly slice the green onions.
Step 6
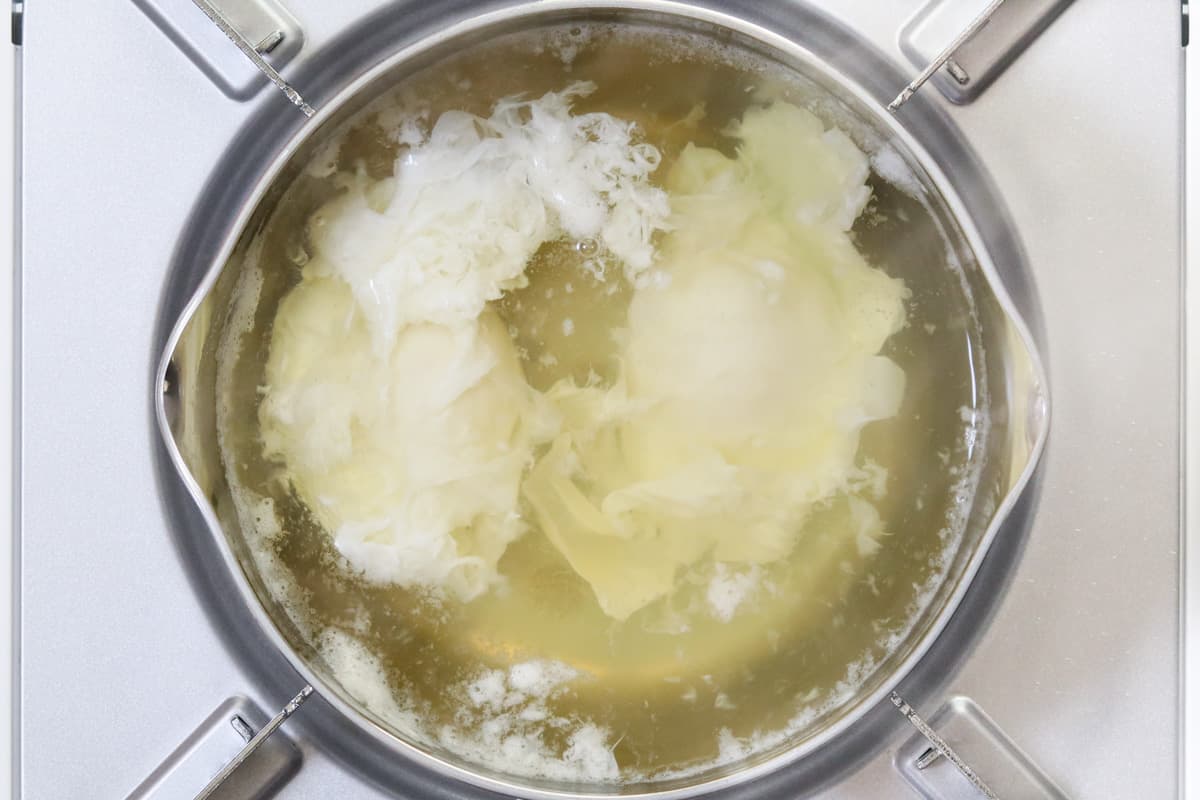
Return the dashi to the pot and bring it back to a boil. Once boiling, gently crack the eggs into the pot. Let them simmer over low heat for 3 minutes.
Step 7
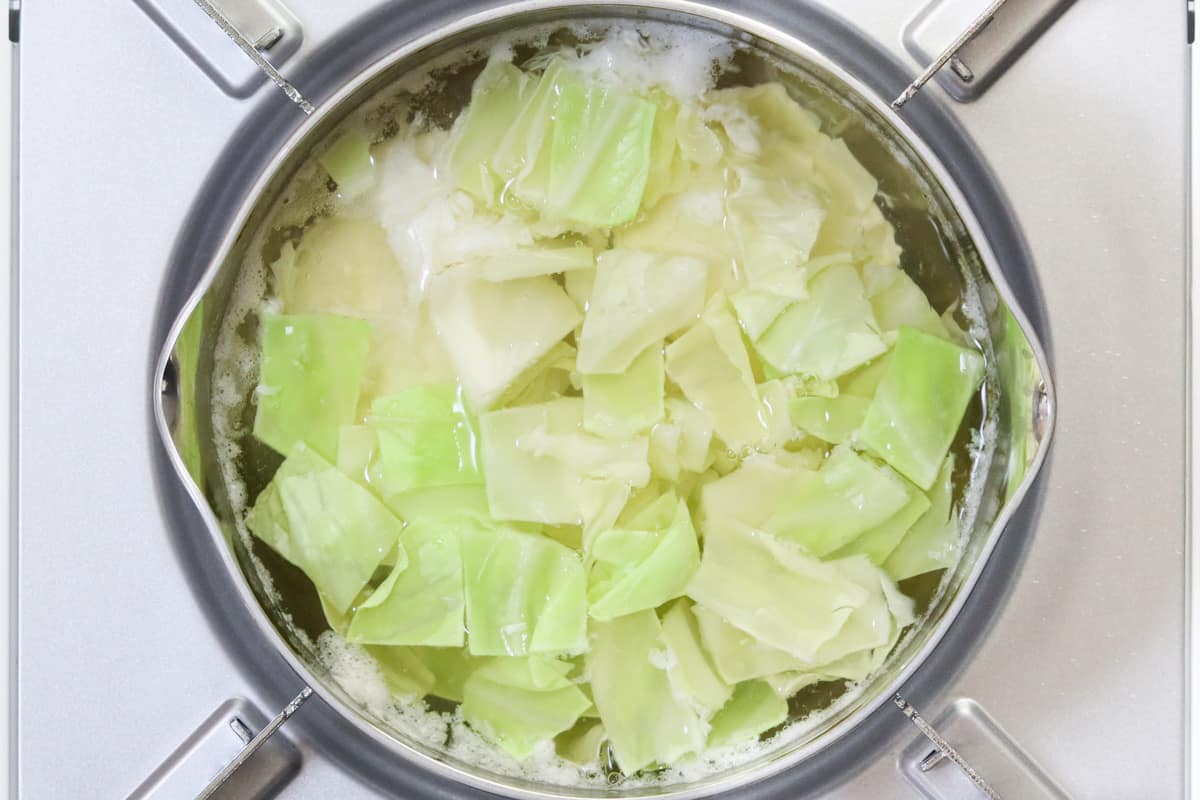
Add the cabbage to the pot and continue cooking for another 30 seconds.

Step 8
Turn off the heat and dissolve miso in the pot using a ladle and chopsticks, being careful not to break the eggs. Serve in individual bowls and top with the green onions.
To store
You can store it in the refrigerator for up to 2 days.
If you try this recipe, I’d love to hear what you think. Please consider leaving a review and star rating in the comments below. If you enjoyed it, I’d really appreciate it if you shared it with your friends.
More miso soup recipes you'll love
FAQ
Absolutely. The recipe assumes you're using eggs and miso straight from the fridge.
Recipe card
Miso Soup with Poached Egg
Ingredients
- 1.8 oz green cabbage
- 2 green onions / scallions
- 2 pasteurized eggs
- 2 Tbsp miso
Awase Dashi:
- 2 cups water
- 0.2 oz kombu (dried kelp)
- ½ cup bonito flakes (katsuobushi)
Instructions
- Put water and kombu in a pot and let it sit for at least 30 minutes until the kombu softens.

- Heat the pot over very low heat for about 10 minutes or longer. When small bubbles start to appear on the surface, remove the kombu.
- Increase the heat and bring the water (kombu dashi) to a boil. Once boiling, reduce the heat to low, add bonito flakes, and let it simmer for 3 minutes.
- Turn off the heat and strain the mixture through a sieve lined with paper towels or a cloth (such as cheesecloth). Alternatively, if you don't mind a few fine bonito flakes remaining, you can simply use a fine-mesh strainer. Awase dashi, which combines kombu dashi and bonito dashi, is now ready.
- Cut the cabbage into bite-sized pieces. Thinly slice the green onions.
- Return the dashi to the pot and bring it back to a boil. Once boiling, gently crack the eggs into the pot. Let them simmer over low heat for 3 minutes.
- Add the cabbage to the pot and continue cooking for another 30 seconds.
- Turn off the heat and dissolve miso in the pot using a ladle and chopsticks, being careful not to break the eggs. Serve in individual bowls and top with the green onions.


Notes
- If you already have awase dashi or another type of dashi, start from step 5. In that case, use 1 ⅔ cups (400 ml) of your dashi for 2 servings.
- You can store it in the refrigerator for up to 2 days.


Odelia says
The egg & miso is in the fridge so how do you time when to put egg, remove some water for miso to dissolve before adding back to pot while maintaining the right temperature, the timing for 3 minutes egg all come out perfect?
Ryo Hikita (Umami Pot) says
Hi Odelia,
Thank you for your comment!
This recipe assumes that you are using eggs and miso straight from the refrigerator. So, you can crack the cold eggs directly into the boiling dashi as described in the recipe. While the temperature may drop slightly, it's taken into account—the eggs will still poach nicely in 3 minutes, as long as you keep them at a gentle simmer, just like the ones shown in the photo at the bottom of the "What is Miso Soup with Poached Egg?" section.
As for the miso, even if you remove a small amount of dashi to dissolve it in a separate bowl and then return it back into the pot, it won’t significantly affect the overall temperature. So the eggs will still cook properly.
In short, even when using cold eggs and cold miso, you can still achieve that ideal poached texture.
Hope that helps, and happy cooking!