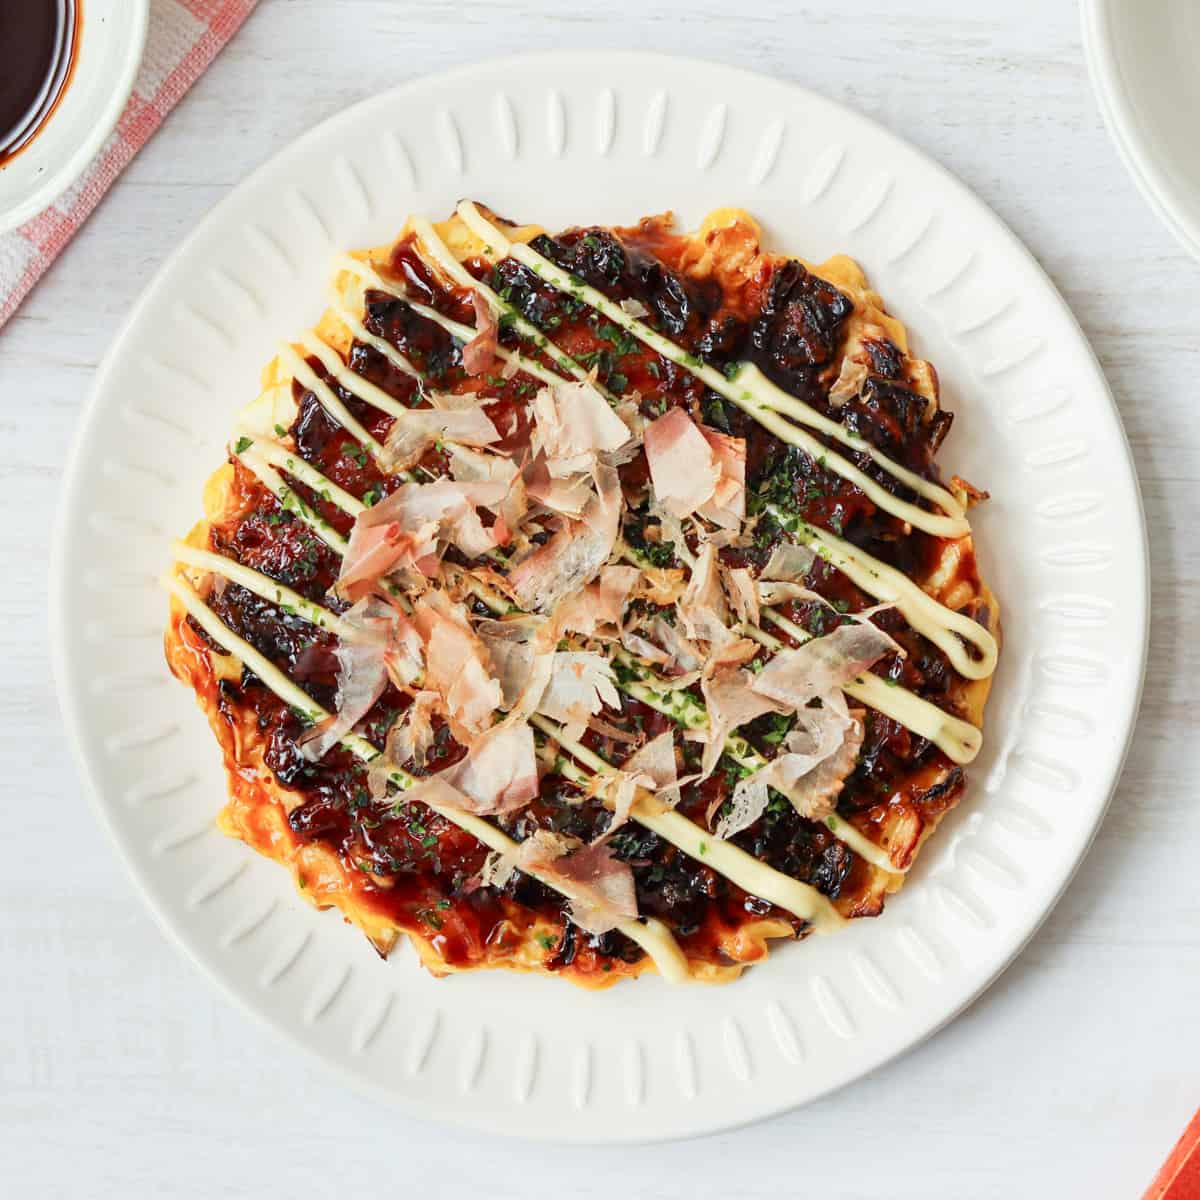
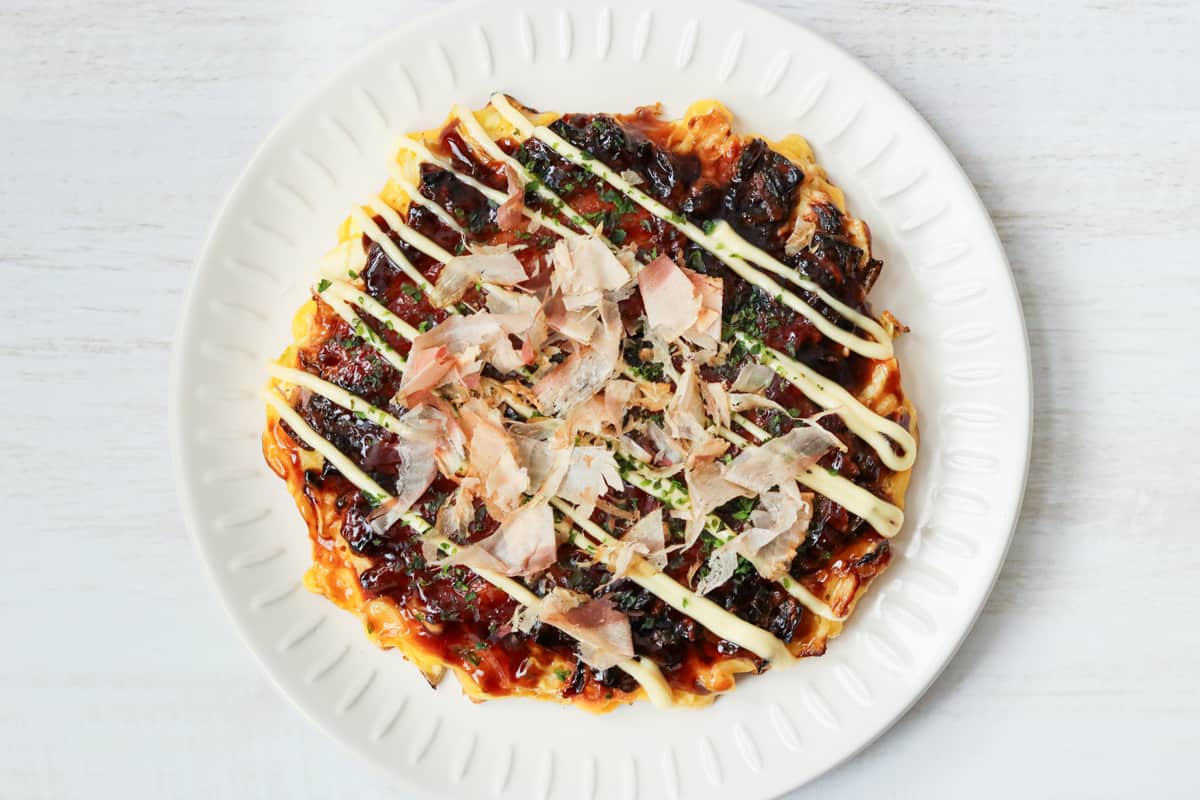
This is my special recipe for Okonomiyaki, which I have perfected over time as a resident of Osaka, the birthplace of the dish. It has a light and airy texture on the inside while becoming crispy on the outside, and the batter itself is flavorful without relying too heavily on the sauce.
Jump to:
What is Okonomiyaki?
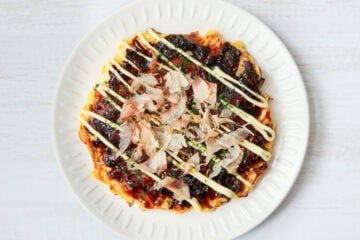
Okonomiyaki is a Japanese dish made by mixing flour, eggs, and dashi stock to create a batter, then adding ingredients such as green cabbage and protein, and cooking it into a round shape. It is often topped with a savory, slightly sweet, thick sauce and Japanese mayonnaise, and optionally finished with aonori (dried green seaweed flakes) and bonito flakes (katsuobushi).
"Okonomi" means 'as you like,' and "yaki" refers to grilling or cooking; the dish gets its name from the custom of allowing customers at restaurants to add their preferred ingredients to the batter and cook it according to their preferences.
Today, although the cooking method has become more standardized, a variety of ingredients are still added based on personal taste, just as the name suggests.
Pork is most commonly used, but beef, squid, shrimp, oysters, and octopus are also popular choices. Some people even add cheese, mochi (Japanese rice cakes), kimchi, or natto (fermented soybeans). Yakisoba noodles (Chinese-style noodles) are sometimes included, and this variation is known as "modanyaki."
Okonomiyaki is often described as a "Japanese savory pancake" or "Japanese pizza," but neither term fully captures its essence. Its unique texture, flavor, and compatibility with sauce offer a taste experience unlike any other. I hope you will give it a try and enjoy its uniqueness with your own taste buds.
How dashi and cabbage make all the difference
To make delicious okonomiyaki, it is important to enhance the flavor of the batter and cook it to a light, airy texture. To boost the flavor, dashi stock is essential, and green cabbage plays a key role in achieving the desired texture.
Okonomiyaki without dashi can end up tasting bland, relying solely on the sauce for taste. For this reason, I highly recommend using a richer bonito dashi than what is typically used in other Japanese dishes, such as miso soup. The deeper flavor of a richer bonito dashi pairs well with the proteins used in okonomiyaki.
As for cabbage, it is best to use a generous amount of coarsely chopped cabbage. This not only enhances the sweetness of the dish but also adds volume. The gaps between the cabbage pieces help create the airy texture of okonomiyaki.
By properly using these two ingredients, you can lay the foundation for perfect okonomiyaki. Conversely, neglecting these preparations can result in a dish that falls short, so be sure to prepare them correctly.
With or without Japanese mountain yam
You might have come across recipes that use grated Japanese mountain yam (yamaimo or nagaimo) when making okonomiyaki in cookbooks or on other recipe websites. Indeed, in Japan, it is common to add it to the batter to achieve a light texture.
However, in my recipe, I deliberately omit it. This is because the yam can be hard to find depending on where you live, and I want as many people as possible to enjoy the dish.
Whether you add the yam or not, the cooking process changes slightly.
When adding the yam, it is important to thoroughly mix the batter ingredients (flour, dashi stock, and the yam), as the yam itself has a slimy, batter-like texture and helps hold everything together with other ingredients added later, like cabbage. The amount is 0.35 ounces (10g) per serving, and there is no need to adjust the other ingredients in the recipe.
If the yam is not added, be careful not to overmix the batter ingredients (flour and dashi). This is because overmixing can cause the gluten in the flour to develop too much, which might make the batter tough.
Ideally, adding grated Japanese mountain yam can help achieve a lighter texture, but rest assured, even if omitted, you can still get a sufficiently light result. I also always make okonomiyaki using this recipe without the yam.
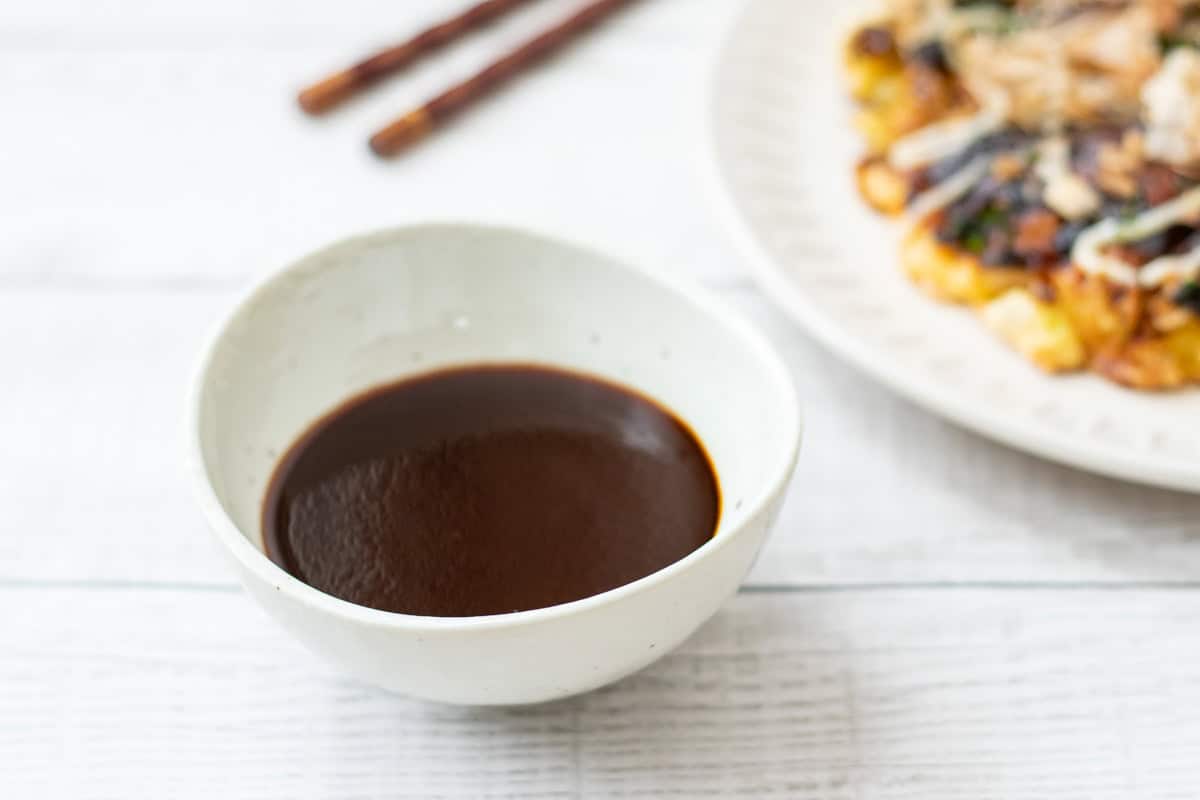
Making okonomiyaki sauce at home
Okonomiyaki is typically enjoyed with a special sauce on top. This sauce, known as "okonomiyaki sauce," gives the dish a savory, slightly sweet flavor and a thick texture. In Japan, store-bought varieties are commonly used, but you can also make it from scratch.
My recipe includes instructions for making okonomiyaki sauce. It is quick and easy to prepare, so feel free to give it a try if you don't have any store-bought sauce on hand. For a detailed guide on how to make okonomiyaki sauce, please refer to the linked page.
Differences between Osaka-style and Hiroshima-style
There are actually two main types of okonomiyaki: Osaka-style and Hiroshima-style. Osaka-style is the more common version across Japan, and is made by mixing ingredients like chopped cabbage and egg into a batter, then cooking it.
On the other hand, Hiroshima-style is especially popular in Hiroshima. It is made by first pouring the batter, then layering other ingredients on top as it cooks. It typically includes yakisoba noodles (Chinese-style noodles).
My okonomiyaki recipe is an Osaka-style version. It is much easier to make at home than the Hiroshima-style version, so I highly recommend trying it. If you are curious about Hiroshima-style okonomiyaki, give it a try as well.
📋Step-by-step recipe
Ingredients
- 9.2 oz green cabbage
- 2 tsp beni shoga (red pickled ginger) (optional)
- 2 Tbsp tenkasu (tempura bits)
- 2 large eggs (about 2.1 oz/60 g each, including shell)
- 4.2 oz thinly sliced pork belly
Bonito dashi for okonomiyaki:
- 1 cup water
- ⅔ cup bonito flakes (katsuobushi)
- ¼ tsp salt
Okonomiyaki sauce:
- 3 Tbsp Japanese Worcestershire sauce (such as Kagome or Bull-Dog brand)
- 2 ½ Tbsp ketchup (0.6 oz/17 g per Tbsp)
- 1 ⅓ Tbsp sugar
For the batter:
- ⅚ cup all-purpose flour (plain flour)
- 1 tsp baking powder
Toppings:
- Japanese mayonnaise (such as Kewpie Mayo. For a homemade version, please refer to the linked article.)
- aonori (dried green seaweed flakes)
- bonito flakes (katsuobushi)
Instructions
🕒 Total: 55 mins per serving. (The cooking time increases by about 13 minutes for each additional serving, unless you have a large griddle.)
If you already have okonomiyaki sauce, skip step 3.
To make bonito dashi for okonomiyaki:

Step 1
Put water in a pot and bring it to a boil. Once boiling, reduce the heat to low, add bonito flakes, and let it simmer for 3 minutes.
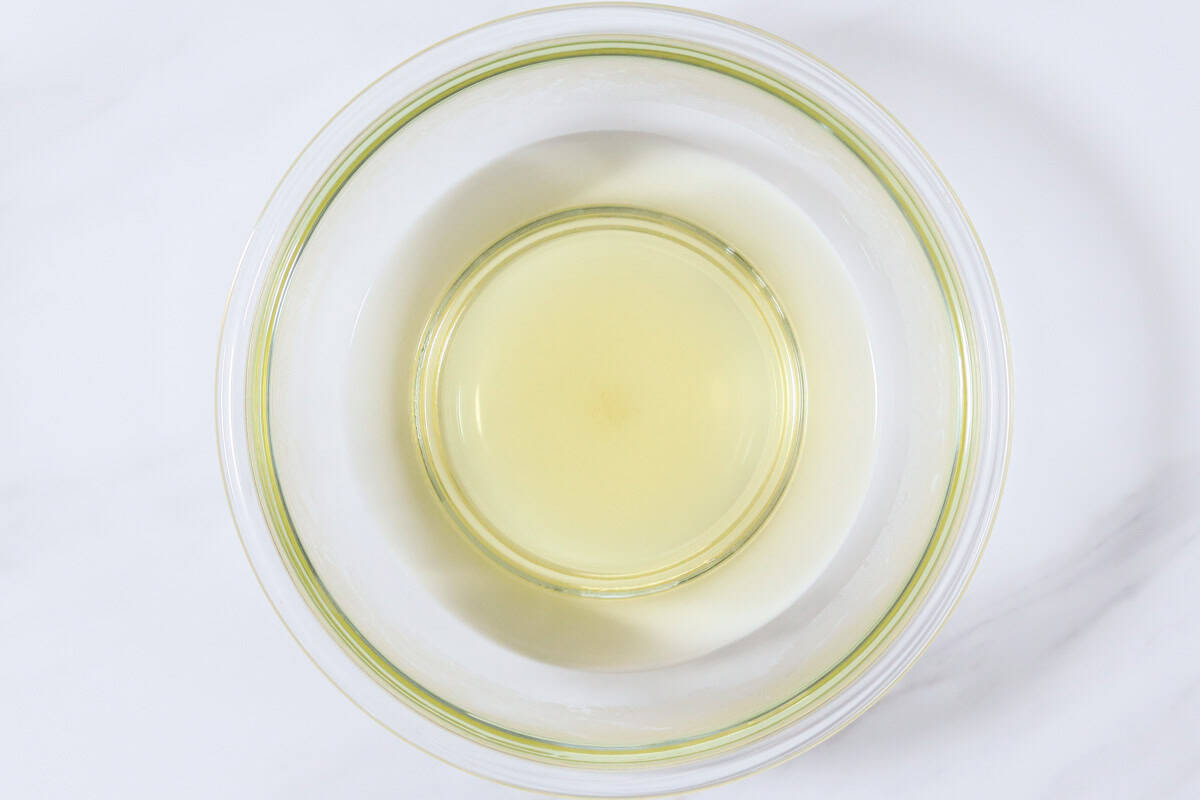
Step 2
Turn off the heat and strain the mixture through a fine mesh sieve into a bowl or measuring cup. The bonito dashi for okonomiyaki is ready. Stir in salt, then let the mixture sit until it cools, about 30 minutes. (If you are not using it right away, store it in the refrigerator.)
To make okonomiyaki sauce:
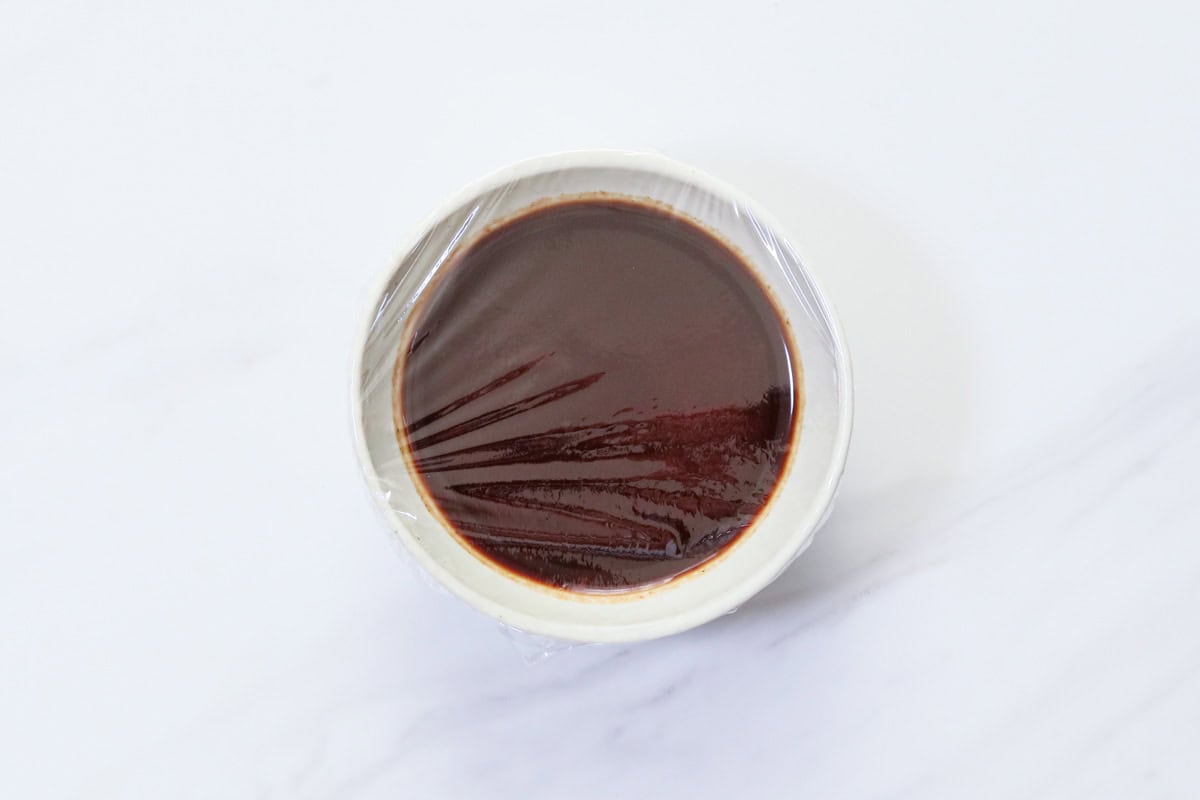
Step 3
In a small bowl, mix Japanese Worcestershire sauce, ketchup, and sugar. Loosely cover the bowl with plastic wrap or a microwave-safe lid, and microwave it on medium power (500-600W) for 30 seconds. Okonomiyaki sauce is ready.
To make okonomiyaki:
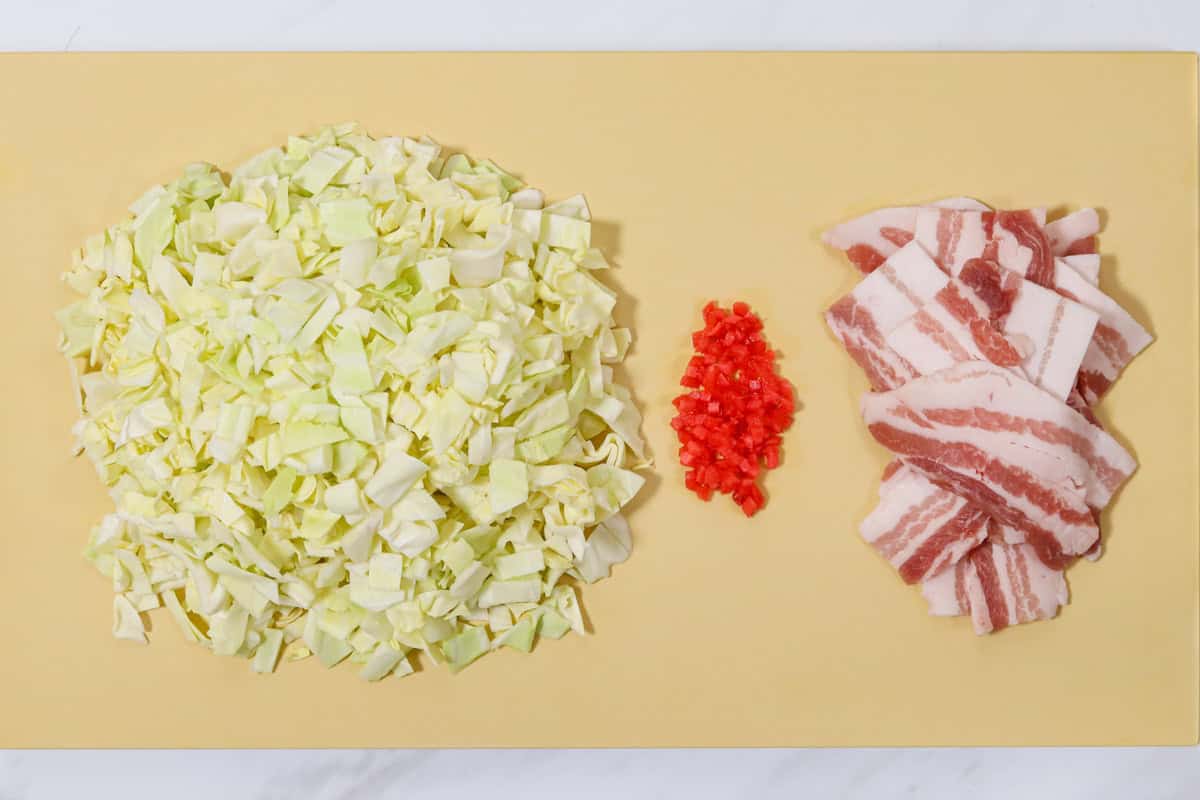
Step 4
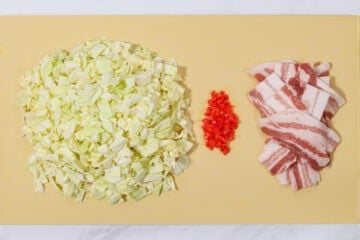
Coarsely chop the cabbage. Finely chop the beni shoga. Cut the pork belly into 4-inch (10 cm) lengths.
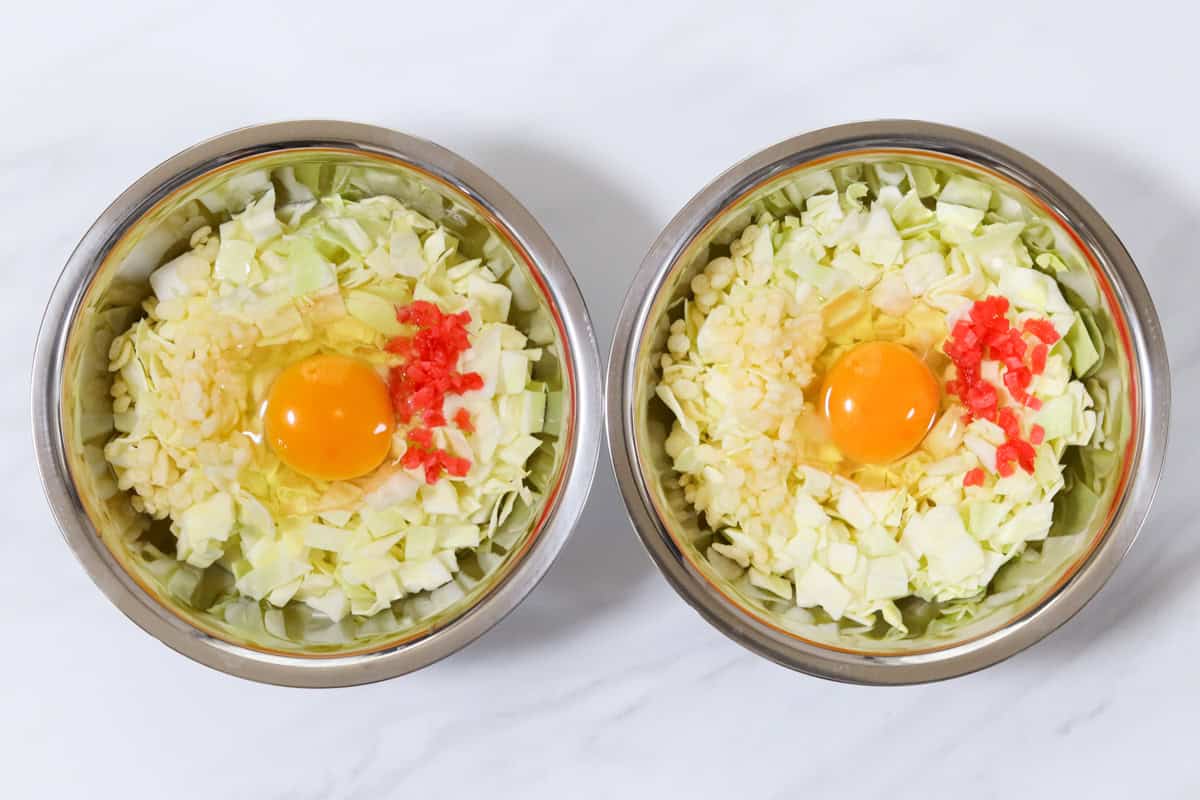
Step 5
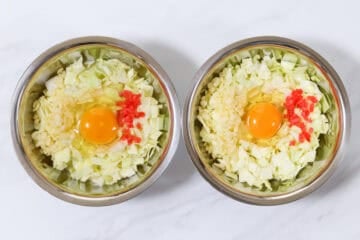
In a large bowl, lightly combine flour and baking powder with the cooled bonito dashi (⅔ cup/160 ml per 2 servings) until smooth. Divide the combined batter evenly into small bowls, one for each serving. On top of the batter in each bowl, place the chopped cabbage, beni shoga, tenkasu, and a cracked egg.
Important: Do not mix the contents of each bowl at this stage, as mixing now will cause the cabbage to release moisture, resulting in a soggy okonomiyaki.

Step 6
(Cook one serving per pan unless you have a large griddle.) Heat oil in a pan over medium heat. Once the pan is hot, quickly mix the contents of one serving bowl until the egg yolk is lightly but uniformly blended. Pour the mixture into the pan and shape it into a round about ⅘ inch (2 cm) thick using a spatula. Arrange the pork on top, overlapping as little as possible, and cook for about 5 minutes.

Step 7
Once the underside is crisp and browned, carefully flip it over with a spatula and cook the pork side for about 5 minutes.

Step 8
Once the pork side is nicely browned, carefully flip it over again. Continue cooking for about 1 more minute to let it absorb the pork fat.
Step 9
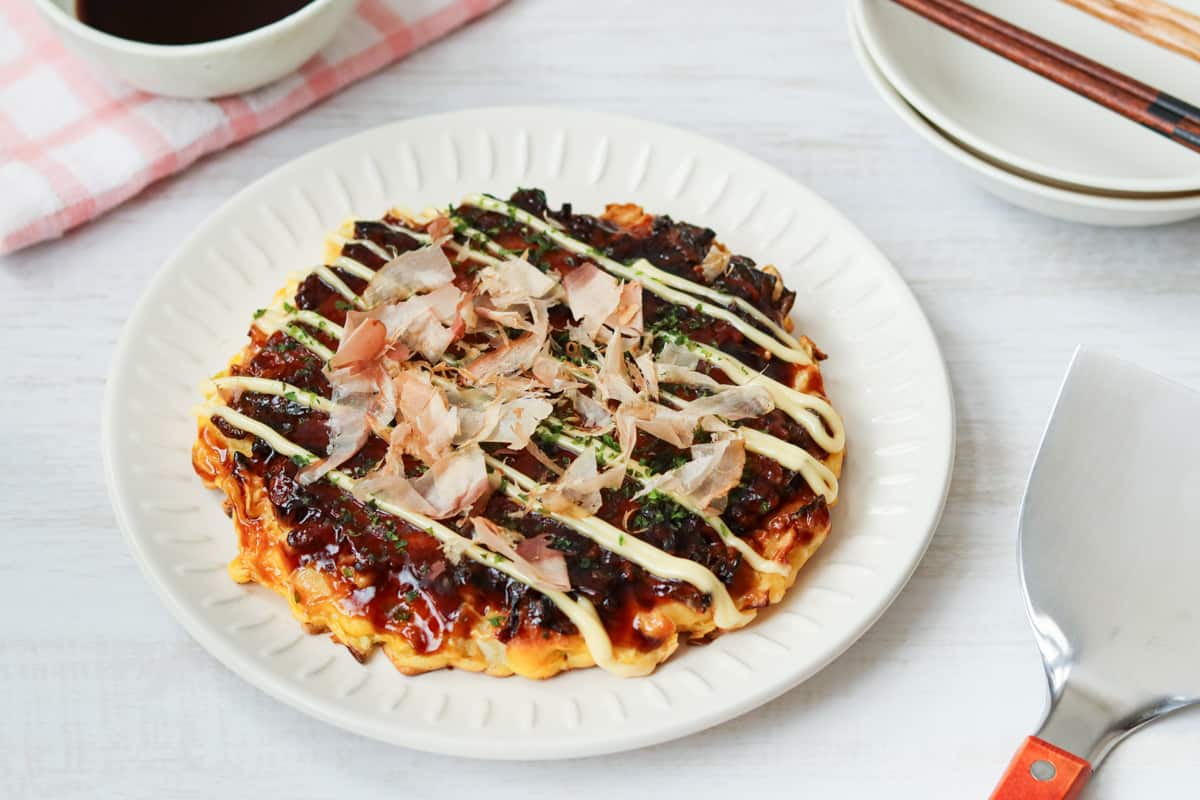
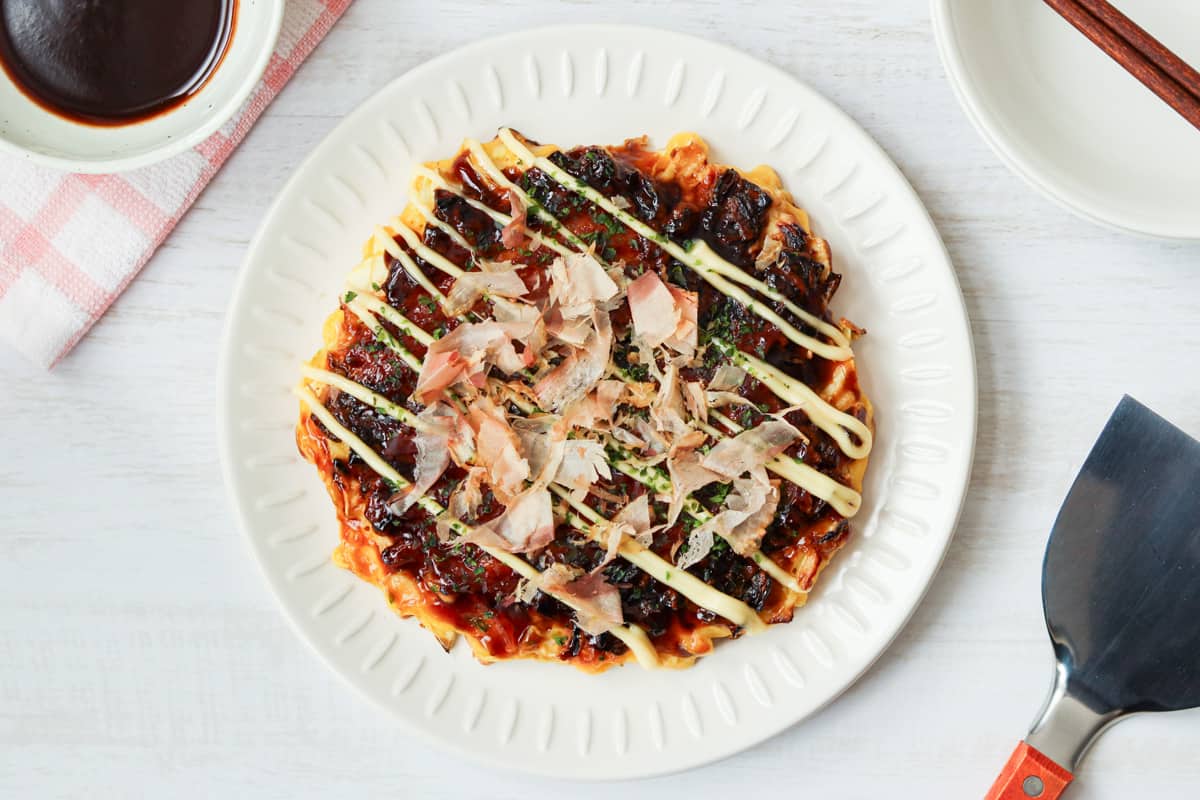
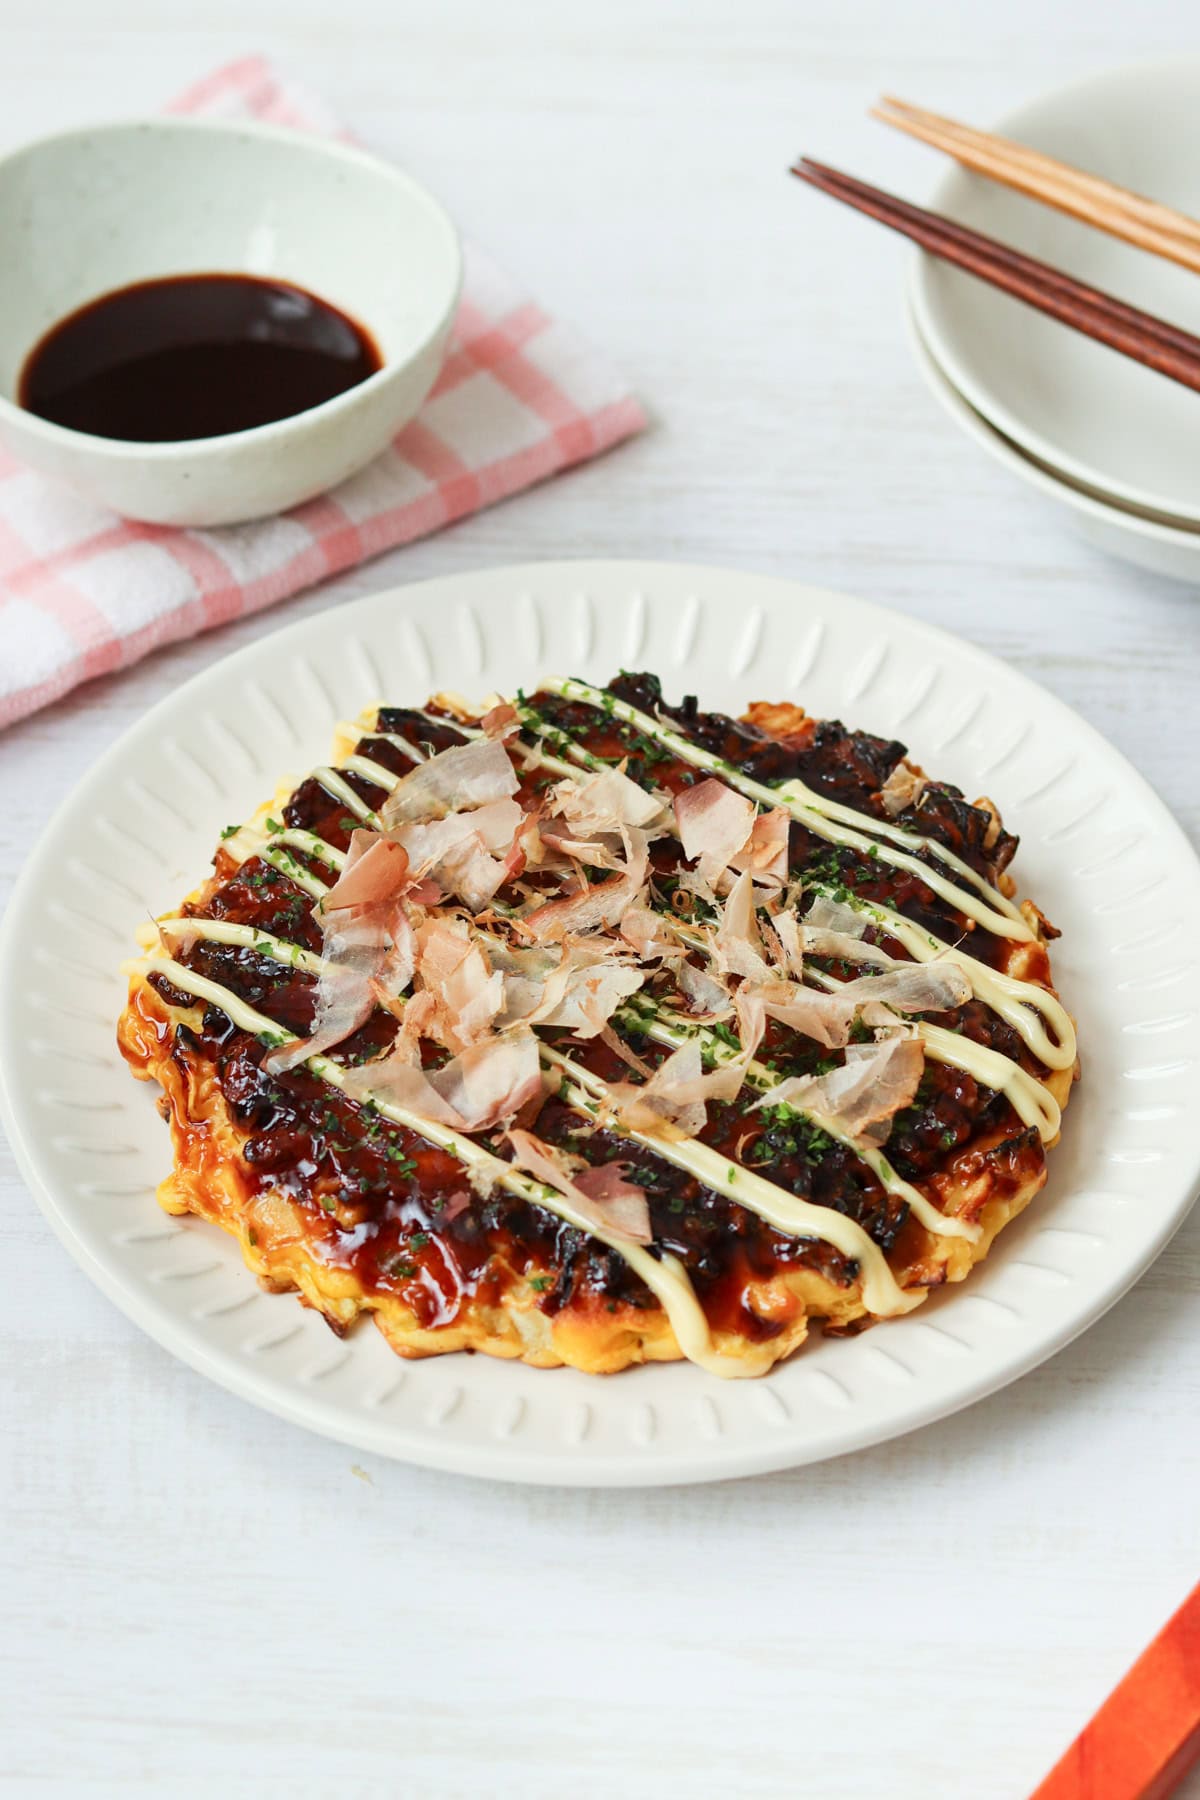
Serve on a plate, spread with the okonomiyaki sauce, and top with Japanese mayonnaise, aonori, and bonito flakes to taste. Continue cooking the next okonomiyaki.
To store
You can store it in the refrigerator for up to 2 days.
Cooking tips
If you follow the recipe carefully, you should be able to make okonomiyaki perfectly. On the other hand, if you get the ingredient ratios or cooking method wrong, you might end up with a dense or runny texture. To achieve the best results, be sure to pay special attention to the following points:
• Use bonito dashi only after it has cooled.
When making the batter, combining warm dashi with flour can activate the gluten in the flour too much, leading to a hard texture. To achieve a lighter texture, it is important to use cooled dashi.
While the recipe calls for using dashi at room temperature, you can use chilled dashi from the refrigerator. That said, if it is too cold, the gluten doesn’t develop enough, so I personally recommend using room temperature dashi for the best balance.
• Mix the batter and cabbage (and other ingredients) quickly just before cooking.
Cabbage starts to release moisture once mixed with the batter, so it is crucial to combine them just before cooking. Additionally, be careful not to overmix, as too much stirring can also cause the cabbage to release its moisture.
• Don’t press down on the okonomiyaki while cooking.
You might feel tempted to press down on the okonomiyaki with a spatula as it cooks, but resist that urge. Pressing down releases the air that gives it a light and fluffy texture, resulting in a dense finish. Keeping the air trapped inside the batter and cabbage is key to achieving that airy texture.
If you try this recipe, I’d love to hear what you think. Please consider leaving a review and star rating in the comments below. If you enjoyed it, I’d really appreciate it if you shared it with your friends.
More recipes you'll love
FAQ
Yes, that’s fine. The flavor might be slightly less rich, but it will still work well. However, if your granulated dashi contains salt, be sure to adjust the amount of salt you add to the recipe accordingly.
Please don’t do that. My recipe uses baking powder, and if you let the batter rest too long, the carbon dioxide it produces will escape. That can actually make it harder for the batter to rise, resulting in a less fluffy texture.
Recipe card
Authentic Osaka-Style Okonomiyaki
Ingredients
- 9.2 oz green cabbage
- 2 tsp beni shoga (red pickled ginger) (optional)
- 2 Tbsp tenkasu (tempura bits)
- 2 large eggs (about 2.1 oz/60 g each, including shell)
- 4.2 oz thinly sliced pork belly
Bonito dashi for okonomiyaki:
- 1 cup water
- ⅔ cup bonito flakes (katsuobushi)
- ¼ tsp salt
Okonomiyaki sauce:
- 3 Tbsp Japanese Worcestershire sauce (such as Kagome or Bull-Dog brand)
- 2 ½ Tbsp ketchup (0.6 oz/17 g per Tbsp)
- 1 ⅓ Tbsp sugar
For the batter:
- ⅚ cup all-purpose flour (plain flour)
- 1 tsp baking powder
Toppings:
- Japanese mayonnaise (such as Kewpie Mayo. For a homemade version, please refer to the linked article.)
- aonori (dried green seaweed flakes)
- bonito flakes (katsuobushi)
Instructions
To make bonito dashi for okonomiyaki:
- Put water in a pot and bring it to a boil. Once boiling, reduce the heat to low, add bonito flakes, and let it simmer for 3 minutes.

- Turn off the heat and strain the mixture through a fine mesh sieve into a bowl or measuring cup. The bonito dashi for okonomiyaki is ready. Stir in salt, then let the mixture sit until it cools, about 30 minutes. (If you are not using it right away, store it in the refrigerator.)


To make okonomiyaki sauce:
- In a small bowl, mix Japanese Worcestershire sauce, ketchup, and sugar. Loosely cover the bowl with plastic wrap or a microwave-safe lid, and microwave it on medium power (500-600W) for 30 seconds. Okonomiyaki sauce is ready.

To make okonomiyaki:
- Coarsely chop the cabbage. Finely chop the beni shoga. Cut the pork belly into 4-inch (10 cm) lengths.
- In a large bowl, lightly combine flour and baking powder with the cooled bonito dashi (⅔ cup/160 ml per 2 servings) until smooth. Divide the combined batter evenly into small bowls, one for each serving. On top of the batter in each bowl, place the chopped cabbage, beni shoga, tenkasu, and a cracked egg.Important: Do not mix the contents of each bowl at this stage, as mixing now will cause the cabbage to release moisture, resulting in a soggy okonomiyaki.
- (Cook one serving per pan unless you have a large griddle.) Heat oil in a pan over medium heat. Once the pan is hot, quickly mix the contents of one serving bowl until the egg yolk is lightly but uniformly blended. Pour the mixture into the pan and shape it into a round about ⅘ inch (2 cm) thick using a spatula. Arrange the pork on top, overlapping as little as possible, and cook for about 5 minutes.
- Once the underside is crisp and browned, carefully flip it over with a spatula and cook the pork side for about 5 minutes.
- Once the pork side is nicely browned, carefully flip it over again. Continue cooking for about 1 more minute to let it absorb the pork fat.
- Serve on a plate, spread with the okonomiyaki sauce, and top with Japanese mayonnaise, aonori, and bonito flakes to taste. Continue cooking the next okonomiyaki.


Notes
- The total time is 55 minutes per serving. The cooking time increases by about 13 minutes for each additional serving, unless you have a large griddle.
- If you already have okonomiyaki sauce, skip step 3.
- You can store it in the refrigerator for up to 2 days.


Leave a Rating and a Comment