When talking about Japanese sweets, Anko is absolutely essential. Not long ago in Japan, it was common to see almost every household slowly simmering adzuki beans to make anko from scratch. I hope you will try recreating this traditional Japanese flavor, which remains beloved today, in your own home.
Jump to:
What is Anko?
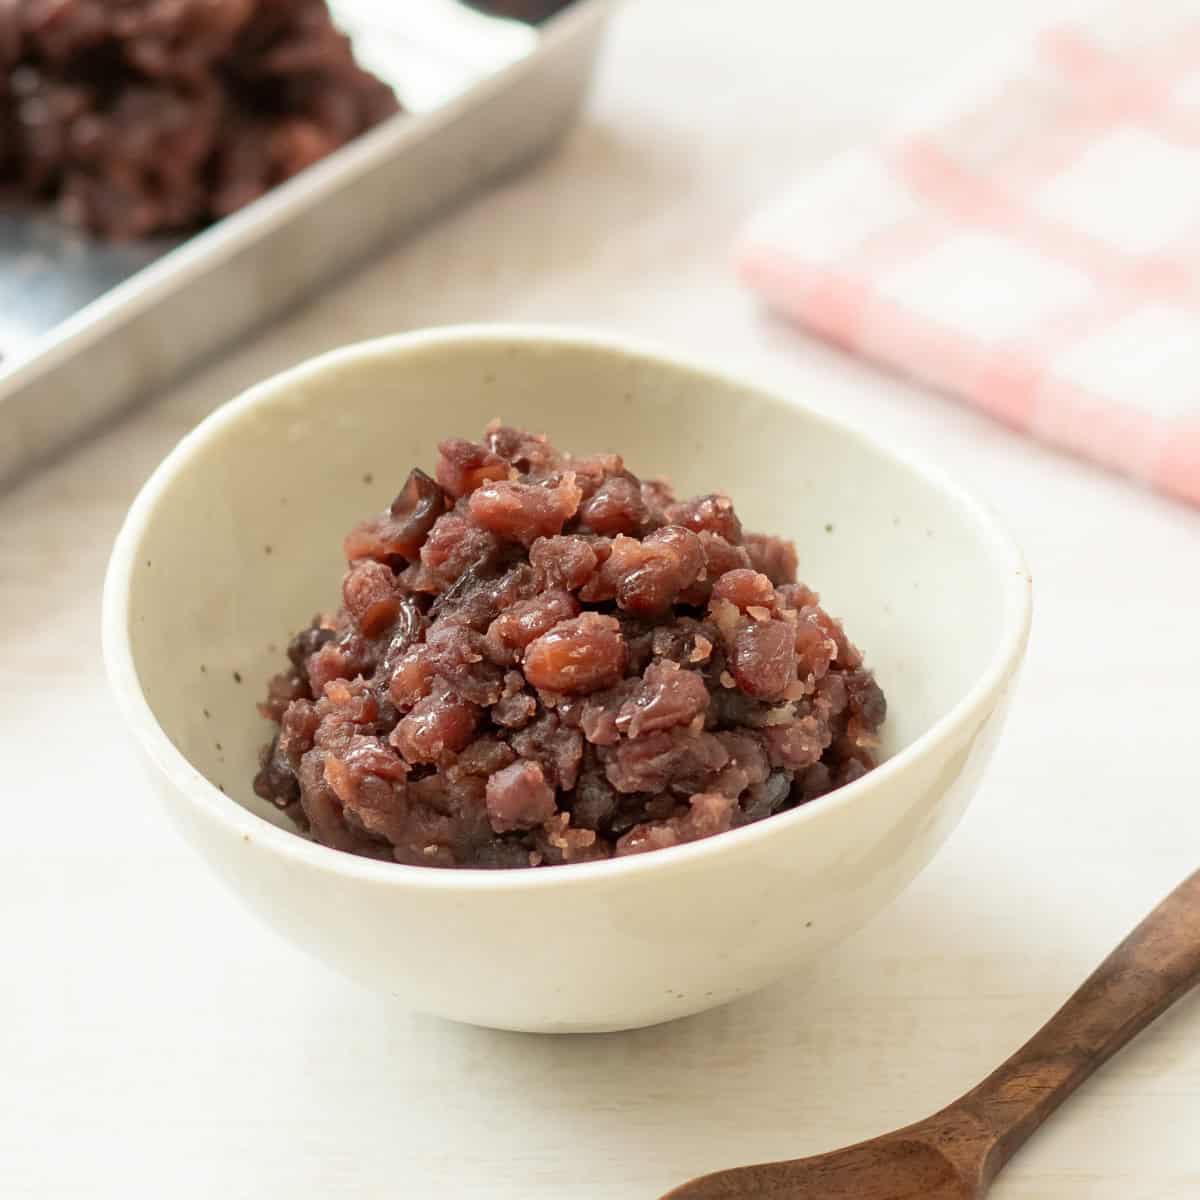
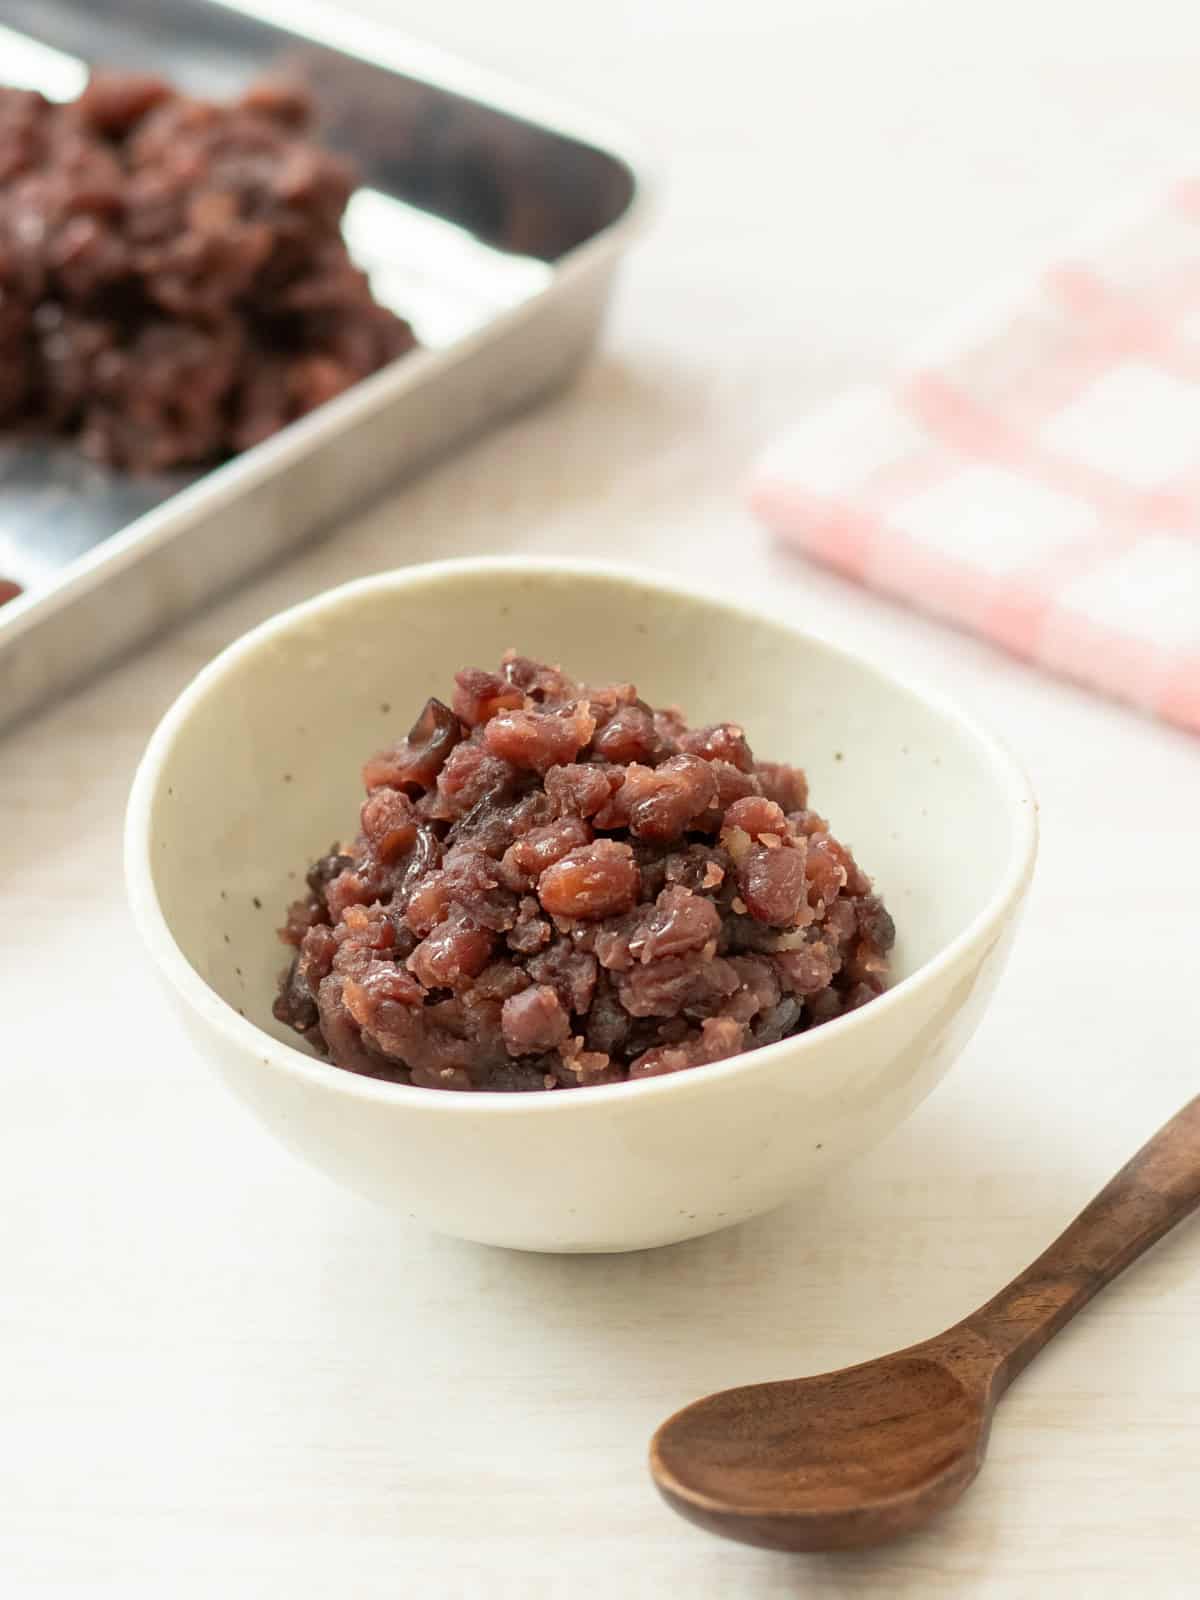
Anko is a traditional Japanese food made by simmering beans, usually adzuki beans, with sugar until they form a smooth paste. While the precise definition refers to any ingredient that has been simmered down and sweetened (not limited to just beans), when most Japanese people hear the word "anko," they typically think of a reddish-brown sweet paste made from adzuki beans (this article also uses this definition). It has a distinctive sweetness that differs from cream or caramel and is essential for making traditional Japanese sweets, known as wagashi.
In recent years, it has also become popular to use this sweet paste in other desserts beyond traditional wagashi. In other words, it is now not uncommon in Japan to find it paired with butter or cream. Anko is truly an indispensable ingredient in Japanese sweets.
Types of anko
Even though we simply say "anko," it actually comes in a variety of forms, each with a different name depending on how it is prepared. Here are the most common types:
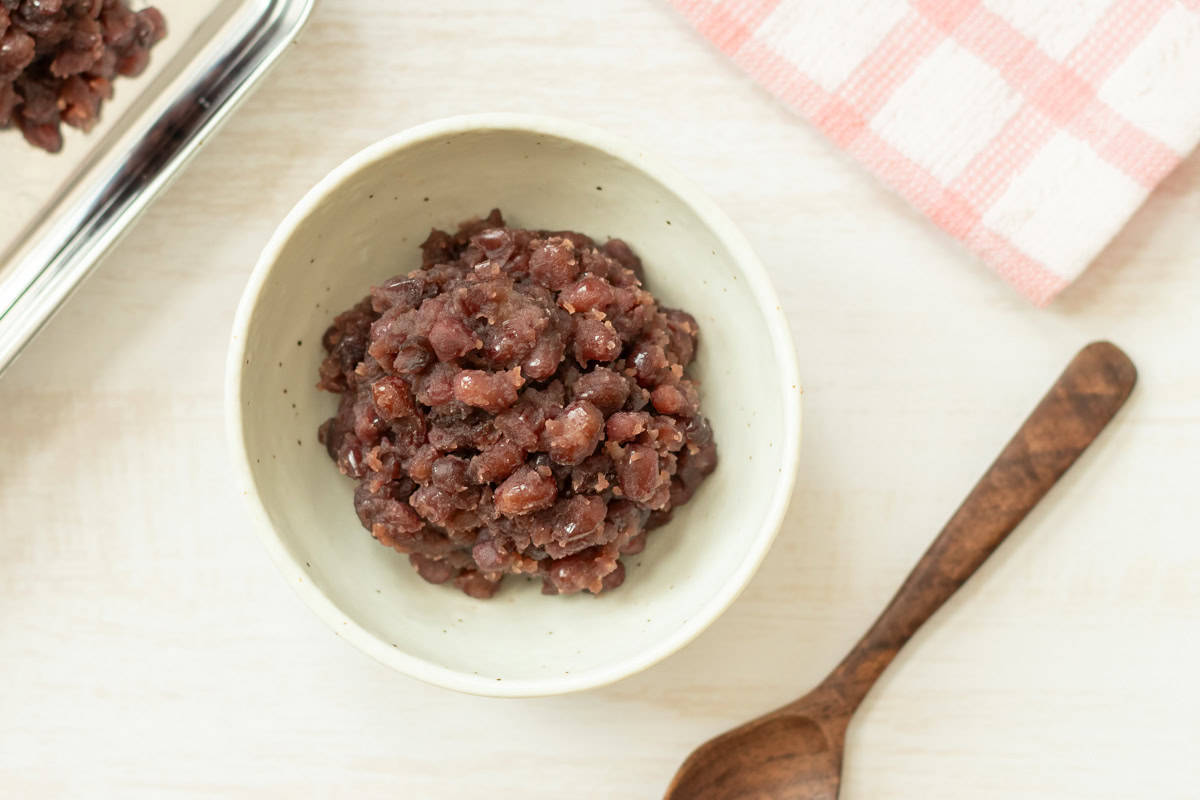
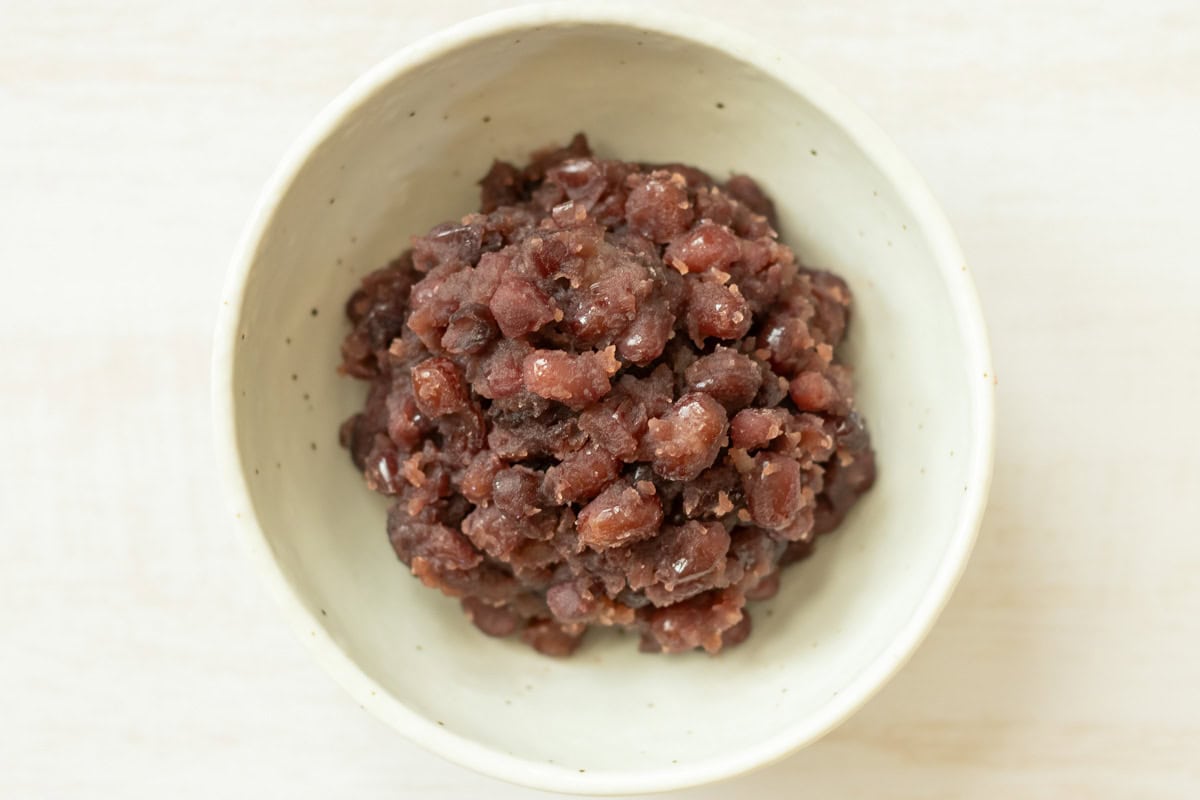
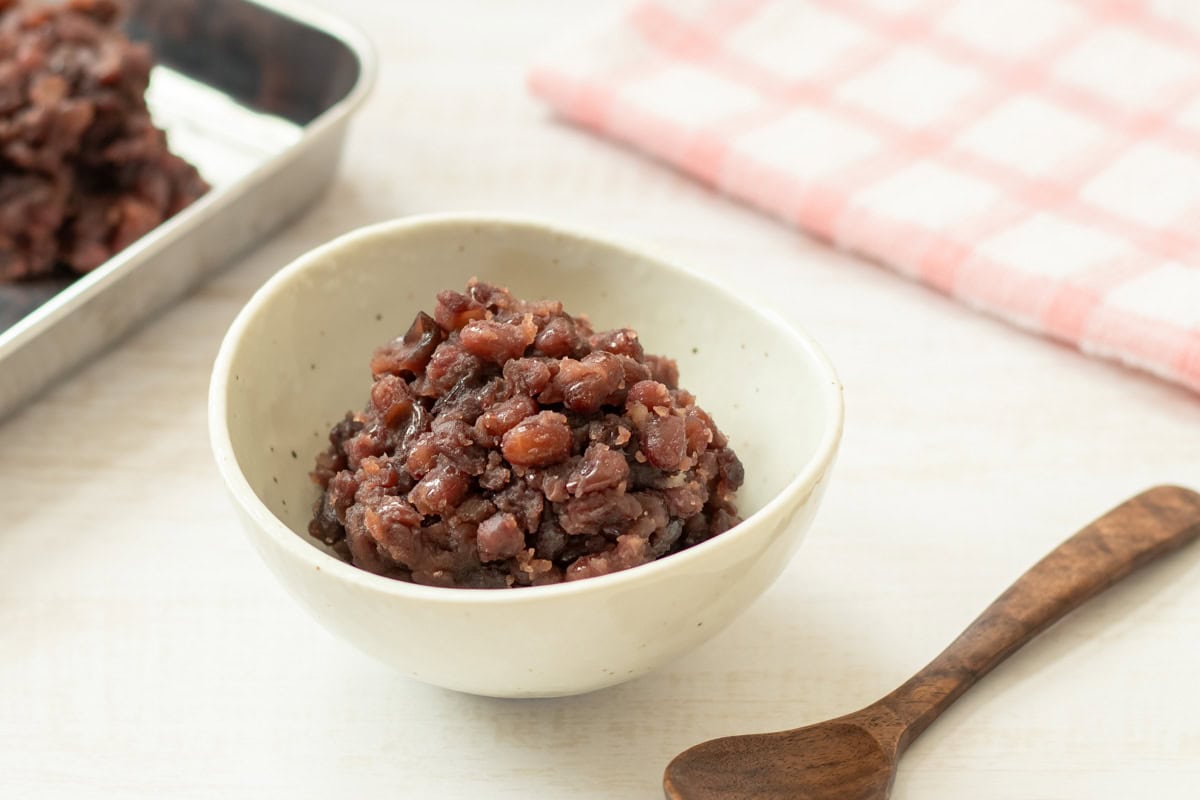
- Tsubu-an (chunky anko): Made by simmering beans while keeping their shape as much as possible. It has a chunky texture that retains the beans' shape and flavor.
- Koshi-an (smooth anko): Created by mashing cooked beans and straining them multiple times to remove the skins, resulting in a silky smooth paste.
- Tsubushi-an (mashed anko): Made by partially mashing cooked beans while keeping the skins on. Since the skins are not removed, the flavor remains strong. It strikes a balance between tsubu-an and koshi-an, with a slightly textured yet partly smooth consistency. Some beans in tsubu-an naturally break down into tsubushi-an.
- Ogura-an (koshi-an with larger beans): Made with larger beans, such as "dainagon adzuki," which are cooked in syrup and mixed into koshi-an. It offers a unique balance of smooth texture and distinct bean pieces.
The primary differences among these types lie in texture rather than flavor. Unless a specific type is called for, you can choose whichever one you prefer. In this recipe, I will explain how to make tsubu-an, the most basic type of anko, using adzuki beans.
Traditional techniques for making delicious anko
To make delicious anko, various traditional Japanese techniques are used, as outlined below. Incorporating these methods can significantly enhance the flavor of your anko, so be mindful of them when preparing it.
Removing the bitterness from adzuki beans
Anko is made by simmering adzuki beans. However, the skins of the beans contain bitterness, so simply cooking them will result in anko with an unpleasant aftertaste. To avoid this, it is important to pre-simmer the beans. Start by briefly simmering the beans, discarding the water, and then simmering them again in fresh water. This helps remove the bitterness from the adzuki beans.
How many times you repeat this process depends on your personal preference. The more times you repeat it, the more bitterness will be removed, but there is also a downside: the natural flavor of the beans can diminish. In my recipe, I repeat this process only once. You can repeat it a few times based on your preference, but skipping this step altogether is not recommended.
Adding water while cooking the adzuki beans
Adding water is a technique that ensures the beans cook evenly. Once the water used to cook the adzuki beans comes to a boil, add some cold water to bring the temperature down to around 122-140℉ (50-60℃). This pause allows the heat to penetrate the center of the beans before the water returns to a boil, helping to prevent uneven cooking.
I suggest doing this once in the recipe, but traditional Japanese wagashi (Japanese sweets) shops may add cold water 5 to 10 times, each time the water boils. This helps further even out the temperature inside and outside the beans.
Steaming the adzuki beans with residual heat
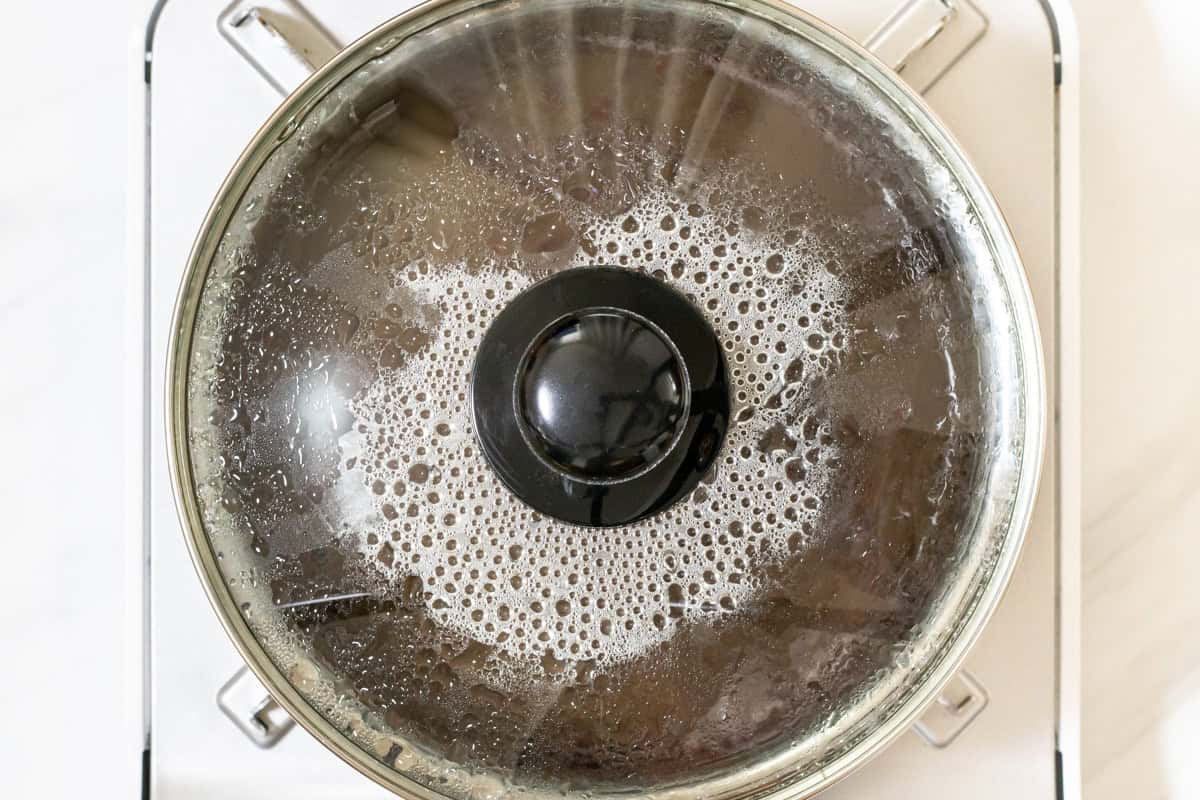
Steaming the adzuki beans after simmering is another important process to ensure even cooking. All you need to do is cover the pot with a lid after simmering, letting the beans steam in the residual heat. This helps ensure that the beans soften evenly and thoroughly inside.
The role of sugar
When making anko, you might be surprised by how much sugar it requires. However, it is important to resist the temptation to reduce the amount of sugar in the recipe.
Anko made with less sugar is not only less sweet but also loses its signature texture, making it less enjoyable. This is because sugar plays a crucial role in creating anko's moist and smooth consistency due to its moisture-retaining properties. In other words, using too little sugar can result in anko with a dry texture. As a general guideline, the amount of sugar should be about 90% or more of the weight of the adzuki beans used.
Exploring desserts with anko
Once you have made anko, try using it in a variety of desserts. In Japan, anko is traditionally used in various sweets, such as the following:
- Yokan (sweet red bean jelly)
- Kintsuba (a sweet with anko encased in a thin batter)
- Manju (steamed buns filled with anko)
- Dorayaki (red bean pancakes)
- Taiyaki (fish-shaped cakes filled with anko)
- Imagawayaki/Obanyaki (round pancakes stuffed with anko)
- Monaka (crispy wafers filled with anko)
- Ohagi/Botamochi (sticky rice balls coated with anko)
- Daifuku (mochi filled with anko)
- Zenzai (sweet red bean soup)
- Oshiruko (sweet red bean soup with mochi)
- Mitsumame (a sweet made with anko, agar jelly, and fruit)
Beyond traditional Japanese sweets, anko is also commonly paired with Western-style treats in Japan, such as bread, donuts, muffins, and cookies. You can even mix anko with butter or heavy cream to create delightful variations like "butter anko" or "cream anko." It might be interesting to experiment with incorporating anko into desserts from your own region. I hope you enjoy exploring various anko-based treats and find your favorite!
📋Step-by-step recipe
Ingredients
- 7 oz adzuki beans
- 6.3 oz sugar
- pinch of salt
- 4 cups water (for step 4)
- ⅓ cup water (for step 7)
Instructions
🕒 Total: 1 hr 35 mins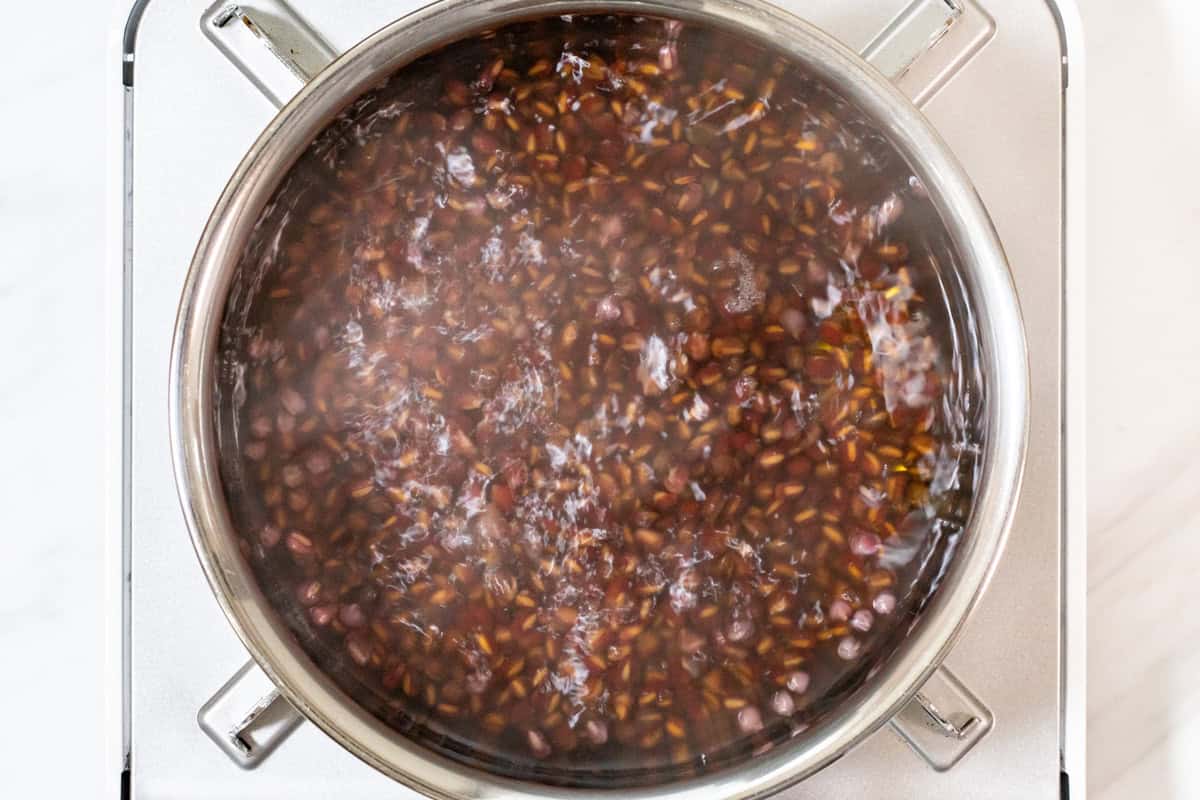
Step 1
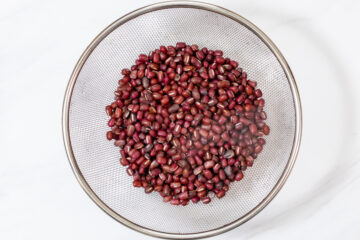
Rinse and drain the adzuki beans. Add the beans to a pot with 2 to 3 times their weight in water (I used 2 cups/500 ml) and bring to a boil. Once boiling, reduce the heat to medium and simmer for 5 minutes.
Step 2
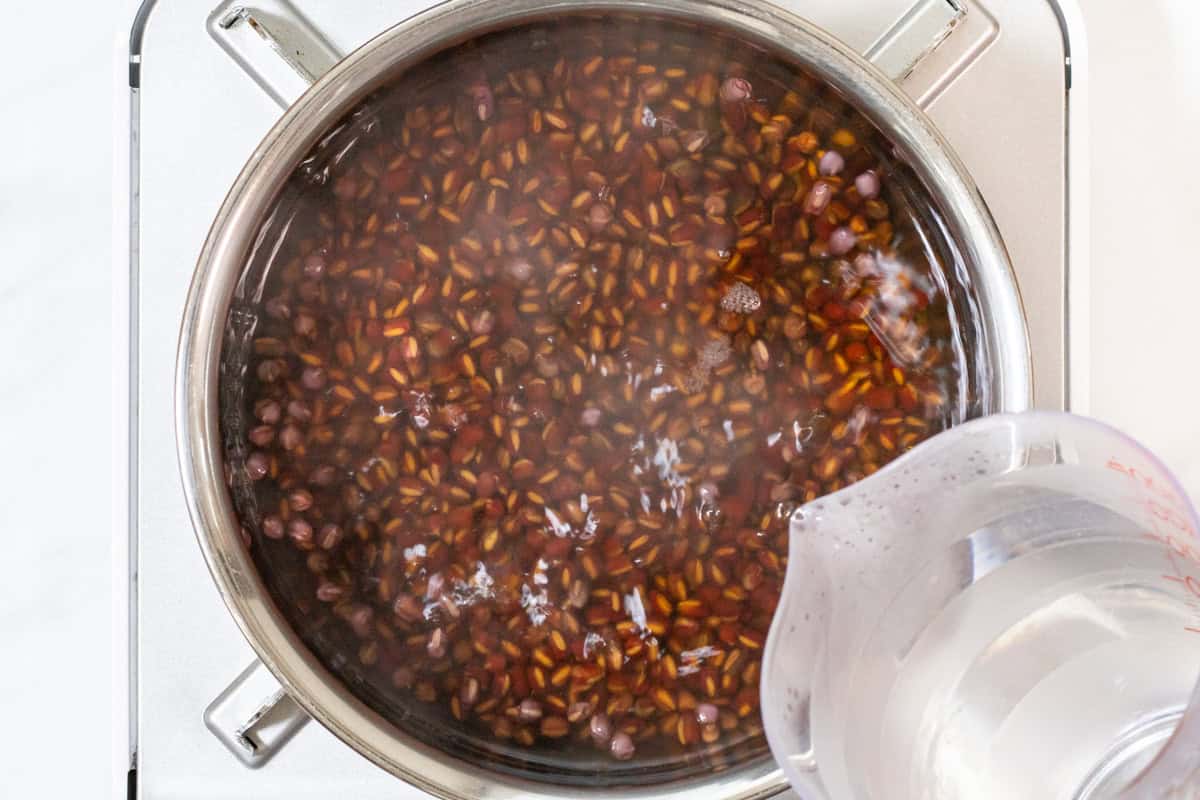
Add half the amount of water you just used (1 cup/250 ml) to the pot to lower the boiling water temperature. Continue heating until it returns to a boil.
This step ensures that the adzuki beans are cooked through to the center.
Step 3
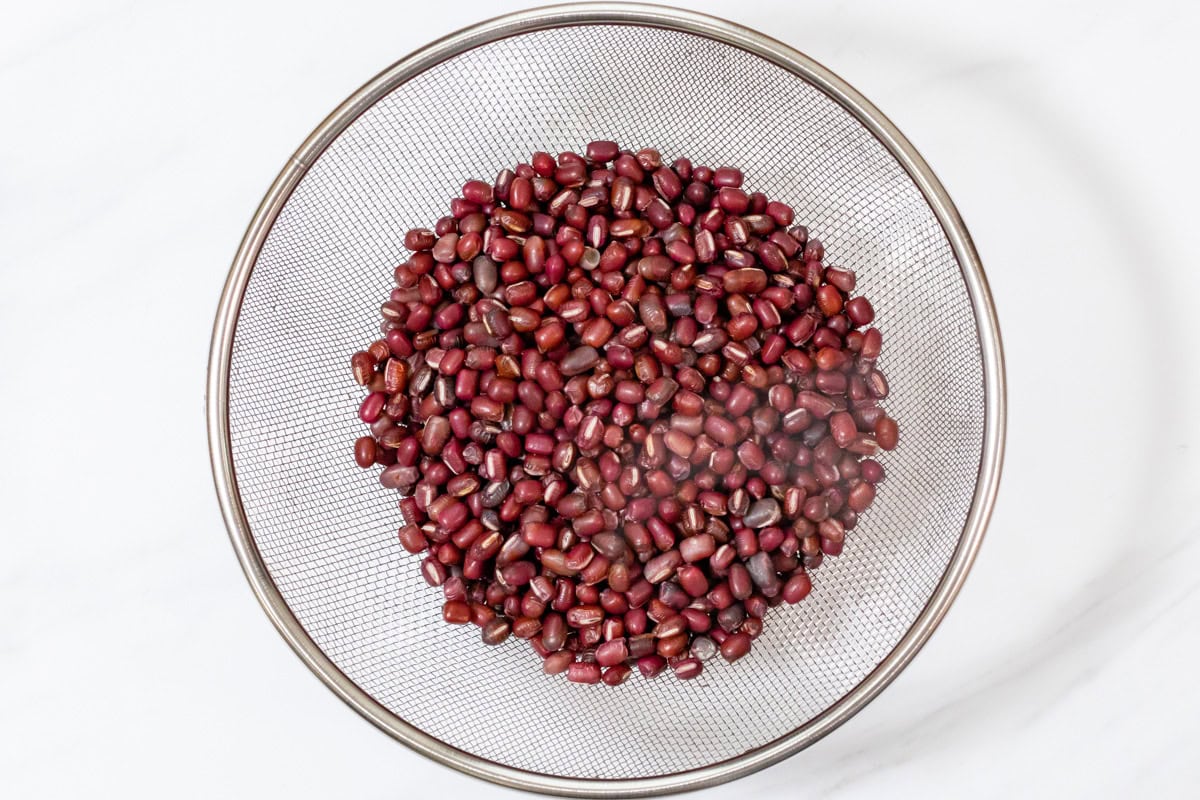
Drain the beans in a sieve and discard the cooking liquid to remove any bitterness.
Step 4
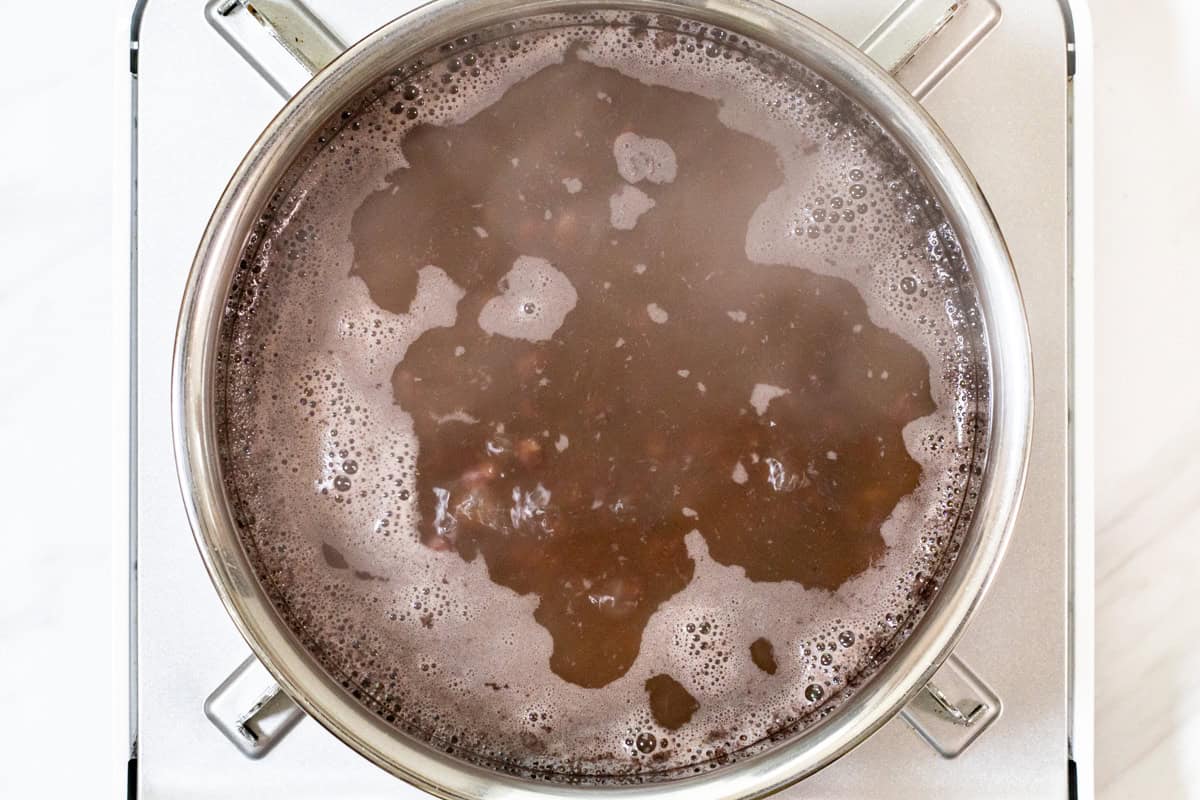
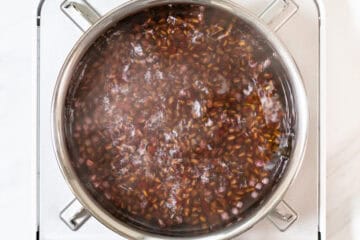
Lightly rinse the pot, then return the beans and water (as specified in the recipe) and bring to a boil. Once boiling, reduce the heat to low and let it simmer for about 40 minutes to 1 hour (or longer if needed).
The cooking time can vary depending on how long it has been since the beans were harvested. Test the beans by pressing one between your fingers to see if it crushes easily without any firm center remaining. If the water level gets too low during cooking and the beans start to peek above the surface, add separately boiled water as needed to keep them fully submerged.
Step 5
After ensuring that the adzuki beans have softened, cover the pot, turn off the heat, and let them steam in the residual heat for 30 minutes.
This step helps the beans soften more evenly and thoroughly.
Step 6
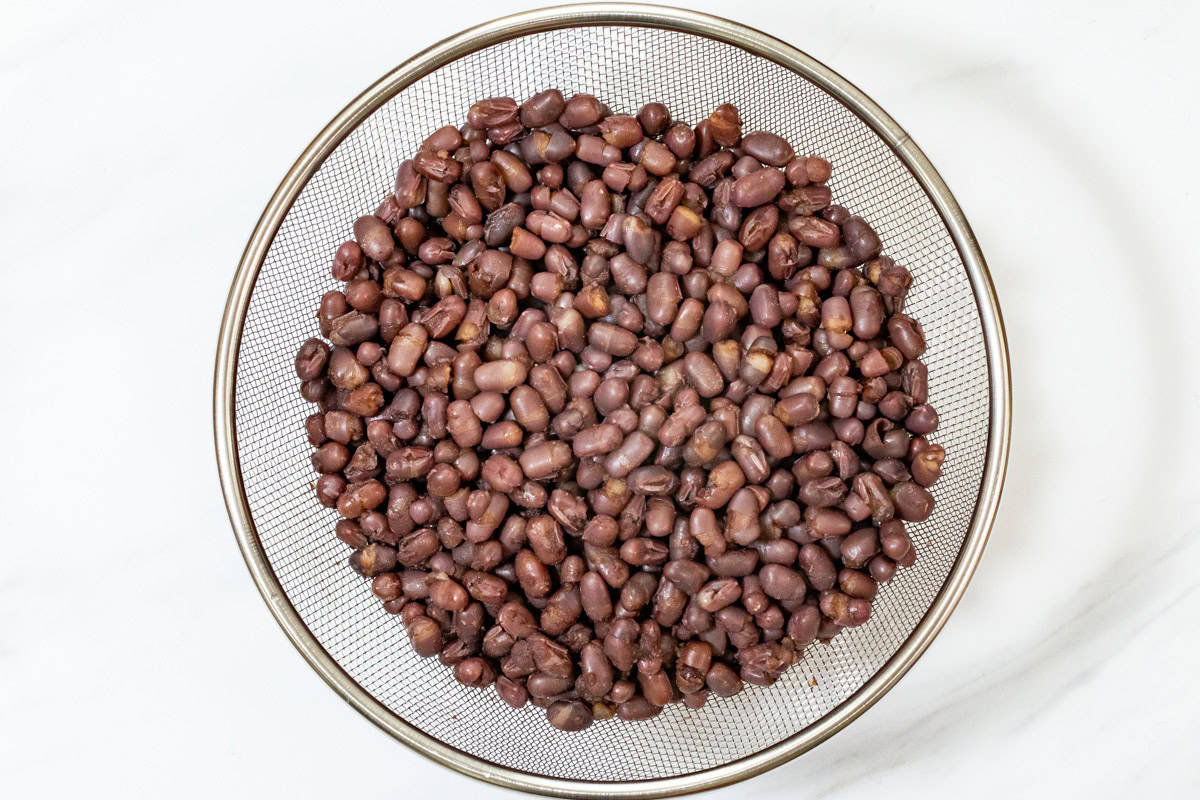
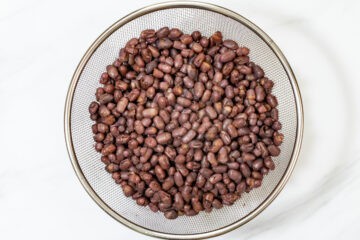
Drain the adzuki beans into a colander.
Step 7
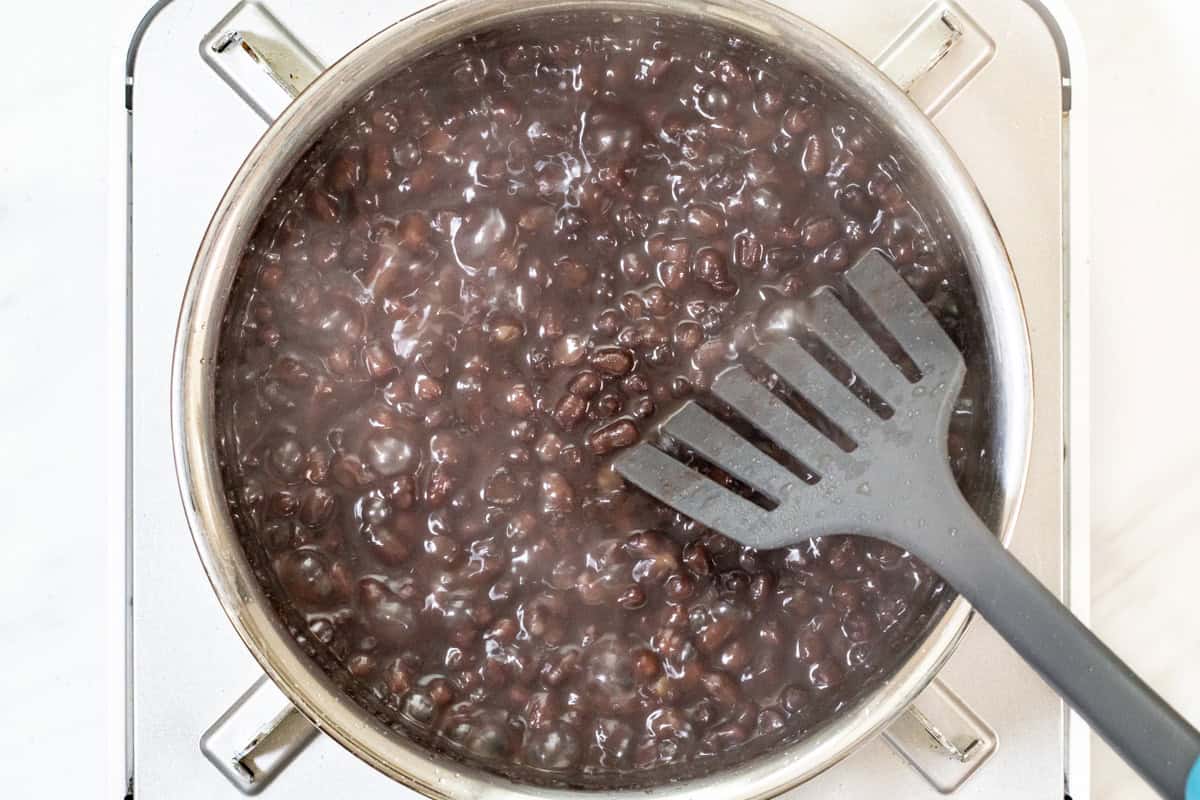
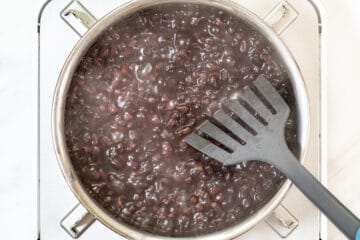
Lightly rinse the pot, then add water (as specified in the recipe) and sugar. Cook over high heat, and once about half of the sugar has dissolved, add the adzuki beans. Using a spatula, stir continuously from the bottom of the pot, being careful not to crush the beans too much and to prevent the mixture from burning.
Step 8
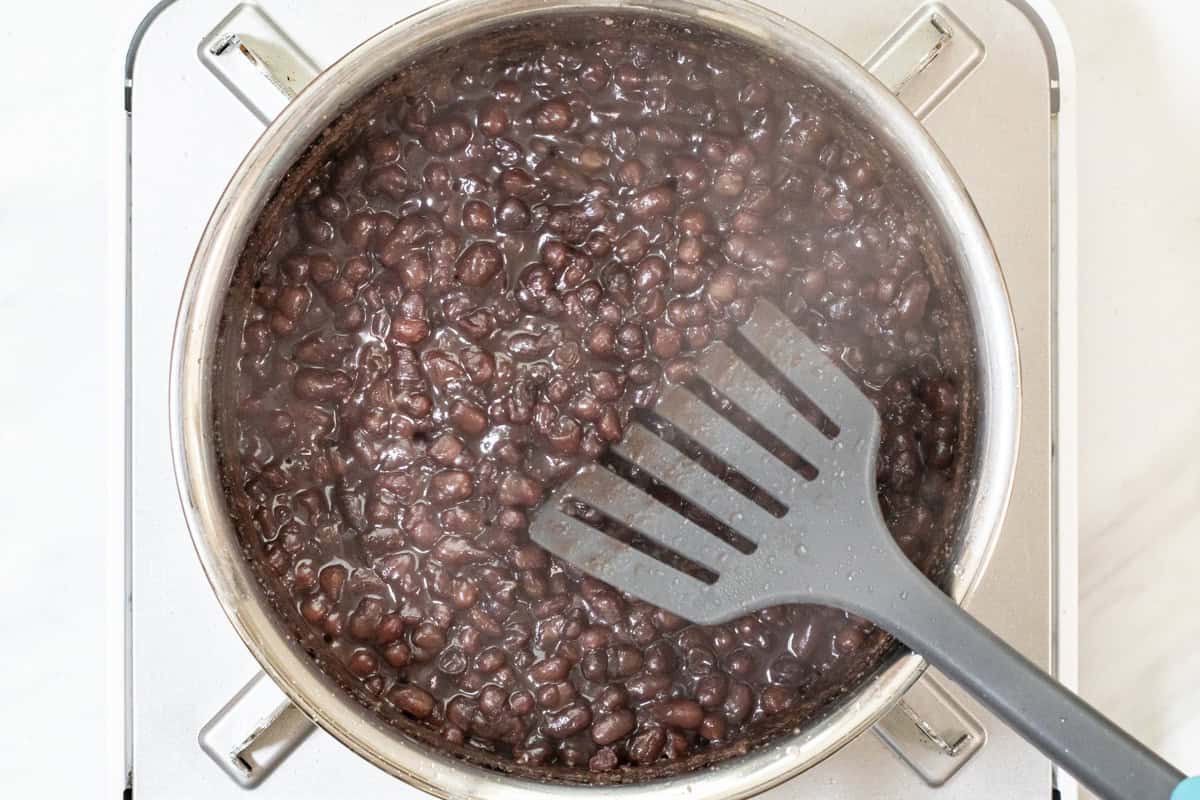
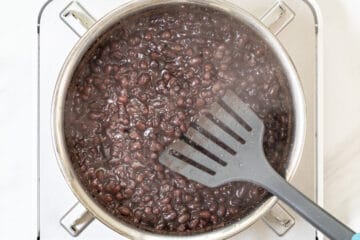
Keep stirring until the mixture reaches a slightly softer consistency than your desired texture, as it will firm up a bit as it cools. Once it reaches this point, add salt, stir gently, and turn off the heat.
Be careful not to burn yourself during this step, as the mixture can splatter. Wearing heat-resistant gloves and long sleeves is highly recommended.
Step 9
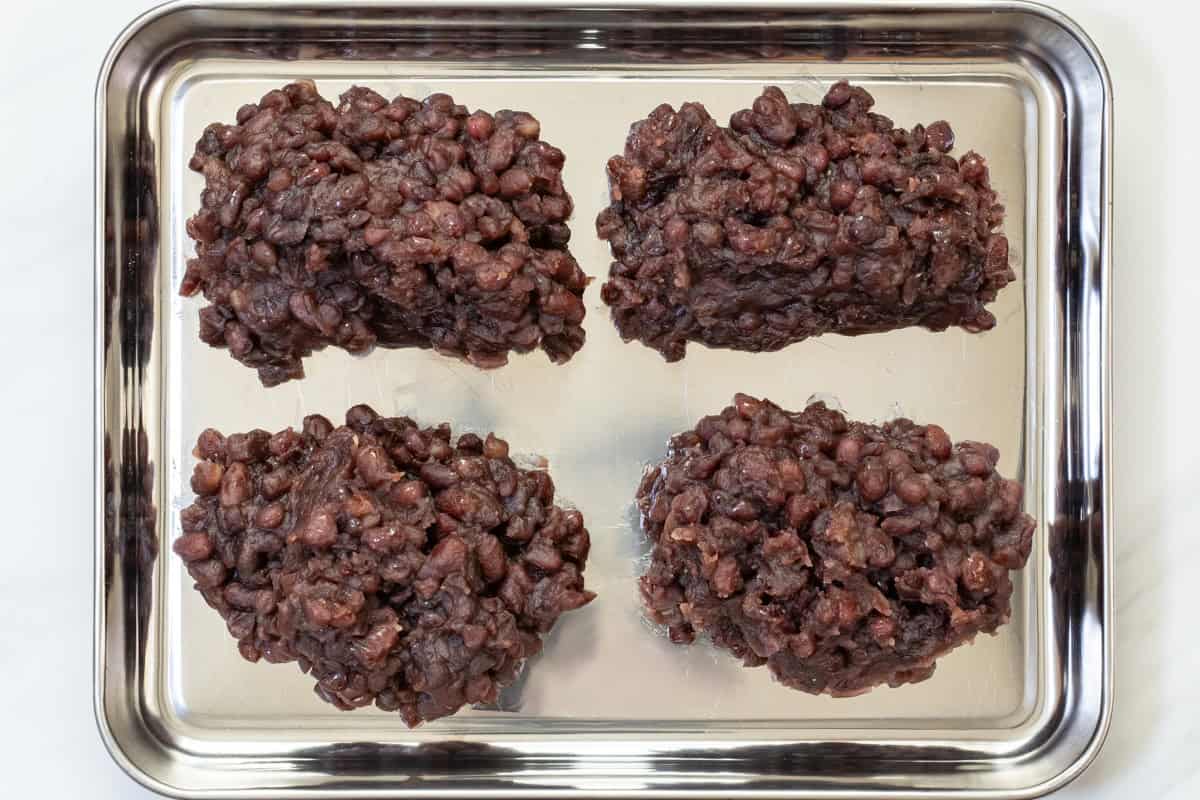
Transfer the mixture to a container (such as a sheet pan) to cool. Dividing it into smaller portions will help it cool more quickly.
To store
You can store them in an airtight container in the refrigerator for 3 days or in the freezer for 3 weeks.
Different types of anko
Here, I’m sharing a recipe for reddish-brown anko made with adzuki beans. However, in Japan, anko is actually not limited to just this type. It can also be made with beans other than adzuki, resulting in various colors and flavors. Some of the most common types of anko include:
- Aka-an (red anko): This refers to reddish-brown anko made with adzuki beans, like the one in this recipe. It is the most common type and is also known as "adzuki-an."
- Shiro-an (white anko): This is a white bean paste made with ingredients such as white kidney beans or white adzuki beans. With its light sweetness, some people in Japan prefer this milder version. It is the second most common type.
- Uguisu-an: A pale green anko made from dried green peas. Its flavor is quite different from the other types.
- Zunda-an: A vibrant green anko made from edamame. Like uguisu-an, its flavor is distinct from the other varieties. On my blog, I explain how to make this paste with a recipe for Zunda Mochi.
Simply changing the type of bean can completely transform the appearance and flavor of anko. If you are interested, I encourage you to try making anko with different types of beans.
If you try this recipe, I’d love to hear what you think. Please consider leaving a review and star rating in the comments below. If you enjoyed it, I’d really appreciate it if you shared it with your friends.
Recipe card

Anko / Tsubuan (Sweet Red Bean Paste with Whole Beans)
Ingredients
- 7 oz adzuki beans
- 6.3 oz sugar
- pinch of salt
- 4 cups water (for step 4)
- ⅓ cup water (for step 7)
Instructions
- Rinse and drain the adzuki beans. Add the beans to a pot with 2 to 3 times their weight in water (I used 2 cups/500 ml) and bring to a boil. Once boiling, reduce the heat to medium and simmer for 5 minutes.
- Add half the amount of water you just used (1 cup/250 ml) to the pot to lower the boiling water temperature. Continue heating until it returns to a boil.This step ensures that the adzuki beans are cooked through to the center.
- Drain the beans in a sieve and discard the cooking liquid to remove any bitterness.
- Lightly rinse the pot, then return the beans and water (as specified in the recipe) and bring to a boil. Once boiling, reduce the heat to low and let it simmer for about 40 minutes to 1 hour (or longer if needed).The cooking time can vary depending on how long it has been since the beans were harvested. Test the beans by pressing one between your fingers to see if it crushes easily without any firm center remaining. If the water level gets too low during cooking and the beans start to peek above the surface, add separately boiled water as needed to keep them fully submerged.
- After ensuring that the adzuki beans have softened, cover the pot, turn off the heat, and let them steam in the residual heat for 30 minutes.This step helps the beans soften more evenly and thoroughly.
- Drain the adzuki beans into a colander.
- Lightly rinse the pot, then add water (as specified in the recipe) and sugar. Cook over high heat, and once about half of the sugar has dissolved, add the adzuki beans. Using a spatula, stir continuously from the bottom of the pot, being careful not to crush the beans too much and to prevent the mixture from burning.
- Keep stirring until the mixture reaches a slightly softer consistency than your desired texture, as it will firm up a bit as it cools. Once it reaches this point, add salt, stir gently, and turn off the heat.Be careful not to burn yourself during this step, as the mixture can splatter. Wearing heat-resistant gloves and long sleeves is highly recommended.
- Transfer the mixture to a container (such as a sheet pan) to cool. Dividing it into smaller portions will help it cool more quickly.
Notes
- You can store them in an airtight container in the refrigerator for 3 days or in the freezer for 3 weeks.







Leave a Rating and a Comment