
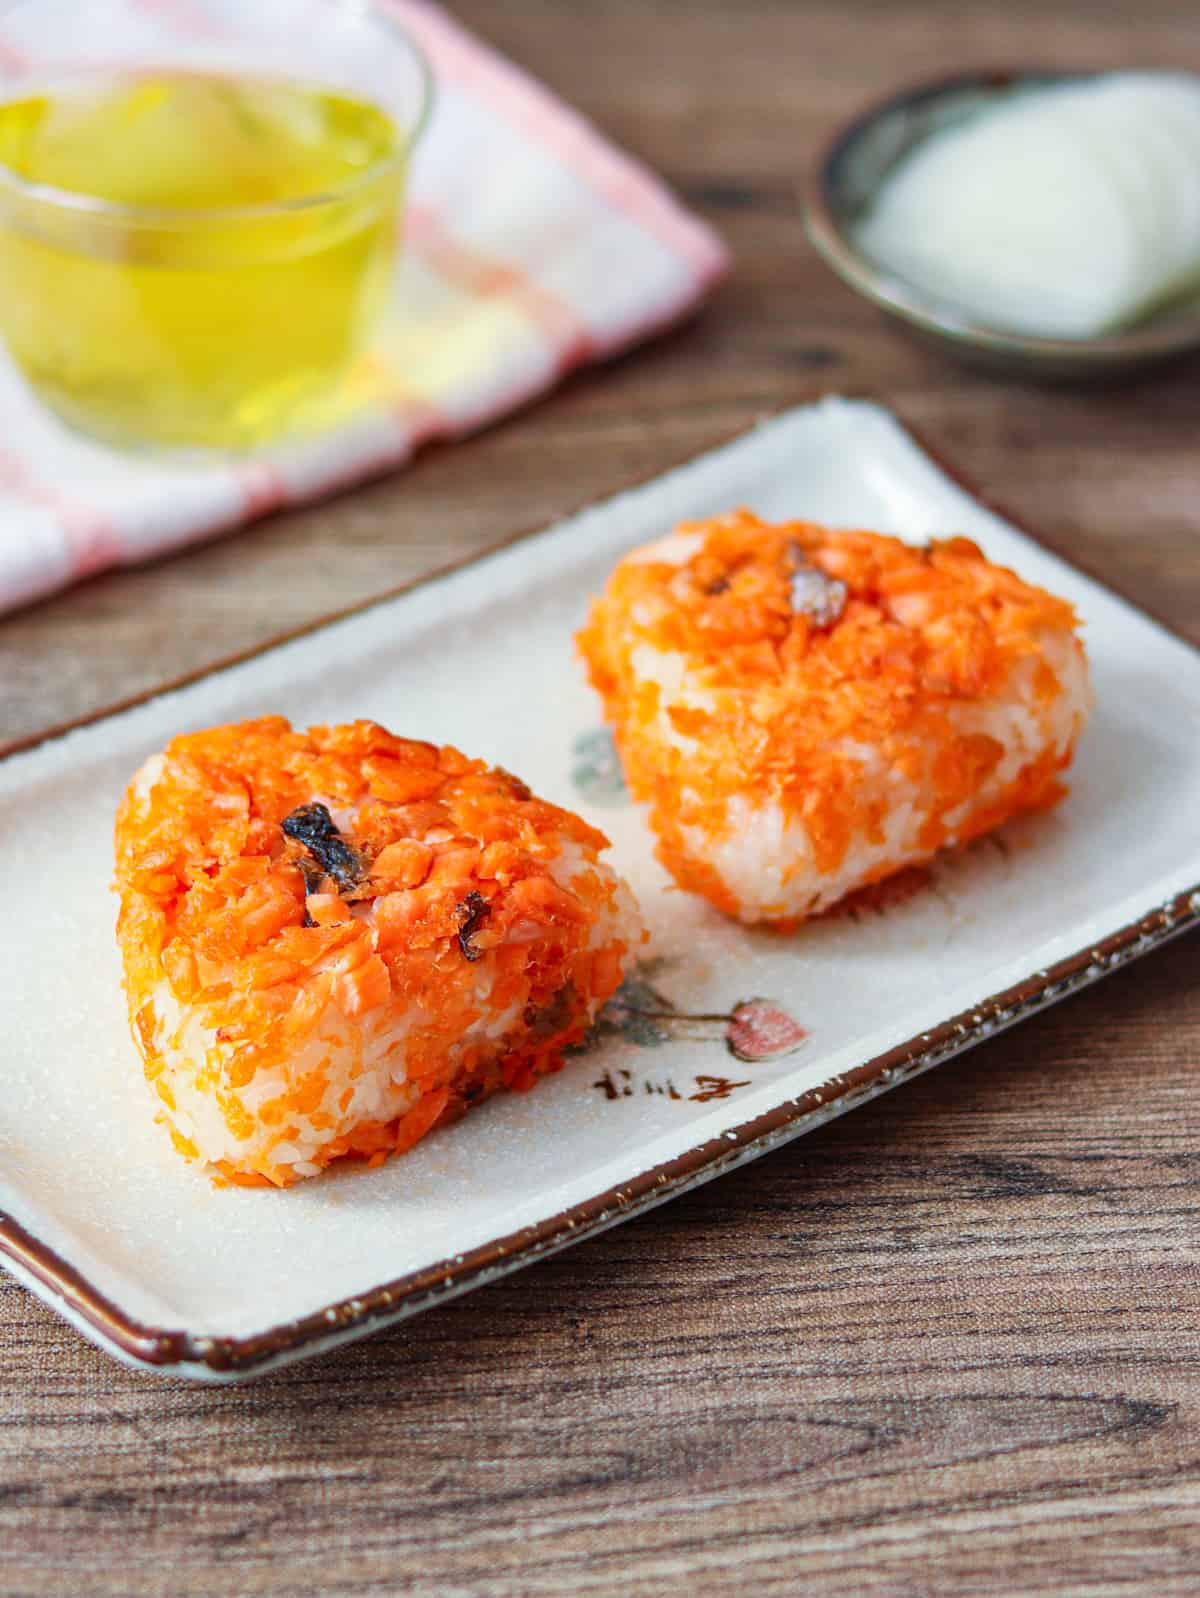
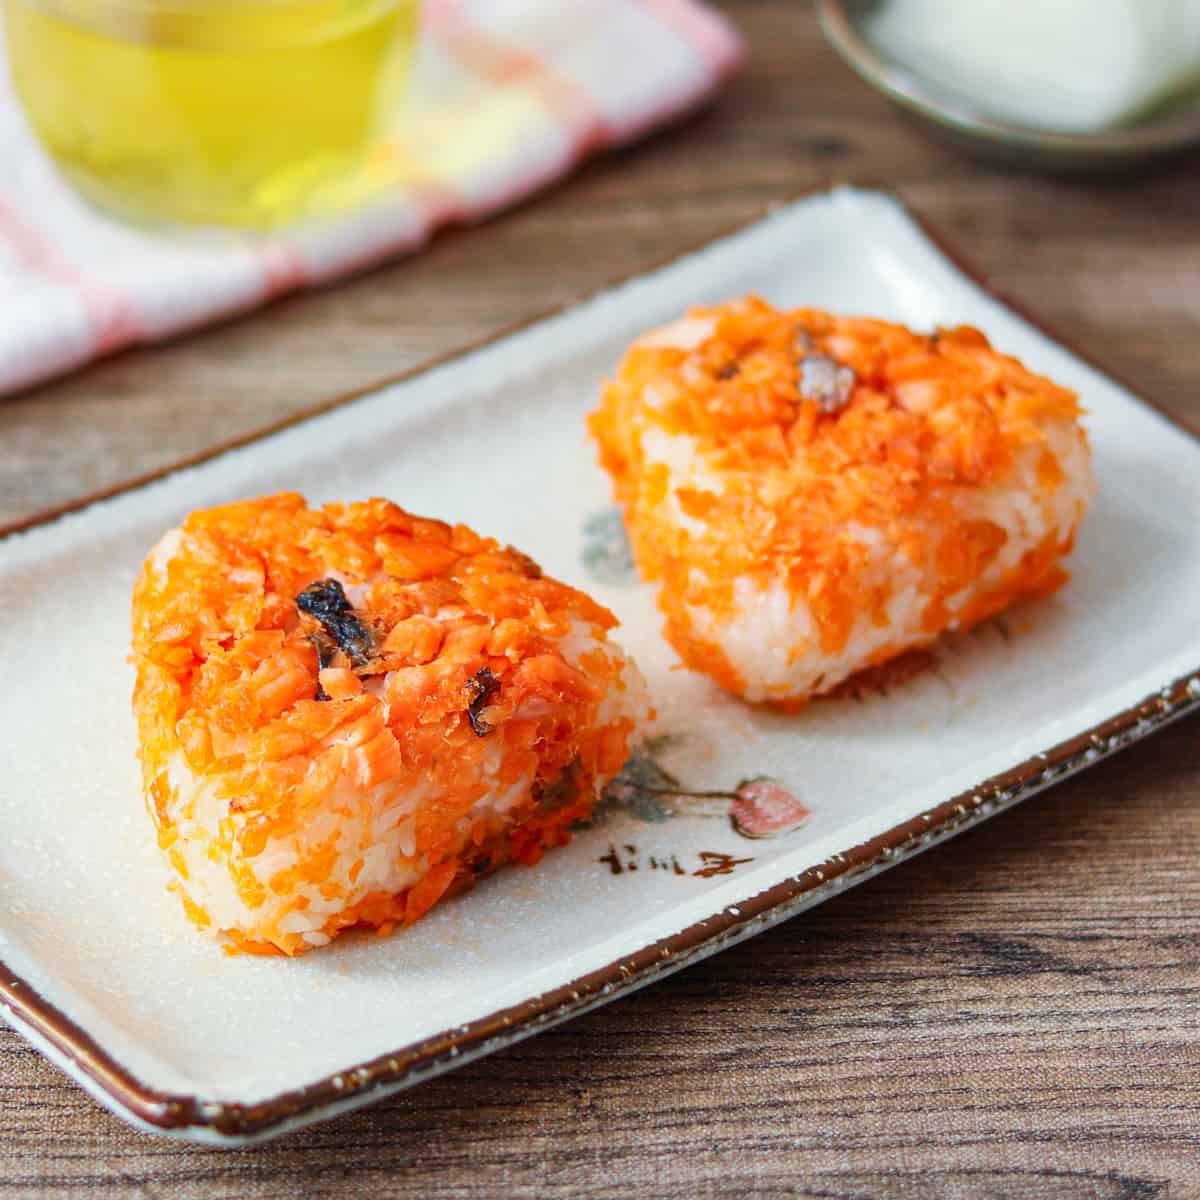
Why not try enjoying Salmon Onigiri (rice balls) in a different way? Instead of putting the salmon inside the onigiri, you can savor its flavor more directly by sticking the flakes on the outside.
Jump to:
What is Salmon Onigiri?
Salmon Onigiri refers to rice balls that include pieces or flakes of salmon. While fresh salmon fillets can be used, it is more common to use seasoned salmon, such as Ama-Shiozake (lightly salted salmon) or Shiozake (salted salmon). This variety is one of the most popular and standard types of onigiri in Japan.
Typically, the ingredients are placed inside the onigiri, but in this recipe, I have stuck pieces on the exterior of the onigiri to enjoy the salmon's flavor more directly. Additionally, to add a crispy texture and a savory aroma, I have included salmon skin. This dish allows you to fully experience the rich flavor of salmon.
Onigiri shapes
Onigiri can be made in various shapes, including round, triangular, rectangular, and barrel shapes. This salmon onigiri recipe is no exception, and you are free to shape the onigiri into your preferred form. The most common shape in Japan is triangular, as it is easy to hold and eat. Enjoy it in whatever shape you like.
Optional ingredients
In this recipe, I used only rice and salmon fillet to fully enjoy the flavor of the salmon. However, you can also make salmon onigiri with slightly different flavors by incorporating ingredients such as toasted sesame seeds, shiso leaves (perilla), or umeboshi (salt-pickled plums). It might be interesting to explore combinations that complement the salmon using locally available ingredients. Feel free to experiment and adjust to suit your taste.

📋Step-by-step recipe
Ingredients
- 5.6 oz cooked Japanese short-grain rice (1 serving)
- 1 seasoned salmon fillet (such as ama-shiozake (lightly salted salmon) or shiozake (salted salmon)) (about 3.2 oz/90 g)
Instructions
🕒 Total: 15 mins
Step 1
Remove the scales and bones from salmon fillet.
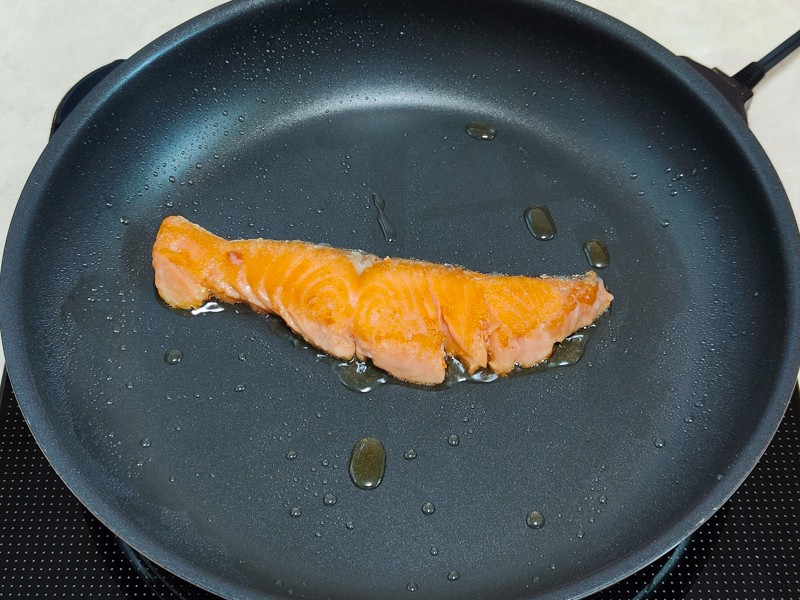
Step 2
Heat oil in a pan and cook the salmon over medium heat until both sides are browned.
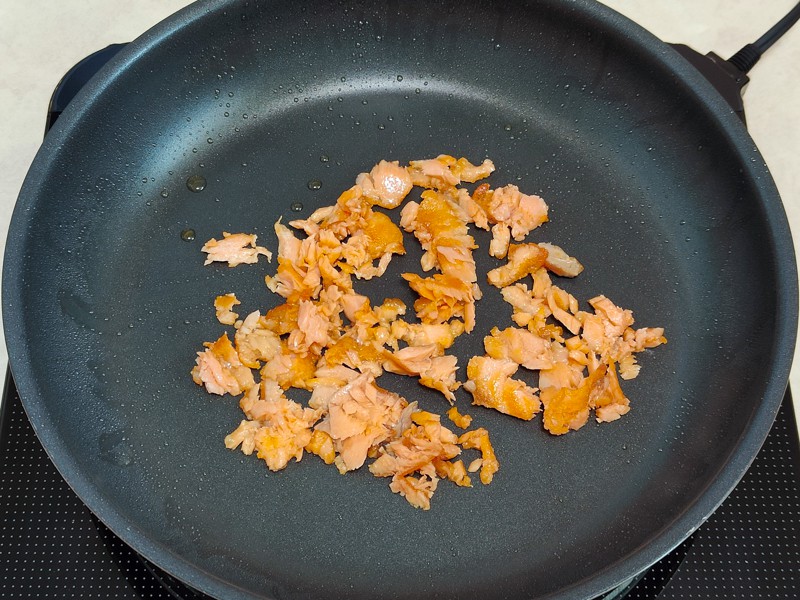
Step 3
Remove the skin from the salmon and set it aside. Cook the salmon thoroughly, using a spatula to break it into pieces.
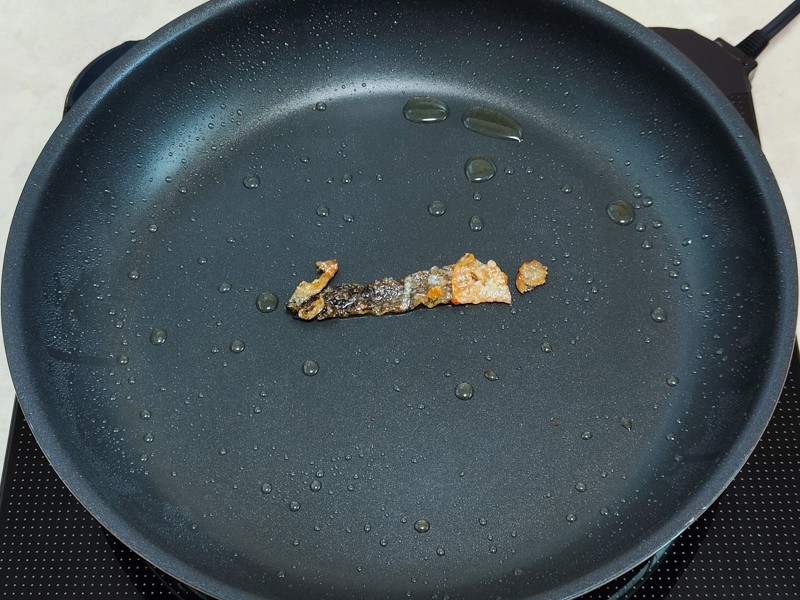
Step 4
Transfer the salmon pieces to a container. Then, return the salmon skin to the pan and cook until crispy.
Step 5
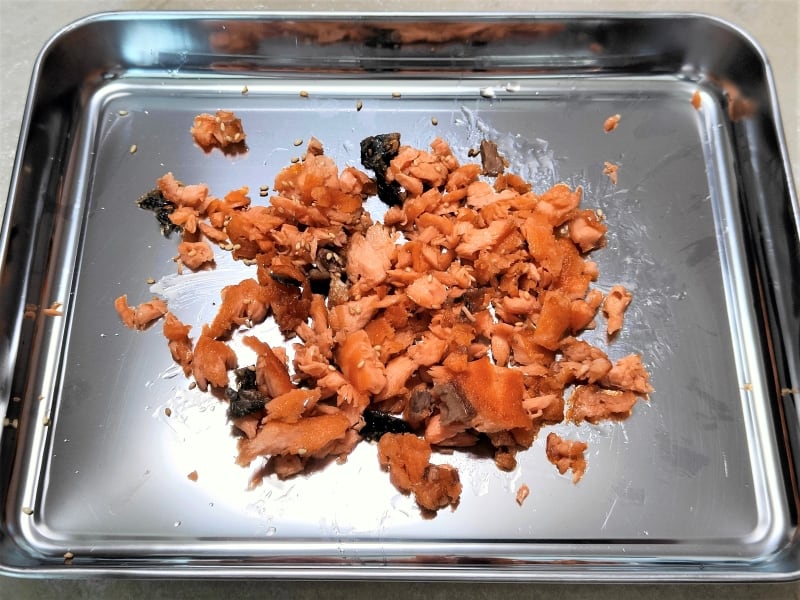
Remove the salmon skin, cut it into ⅖-inch (1 cm) pieces, and add these pieces to the container.
Step 6
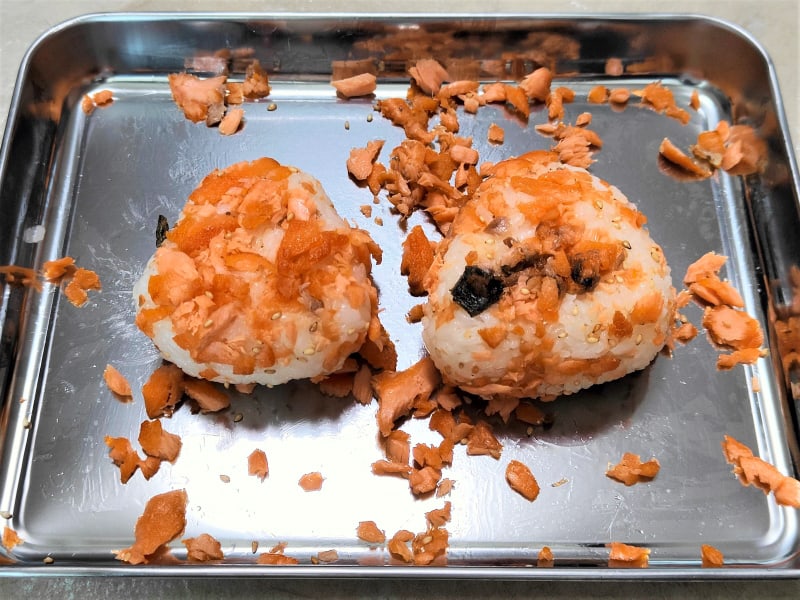
Shape each portion of rice into a triangle or your preferred shape, depending on the number of onigiri you want to make. Then, firmly press each onigiri onto the salmon pieces in the container to stick them together.
How to store
You can store it in the refrigerator for about half a day.
Tips on how to make
- Use Japanese rice or another type of short-grain rice. If the rice doesn’t stick together well, it can be difficult to shape the onigiri and have the salmon pieces stick to it.
- Use freshly cooked, warm rice. Warm rice has a sticky texture that helps the salmon pieces stick to it better.
I hope you enjoy this recipe!
If you try it, I’d love to hear how it turned out. Please leave a review 💬 and a star rating ⭐ in the comment below. Your support and feedback means so much to me!
Printable Recipe Card
Savory Salmon Onigiri (Rice Balls)
Ingredients
- 5.6 oz cooked Japanese short-grain rice (1 serving)
- 1 seasoned salmon fillet (such as ama-shiozake (lightly salted salmon) or shiozake (salted salmon)) (about 3.2 oz/90 g)
Instructions
- Remove the scales and bones from salmon fillet.
- Heat oil in a pan and cook the salmon over medium heat until both sides are browned.
- Remove the skin from the salmon and set it aside. Cook the salmon thoroughly, using a spatula to break it into pieces.
- Transfer the salmon pieces to a container. Then, return the salmon skin to the pan and cook until crispy.
- Remove the salmon skin, cut it into ⅖-inch (1 cm) pieces, and add these pieces to the container.
- Shape each portion of rice into a triangle or your preferred shape, depending on the number of onigiri you want to make. Then, firmly press each onigiri onto the salmon pieces in the container to stick them together.
Notes
- You can store it in the refrigerator for about half a day.


Leave a Rating and a Comment