

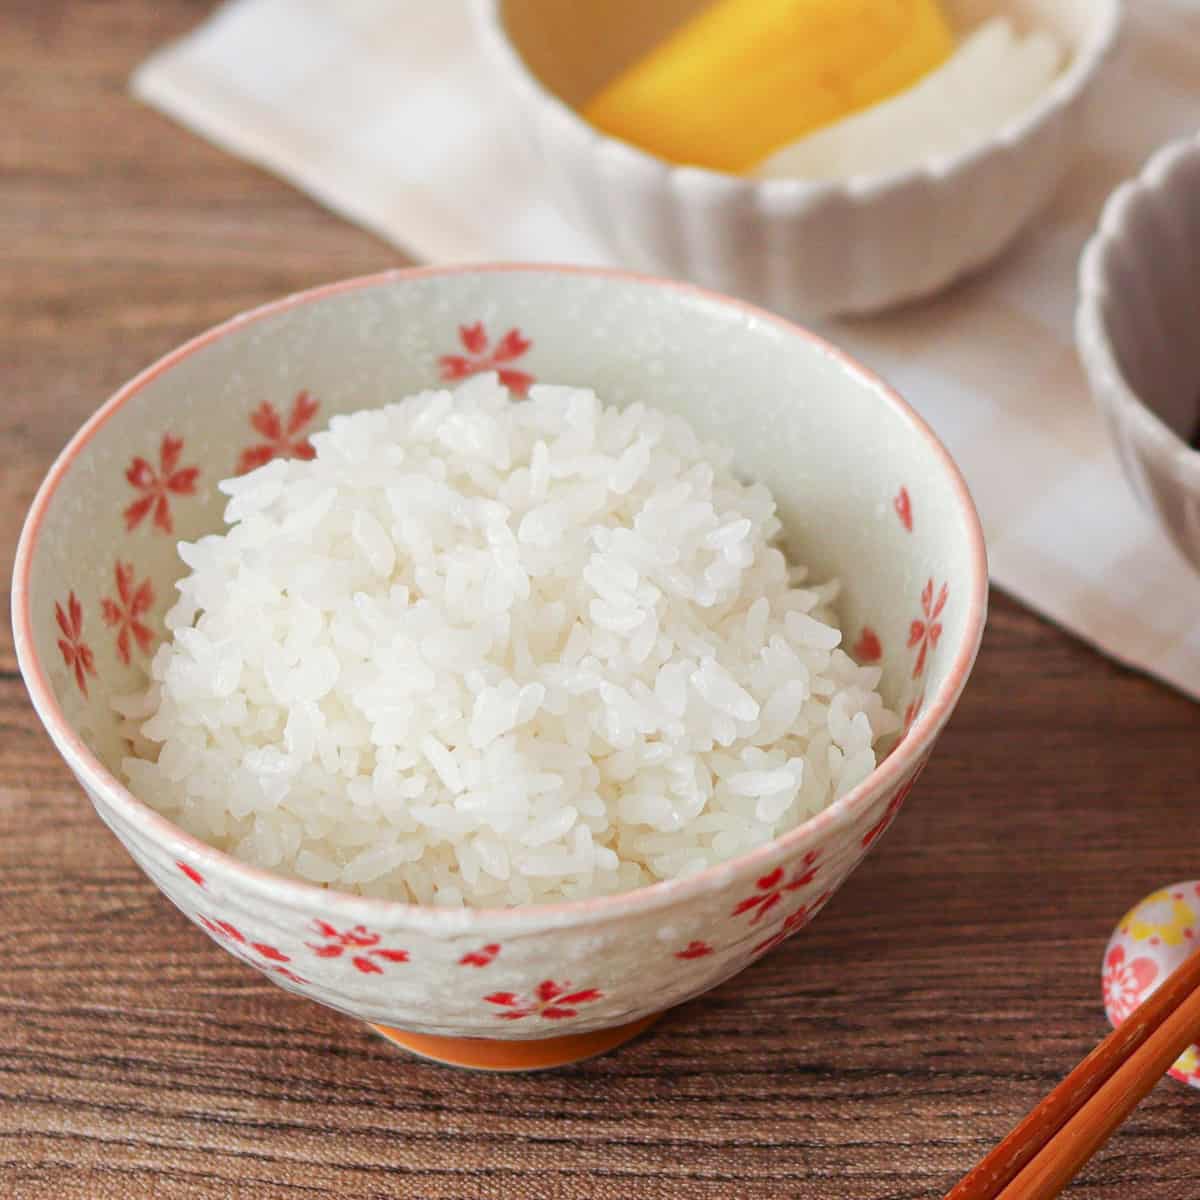
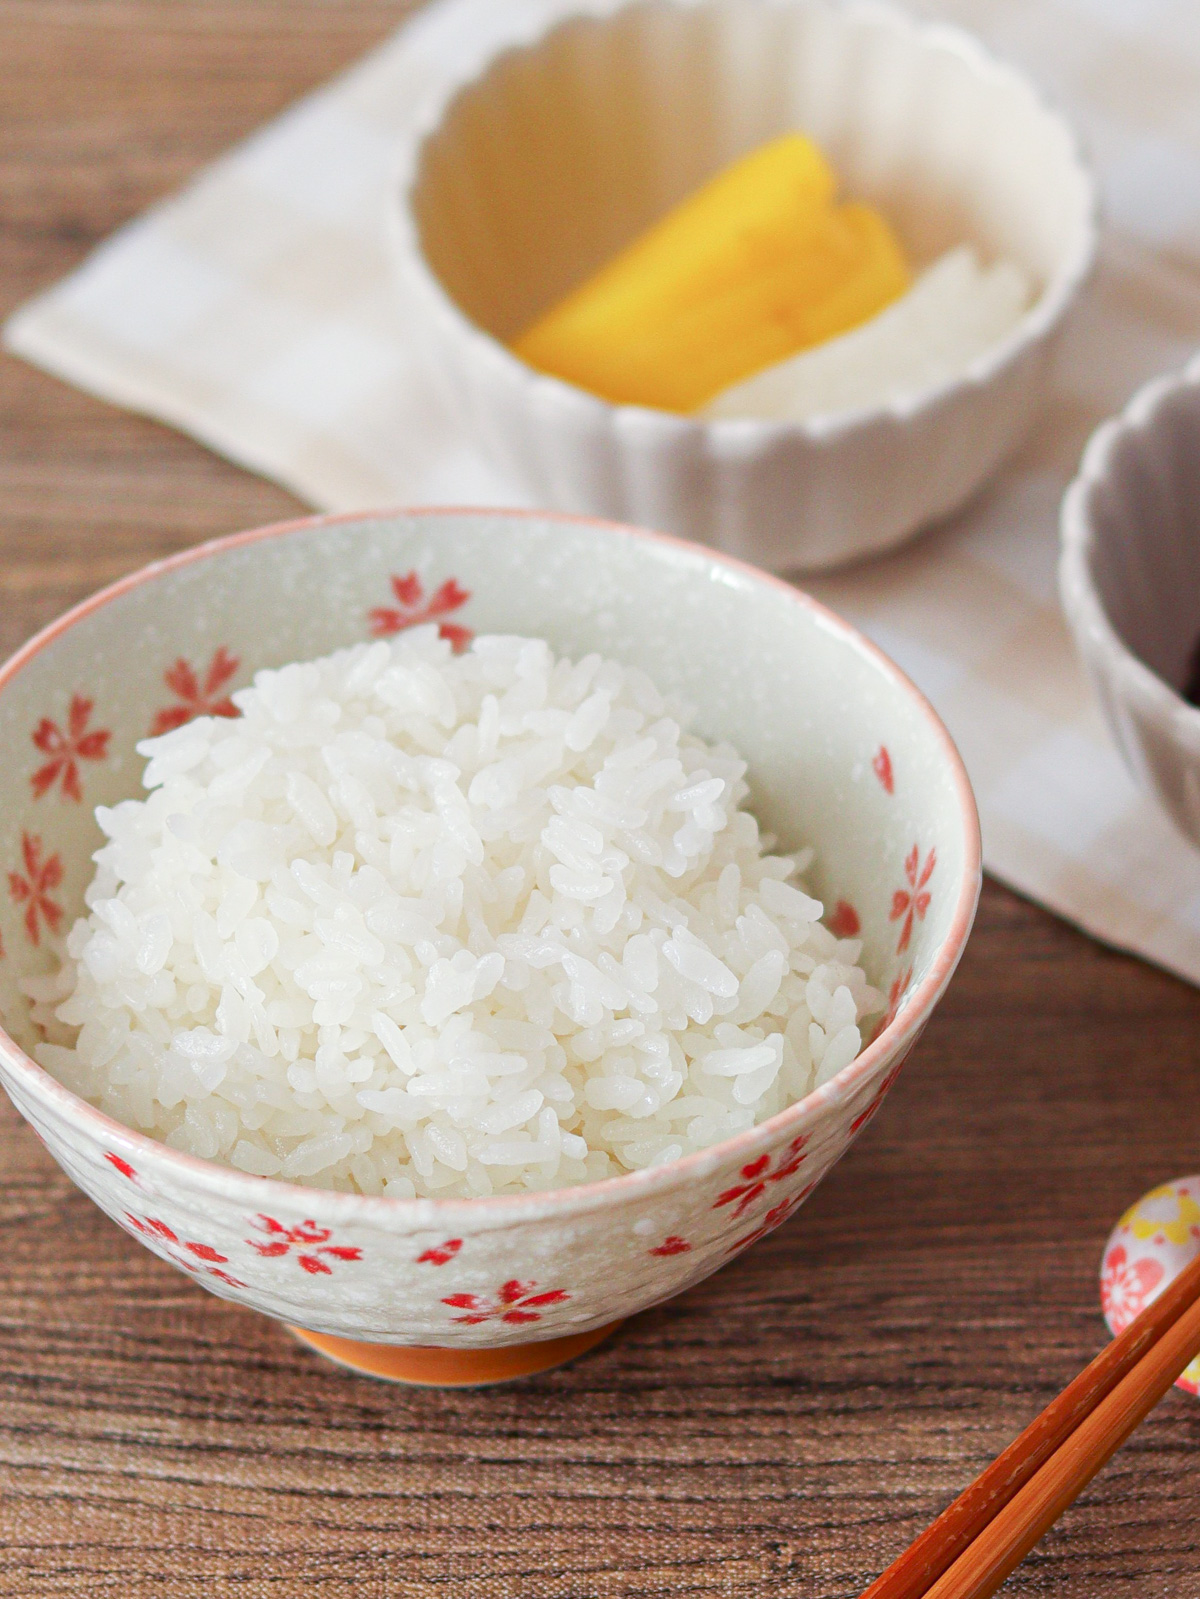
Japanese rice is white, glossy, and has a sticky yet fluffy texture that offers a subtle sweetness in every bite. While there are numerous types of rice available worldwide, I highly recommend using Japanese rice when enjoying Japanese cuisine. In this post, I'll show you how to cook perfect Japanese rice on the stove.
Jump to:
What is Japanese rice?
Japanese rice is classified as short-grain rice and is known for its sticky yet fluffy texture. Compared to other types of rice, it differs not only in texture but also in shape and taste, featuring a round, oval shape and a subtle sweetness.
Since Japanese cuisine often consists of "rice and accompanying dishes that complement it," rice plays an essential role. Despite Japan's heavy reliance on imported food products, its rice self-sufficiency rate remains nearly 100%. This reflects the deep cultural significance and vital role that rice holds in Japan.
Choosing the right type of rice
Rice is broadly classified into three types: long-grain, medium-grain, and short-grain. Japanese rice falls under the category of short-grain rice, and in Japan, it is further divided into approximately 300 varieties, including Koshihikari (コシヒカリ), Akitakomachi (あきたこまち), Sasanishiki (ササニシキ), and Kinuhikari (キヌヒカリ), each with its own distinct flavor and texture.
For an authentic experience of Japanese cuisine, I recommend trying these varieties of rice. If you have difficulty finding them, opt for a short-grain variety with a texture similar to Japanese rice. When using other types of rice—for example, when making onigiri (rice balls)—the grains may not stick together as well.
It is also important to choose newly harvested or freshly milled rice. As time passes after harvesting or milling, the distinctive aroma of rice can become unpleasant.
Essential steps for cooking Japanese rice
Rice becomes edible through the process of cooking. Cooking Japanese rice typically involves the following steps:
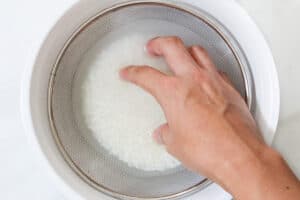
Step 1: Rinse the rice
Place a sieve over a bowl and rinse the rice with water. Repeat this process several times, changing the water each time.
This step removes impurities and bran from the rice. However, most commercially available milled rice today has almost no bran remaining, so a gentle rinse is usually sufficient.
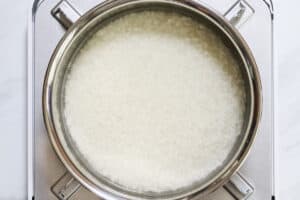
Step 2: Soak the rice
Soak the rinsed rice in water for at least 30 minutes.
This allows the water to penetrate to the core of the rice, resulting in a fluffy texture when cooked.
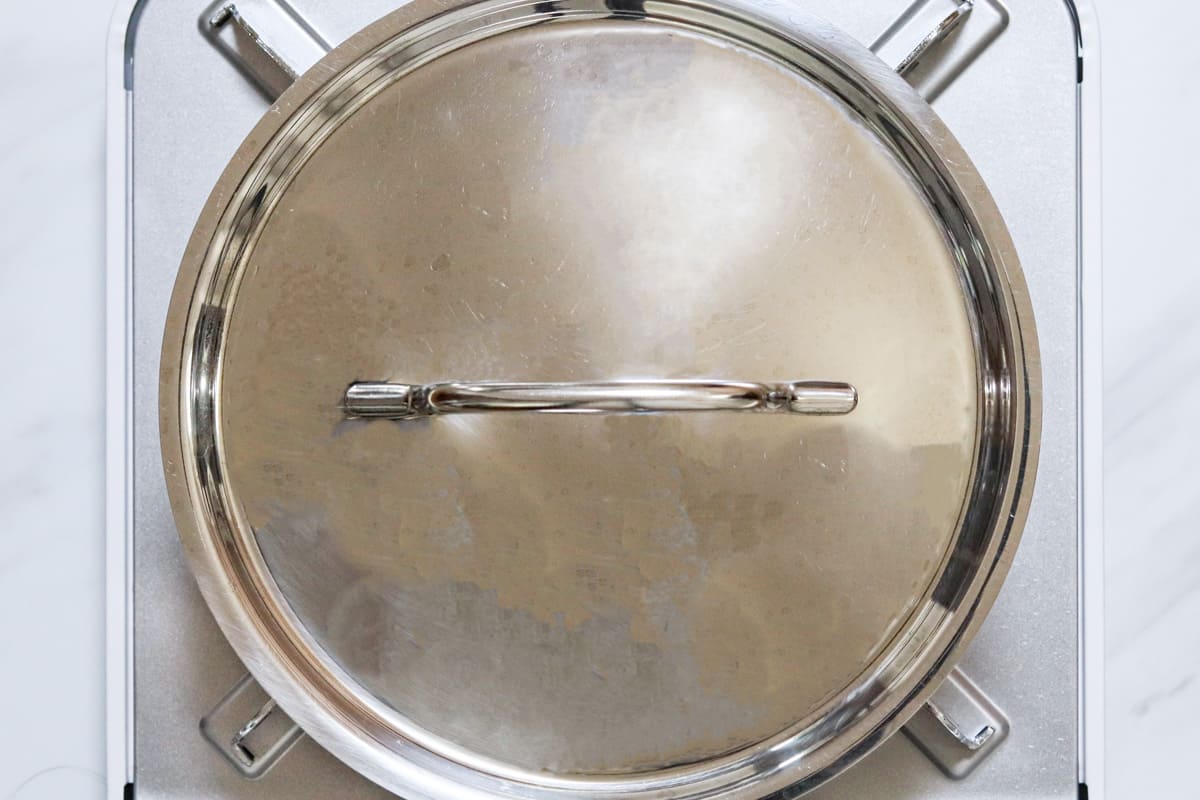
Step 3: Cook the rice
Cook the soaked rice gently over low heat. At this point, it is important to use the right amount of water and cooking time, and to let it rest, covered, after cooking.
The ideal rice-to-water ratio is about 1:1.1 (or 1:1.2) by volume, or 1:1.3 (or 1:1.4) by weight. As a general guideline, both the cooking and resting time should be about 10 minutes each for 2 servings (when cooking the rice on the stove).
Different rice cooking methods
In Japan, rice is enjoyed daily, so most households have a rice cooker. With a rice cooker, you can efficiently cook rice without needing to adjust the heat or cooking time yourself. If you regularly cook Japanese dishes at home, it is definitely worth getting one.
However, if you prioritize speed over convenience, cooking rice in a pot is a better option. With a pot, you can cook rice in about half the time it takes with a rice cooker.
Additionally, if you want to make the fluffiest rice possible, I recommend using a donabe (a Japanese clay pot) or a hagama (a broad-rimmed pot for cooking rice). These pots can heat rice more evenly, resulting in a fluffier texture. Japanese restaurants that take pride in their rice often use them.
📋Step-by-step recipe
Ingredients
- ¾ cup Japanese short-grain rice (1 rice cooker cup for 2 servings)
- ⅚ cup water (for soaking the rice)
Instructions
🕒 Total: 55 mins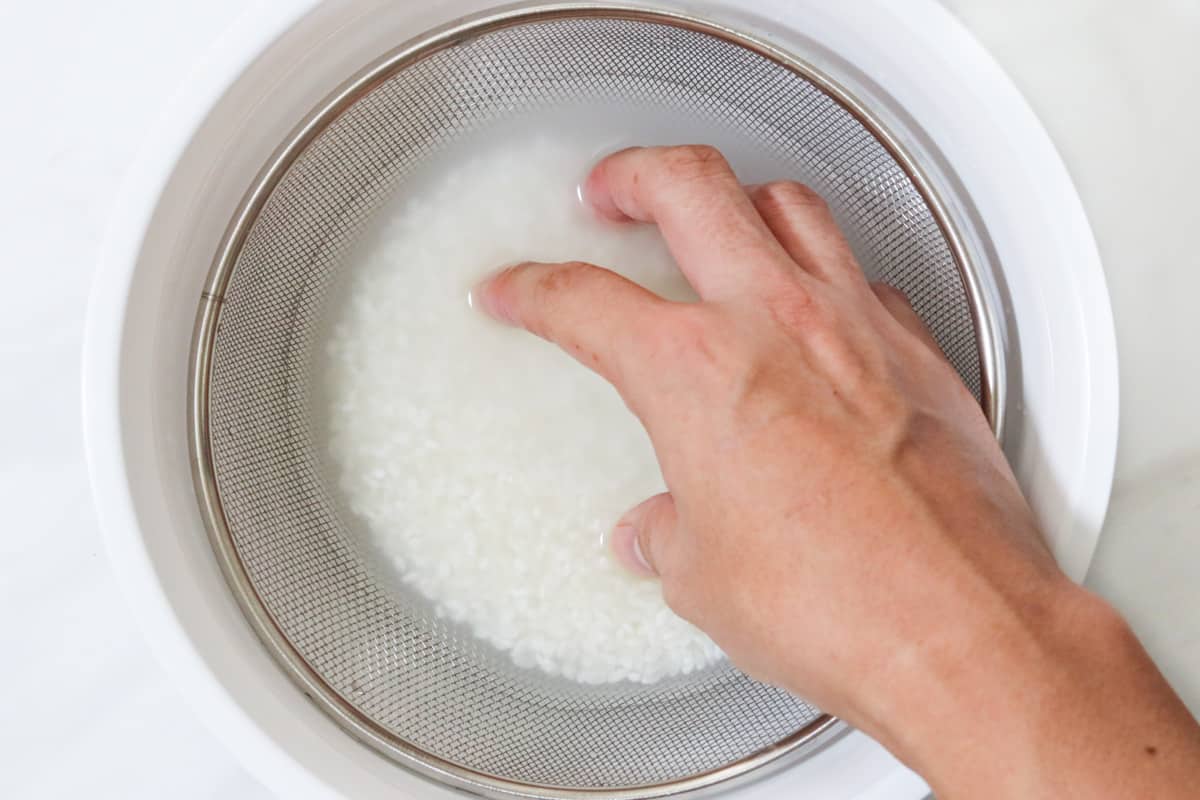
Step 1
Place a sieve over a bowl, add rice, and rinse it with water. Repeat this process several times, changing the water each time.
If you would like to learn more about how to rinse rice like a pro, please refer to the section below titled "Ultimate Tips for Preparing Japanese Rice."

Step 2
Soak the rinsed rice in water (as specified in the ingredient list) in a pot for at least 30 minutes.

Step 3
Cover the pot and bring it to a boil. Once boiling, reduce the heat to low and cook for 10 minutes, or slightly longer for larger quantities (11 minutes for 4 servings, 12 minutes for 6 servings).
Step 4
Turn off the heat and let it steam for 10 minutes with the lid still on.
How to store
The dish will keep in the refrigerator for up to 3 days. However, it is best enjoyed as soon as possible after cooking to preserve its optimal texture.
Ultimate tips for preparing Japanese rice
You can cook Japanese rice perfectly by following the recipe. However, there is an even more refined way to prepare it. What I'm about to share is a method inspired by the techniques of "Hachidaime Gihey (八代目儀兵衛)," a renowned traditional Japanese restaurant known for its long lines.
I believe this is one of the best ways to cook Japanese rice. The list below contains tips that even many Japanese people might not know. That’s why I encourage everyone—including those already experienced in cooking Japanese rice—to take a closer look.
- Rinse rice gently to prevent the grains from cracking.
For the first rinse, lightly stir it a few times. For the second rinse, gently grasp and release the rice as if you were holding a small rubber ball, and repeat this motion about 30 times. From the third rinse onward, lightly stir it a few times.
- The first batch of water used to rinse rice should be discarded immediately.
The initial water used to rinse the rice contains many impurities from the grains. If the rice is left soaking in that water for too long, it will absorb the impurities, resulting in a loss of flavor. For this reason, you should discard the water immediately after rinsing it.
- Avoid rinsing rice more than necessary.
When rice is rinsed, the water becomes cloudy, which is due to the starch in the rice. Starch contributes to making rice taste sweet in the mouth, so if you rinse rice too many times, not only the starch but also minerals, vitamins, and enzymes contained in the rice will be lost.
Rinsing rice a total of 5 times is sufficient: lightly stir it, gently rinse it as if you were grasping and releasing a small rubber ball 30 times, lightly stir it again, and repeat this process two more times.
- Soak the rinsed rice in water in the refrigerator for at least 6 hours.
While soaking the rice in water for over 30 minutes allows the water to penetrate the core, extending the soaking time to more than 6 hours enables the rice to absorb even more water. Cooking rice with a higher water content results in a fluffier texture. The reason for refrigerating is that lower temperatures help enhance the absorption of water into the rice.
- Use soft water.
Water with a hardness level of 20-40 is preferable for cooking rice, as it results in fluffier and sweeter rice. However, this tip is mainly for those aiming to cook perfect rice. There is no need to be overly concerned about it for your everyday meals.
I hope you enjoy this recipe!
If you try it, I’d love to hear how it turned out. Please leave a review 💬 and a star rating ⭐ in the comment below. Your support and feedback means so much to me!
More recipes you'll love
FAQ
Not quite—you should still rinse it once. Even though no-rinse rice has been processed to remove the bran, there may still be some residual impurities from milling. Unlike regular rice, no-rinse rice doesn’t need to be rinsed multiple times, but giving it a quick rinse can still help improve the flavor after it’s cooked.
Printable Recipe Card
How to Cook Perfect Japanese Rice on the Stove
Ingredients
- ¾ cup Japanese short-grain rice (1 rice cooker cup for 2 servings)
- ⅚ cup water (for soaking the rice)
Instructions
- Place a sieve over a bowl, add rice, and rinse it with water. Repeat this process several times, changing the water each time.If you would like to learn more about how to rinse rice like a pro, please refer to the section below titled "Ultimate Tips for Preparing Japanese Rice."

- Soak the rinsed rice in water (as specified in the ingredient list) in a pot for at least 30 minutes.
- Cover the pot and bring it to a boil. Once boiling, reduce the heat to low and cook for 10 minutes, or slightly longer for larger quantities (11 minutes for 4 servings, 12 minutes for 6 servings).
- Turn off the heat and let it steam for 10 minutes with the lid still on.


Notes
- The dish will keep in the refrigerator for up to 3 days. However, it is best enjoyed as soon as possible after cooking to preserve its optimal texture.


Leave a Rating and a Comment