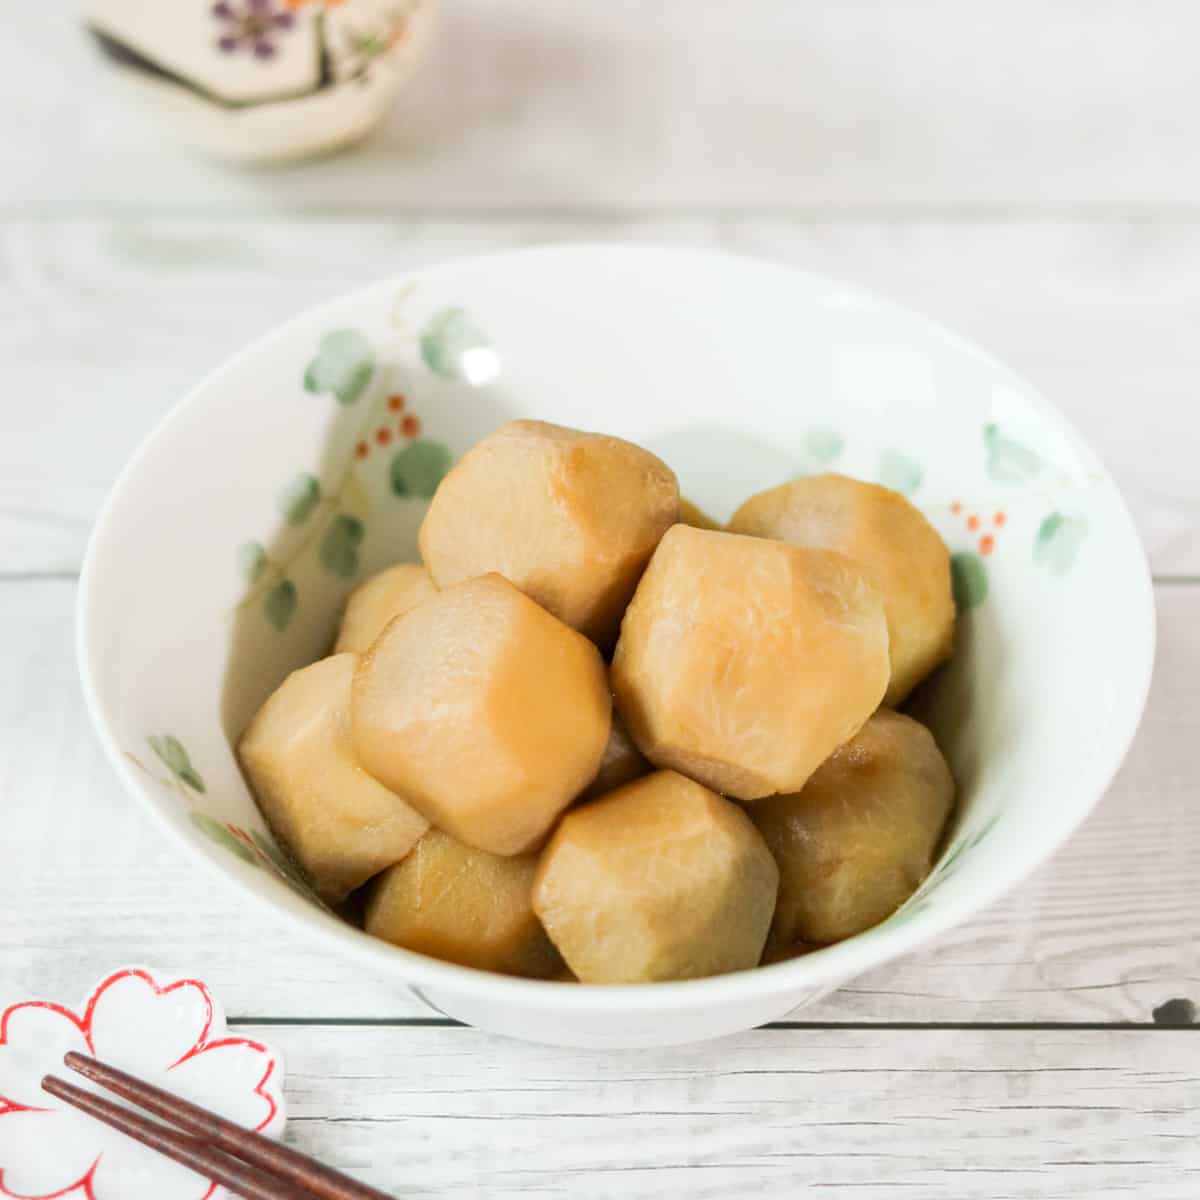
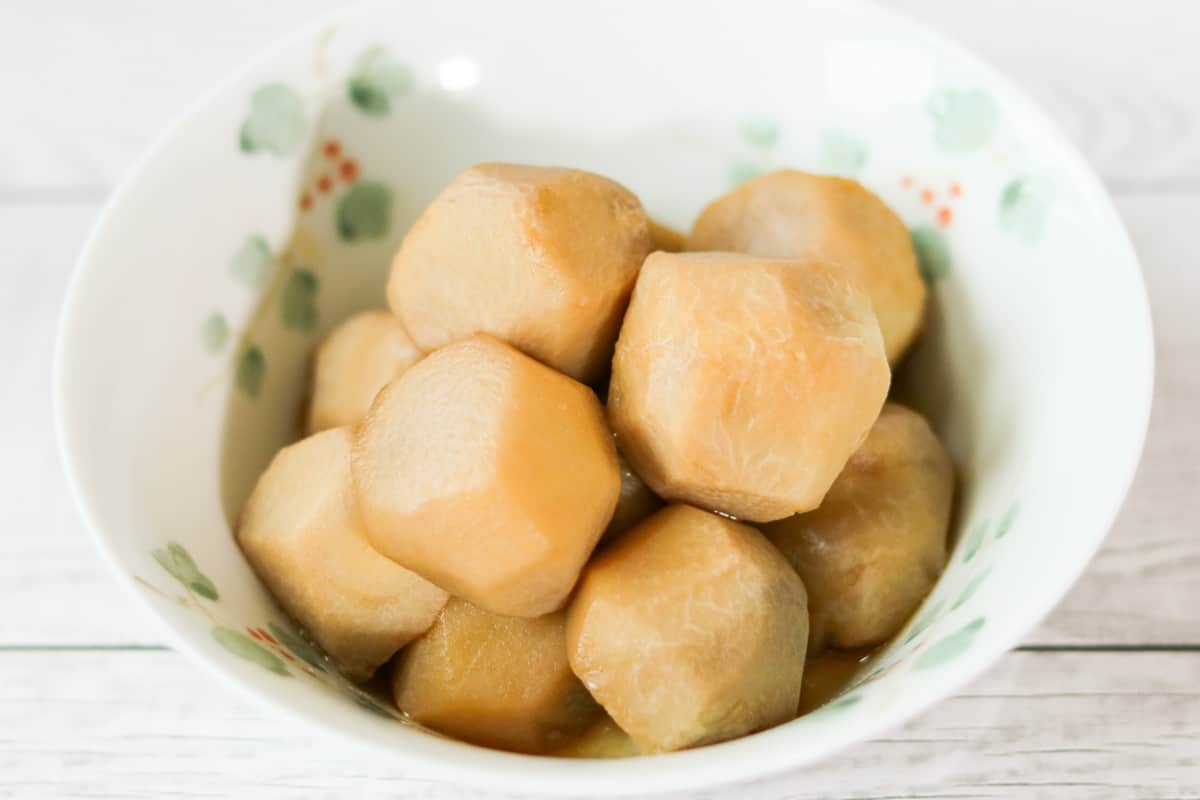
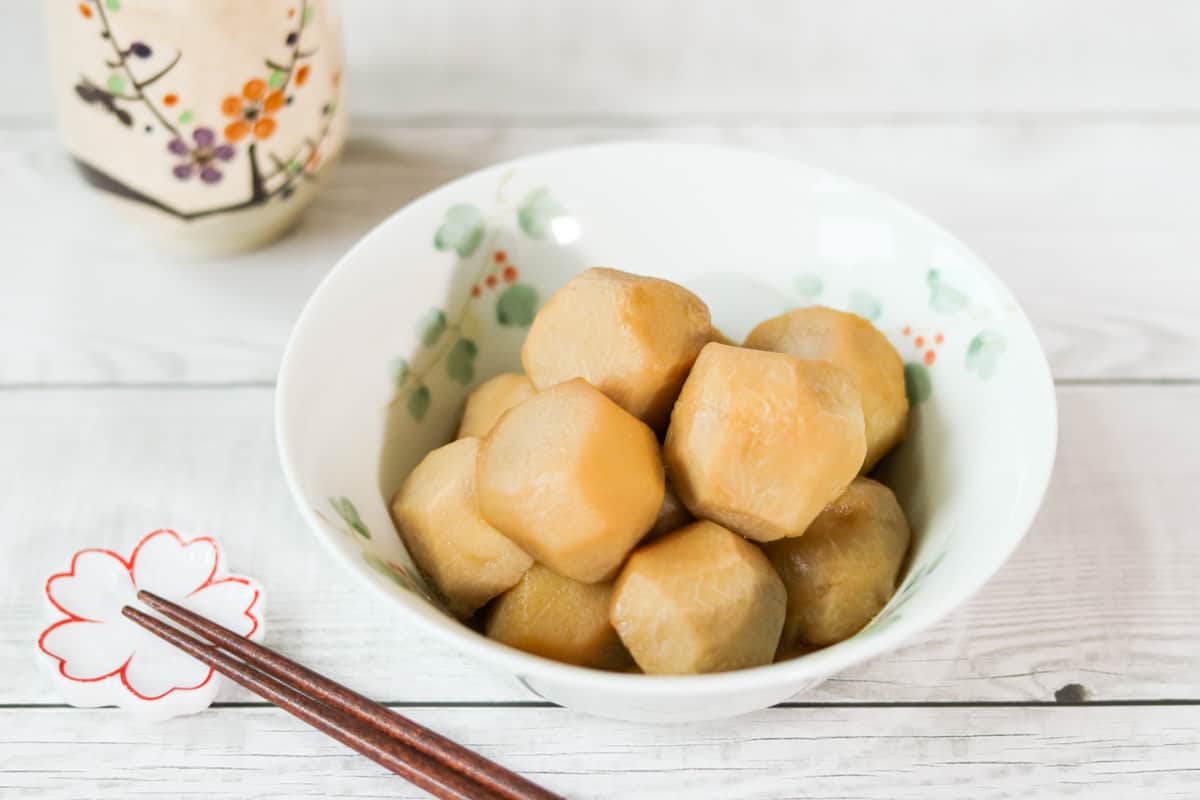
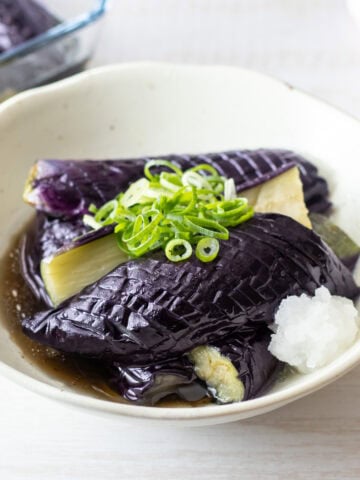
Satoimo no Nikorogashi is a great choice if you want to try a traditional Japanese simmered dish made with taro. You can enjoy the creamy texture of the taro combined with a sweet and savory sauce, and experience its natural flavor infused with the essence of Japanese cuisine.
Jump to:
What is Satoimo no Nikorogashi?
Satoimo no Nikorogashi is a traditional Japanese dish made by simmering taro in a sweet and savory sauce. "Satoimo" means taro root, "no" indicates possession (connecting the preceding and following words), and "Nikorogashi" refers to a cooking method in which root vegetables or tubers are gently turned while simmering to prevent burning, until the liquid has reduced.
Depending on the region in Japan, it may also be called "Nikkorogashi" or "Nikorobashi." It is especially popular during the fall and winter months, when taro is in season.
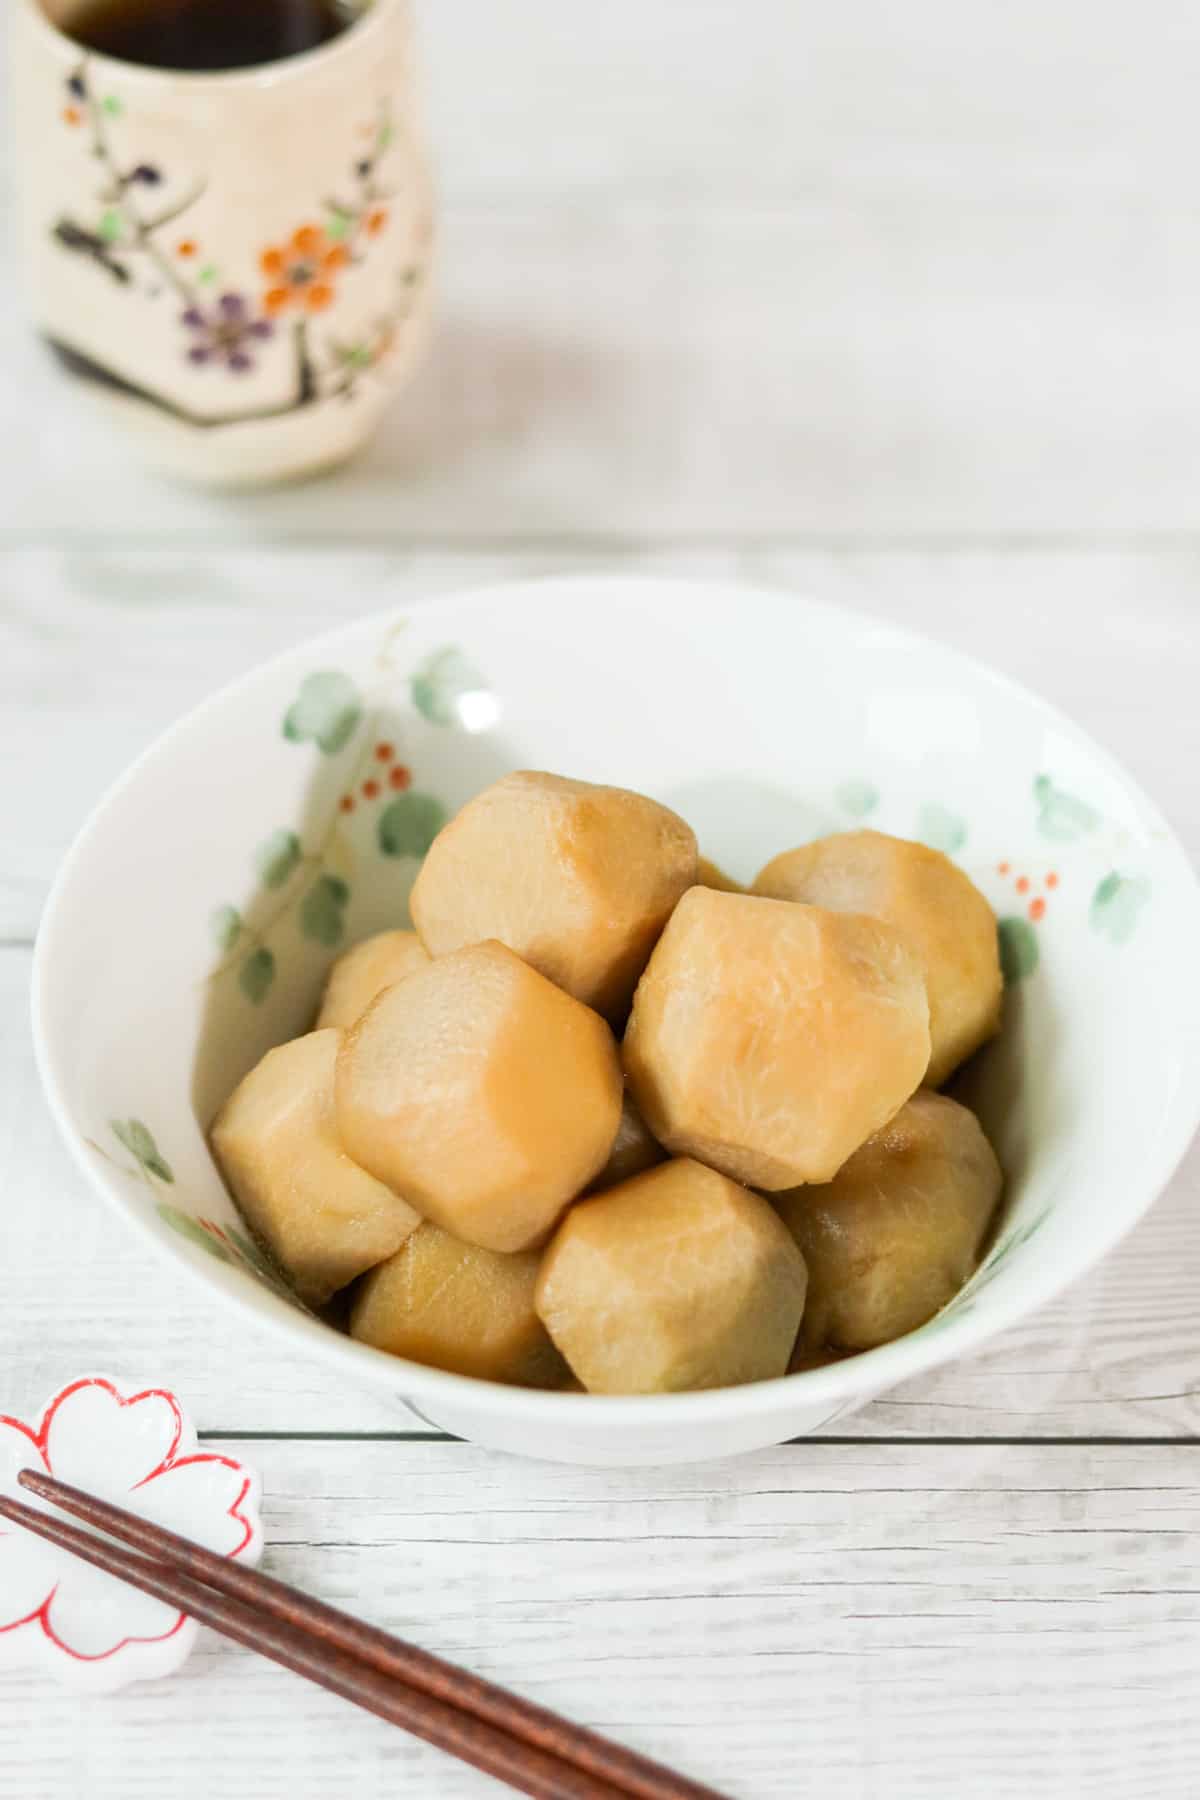
Taro has been a staple ingredient in Japanese cuisine since ancient times, so this dish is considered a comfort food by many Japanese people. Despite its glossy, amber-colored appearance and the rich flavors absorbed on the outside, the inside retains the natural color and taste of taro. Its unique, creamy texture might be unfamiliar outside of Asia, but for those interested in experiencing traditional Japanese cuisine, it is definitely worth trying.
Understanding the unique qualities of taro
To fully appreciate this dish, it helps to first understand the unique qualities of taro.
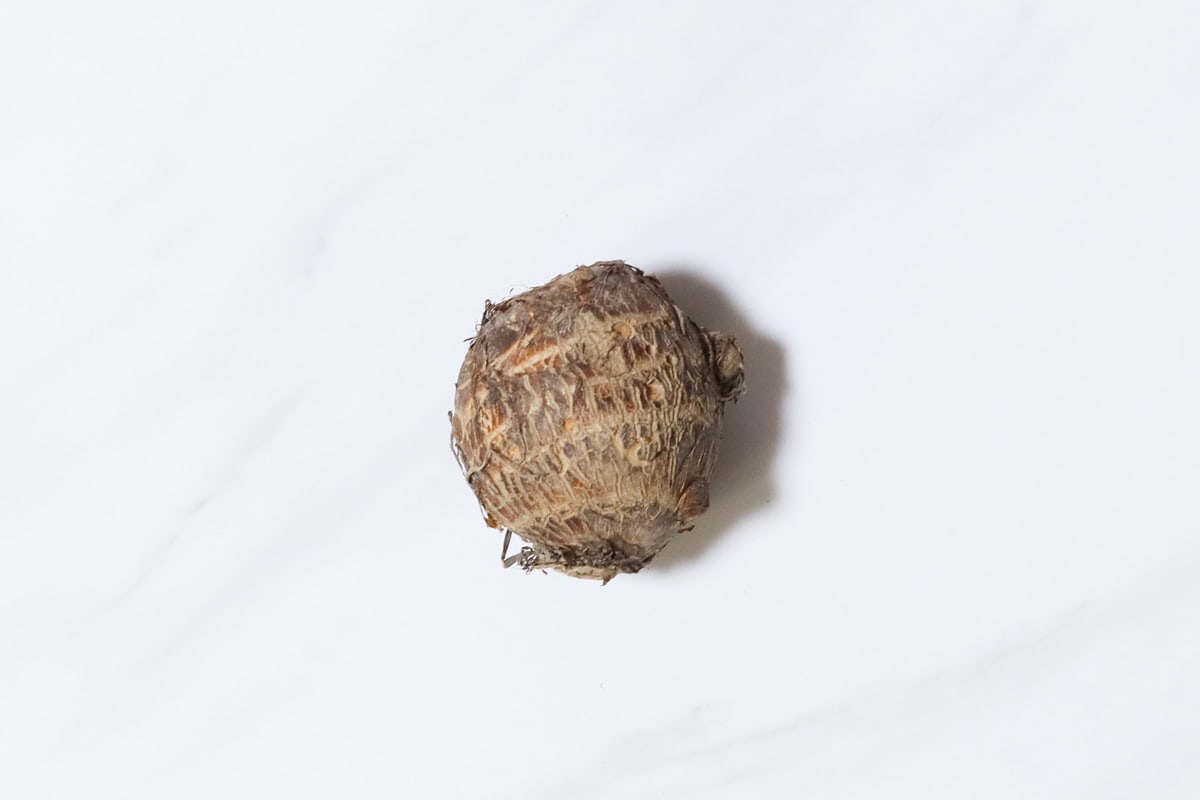
Taro is a root vegetable known for its relatively low calorie content compared to other root vegetables and tubers, and it is also rich in potassium. Its starch granules are much smaller than those in potatoes, and they gelatinize more easily when heated, resulting in a creamy texture.
When peeled, you might notice that it becomes slimy. This sliminess is caused by water-soluble fiber. Excessive sliminess can affect the texture of a dish, so it is common to take steps to reduce it during preparation.
How to handle taro’s sliminess
The sliminess of taro can be reduced by using the following methods:
- Salt-rubbing method: Peel the taro, rub it with salt, and then rinse it with water.
- Boiling method: Boil the taro for about 5 minutes, then rinse it with water (it doesn’t matter whether you peel it before or after boiling).
If you want to thoroughly remove the sliminess, you can also combine both methods.
However, there is something to keep in mind before trying to reduce it. While it is common to reduce the sliminess of taro, when it comes to satoimo no nikorogashi, this step is not always necessary. This is because the sliminess of taro can also be considered a characteristic that enhances the dish. In fact, in Japan, some regions reduce it when making this dish, while others do not.
Leaving the sliminess has its benefits: it eliminates the need for extra preparation, makes the cooking process easier, and adds a pleasantly sticky texture. On the other hand, reducing the sliminess allows the taro to absorb flavors more easily and prevents the simmering sauce from becoming cloudy.
In this recipe, I use the salt-rubbing method to reduce some of the sliminess, but you can also use the boiling method or leave more of it according to your preference.
Simple guide to otoshi-buta (drop lid)
Another point to keep in mind when making this traditional dish—or really, simmered dishes in Japan in general—is the use of an otoshi-buta (drop lid).
An otoshi-buta is a lid that sits directly on top of the ingredients in a pot or pan. Placing the lid directly on the ingredients allows the cooking liquid underneath to circulate more evenly, resulting in more efficient simmering with less liquid.
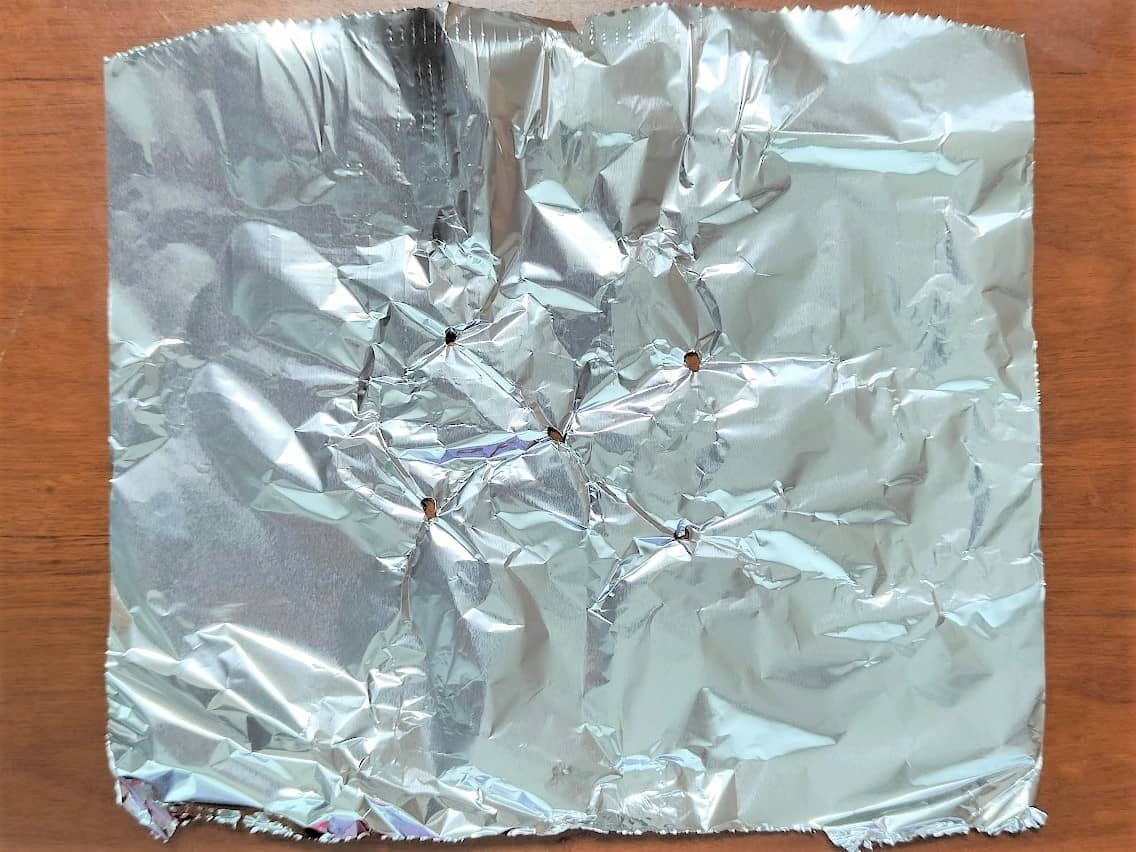
Commercial versions are available, but you can easily make one yourself by simply poking a large hole or several small ones in a sheet of aluminum foil—as shown in the photo above. The holes help prevent the otoshi-buta from floating up due to steam pressure. You can use a regular lid instead, but since it is so easy to make, I recommend giving it a try.
📋Step-by-step recipe
Equipment
- otoshi-buta (drop-lid) (You can easily make one by following the instructions above. If that seems like too much trouble, you can simply use a regular lid instead.)
Ingredients
- 8 taro (eddoes) (about 1.6 oz/45 g each)
- ½ tsp salt (for the taro)
- 1 cup water
- 2 tsp sugar
- 2 Tbsp soy sauce
- 2 Tbsp mirin
Instructions
🕒 Total: 35 mins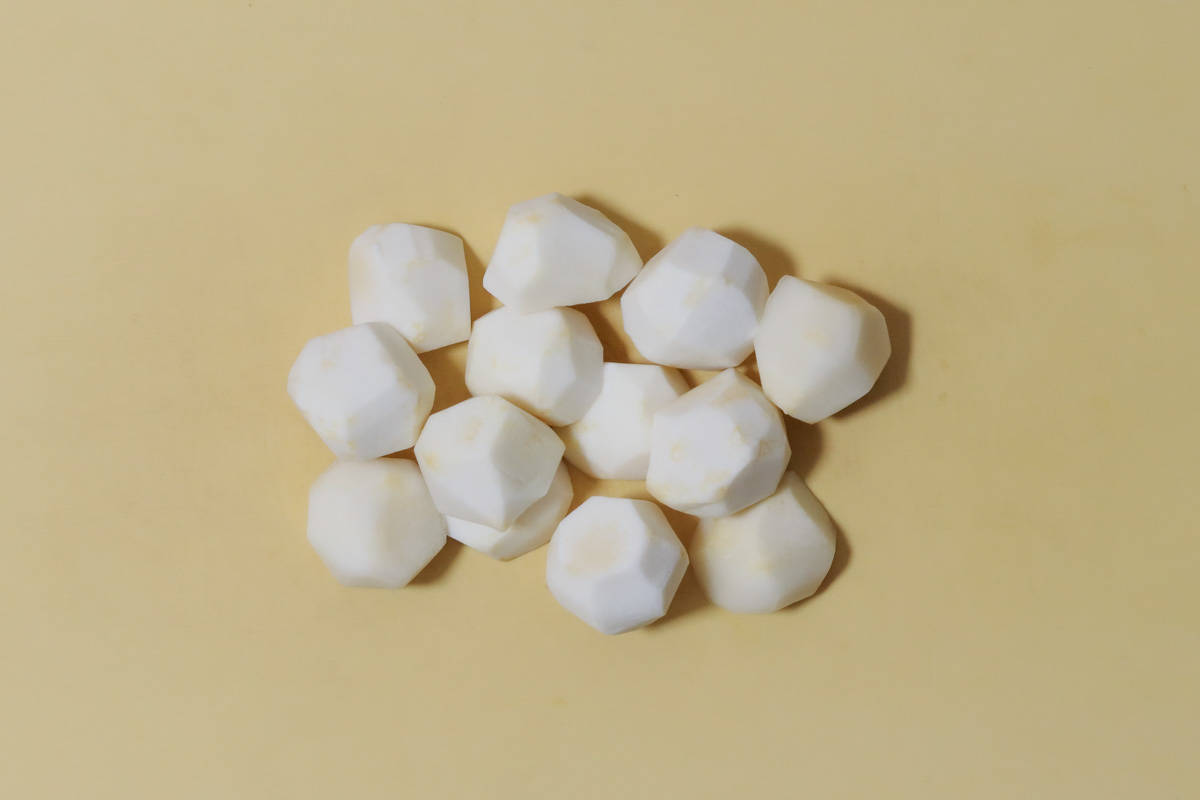
Step 1
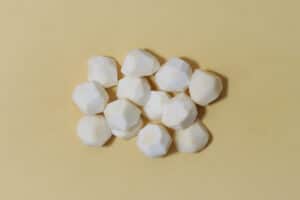
Wash and peel the taro. Sprinkle salt over it, rub it with your hands to reduce the sliminess, then rinse under running water. (If the taro you are using is too large to be bite-sized, feel free to cut it in half or into quarters, depending on your preference.)
Step 2
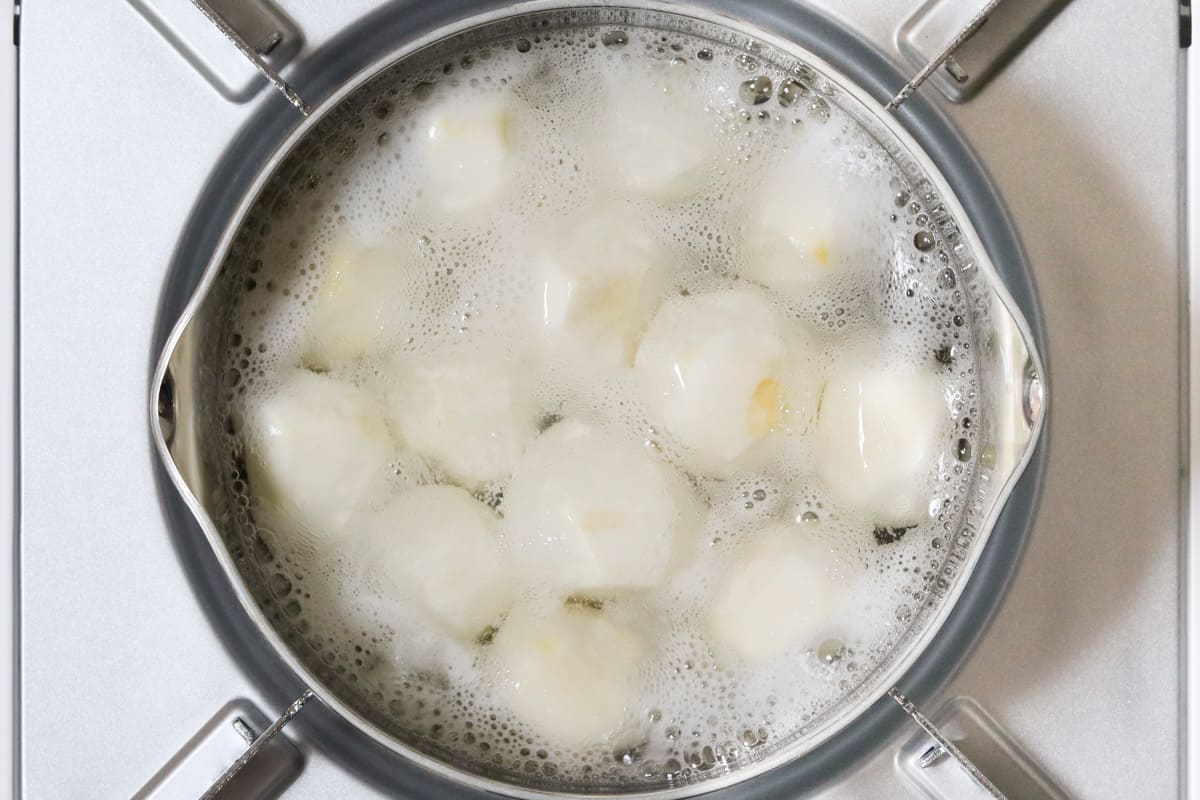
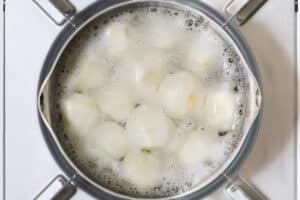
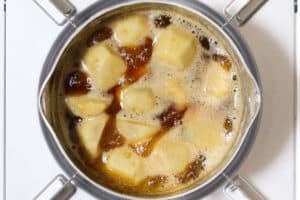
Combine water and sugar in a pot. Add the taro and bring it to a boil. Once boiling, cover with an otoshi-buta and let it simmer over low heat for 15 minutes.
Step 3
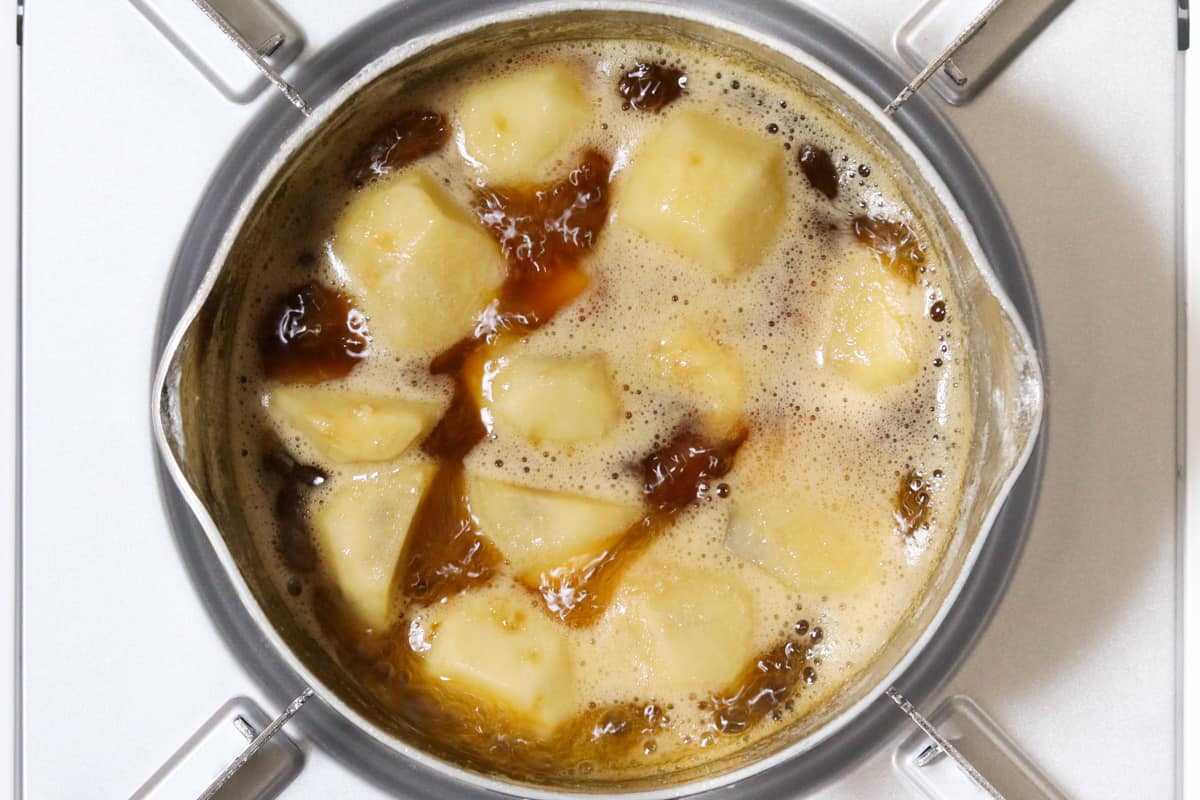
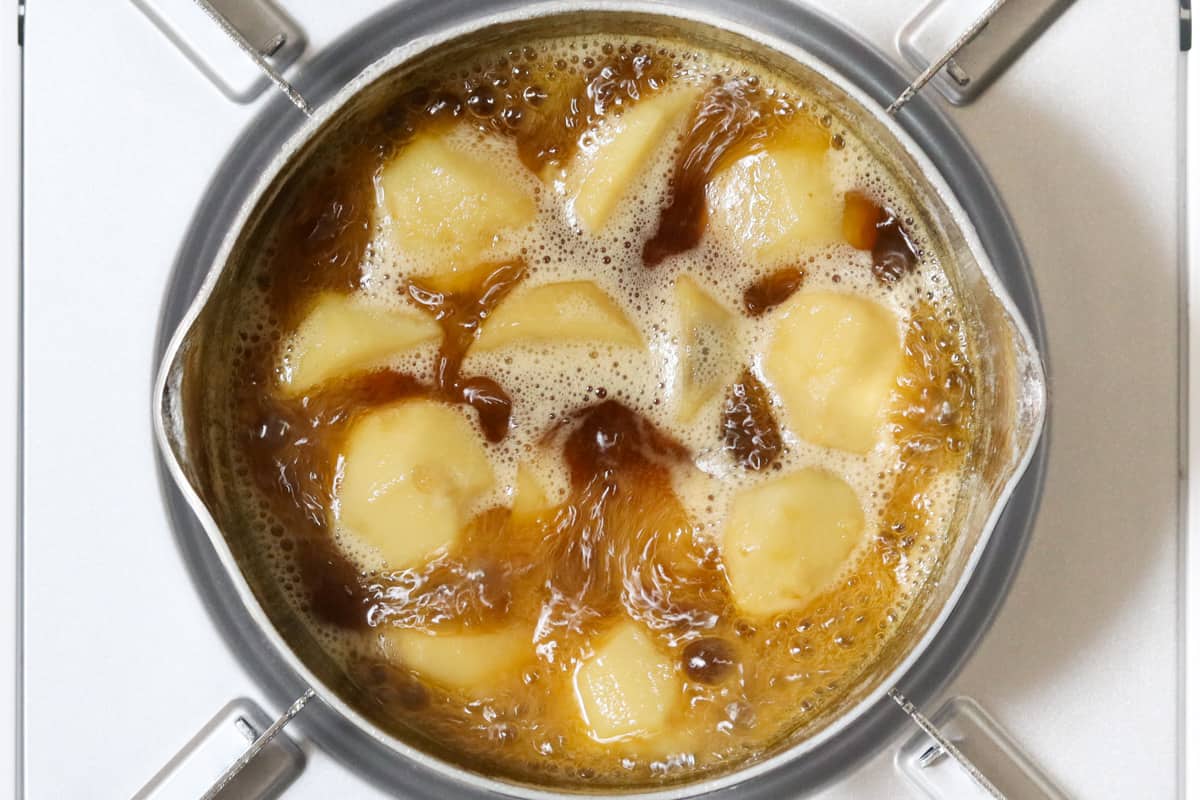
Remove the otoshi-buta, then add soy sauce. Continue simmering, uncovered, for 5 minutes over medium-low heat, occasionally turning the taro.
Step 4
Add mirin and continue simmering for a few more minutes, occasionally turning the taro.
To store
You can store it in the refrigerator for up to 3 days.
Cooking tips
- If you find it difficult to peel taro, wipe off any excess moisture first. This will help prevent the knife from slipping.
- Before heating the water, place the taro in a pot and bring it to a boil. This allows the taro to heat up gradually, which brings out its natural sweetness more effectively.
- Seasonings should be added separately in the following order: sugar, soy sauce, then mirin. The reason for adding sugar first is that it takes longer to penetrate the ingredients. Adding mirin last gives the dish a glossy finish.
If you try this recipe, I’d love to hear what you think. Please consider leaving a review and star rating in the comments below. If you enjoyed it, I’d really appreciate it if you shared it with your friends.
Another taro recipe you'll love
Recipe card
Satoimo no Nikorogashi (Simmered Taro)
Equipment
- otoshi-buta (drop-lid) (You can easily make one by following the instructions above. If that seems like too much trouble, you can simply use a regular lid instead.)
Ingredients
- 8 taro (eddoes) (about 1.6 oz/45 g each)
- ½ tsp salt (for the taro)
- 1 cup water
- 2 tsp sugar
- 2 Tbsp soy sauce
- 2 Tbsp mirin
Instructions
- Wash and peel the taro. Sprinkle salt over it, rub it with your hands to reduce the sliminess, then rinse under running water. (If the taro you are using is too large to be bite-sized, feel free to cut it in half or into quarters, depending on your preference.)

- Combine water and sugar in a pot. Add the taro and bring it to a boil. Once boiling, cover with an otoshi-buta and let it simmer over low heat for 15 minutes.
- Remove the otoshi-buta, then add soy sauce. Continue simmering, uncovered, for 5 minutes over medium-low heat, occasionally turning the taro.
- Add mirin and continue simmering for a few more minutes, occasionally turning the taro.

Notes
- You can store it in the refrigerator for up to 3 days.


Leave a Rating and a Comment