

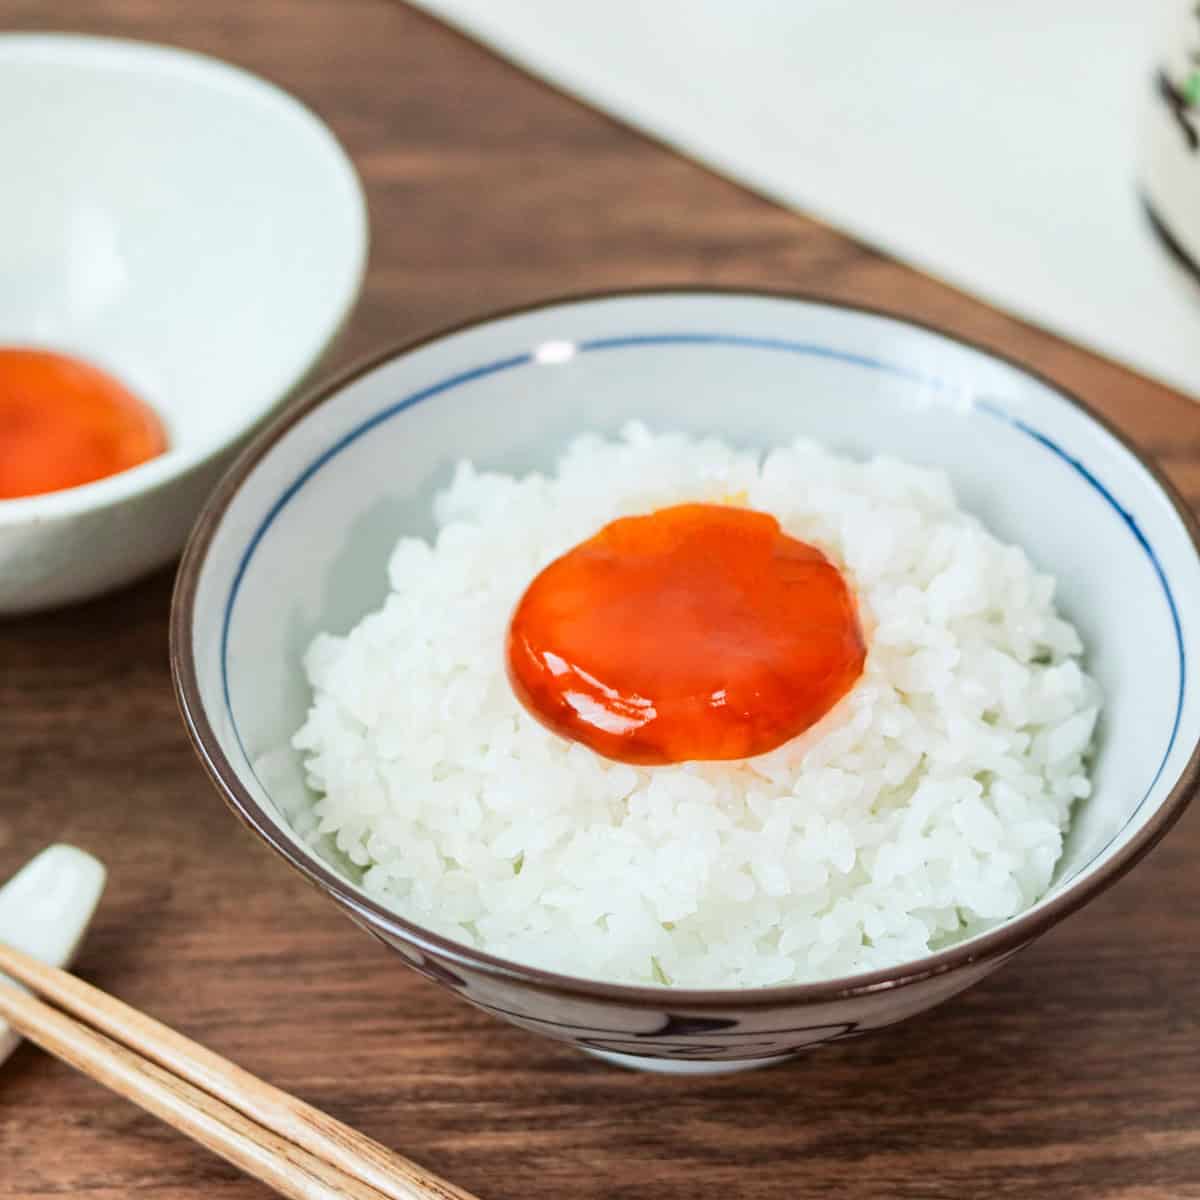
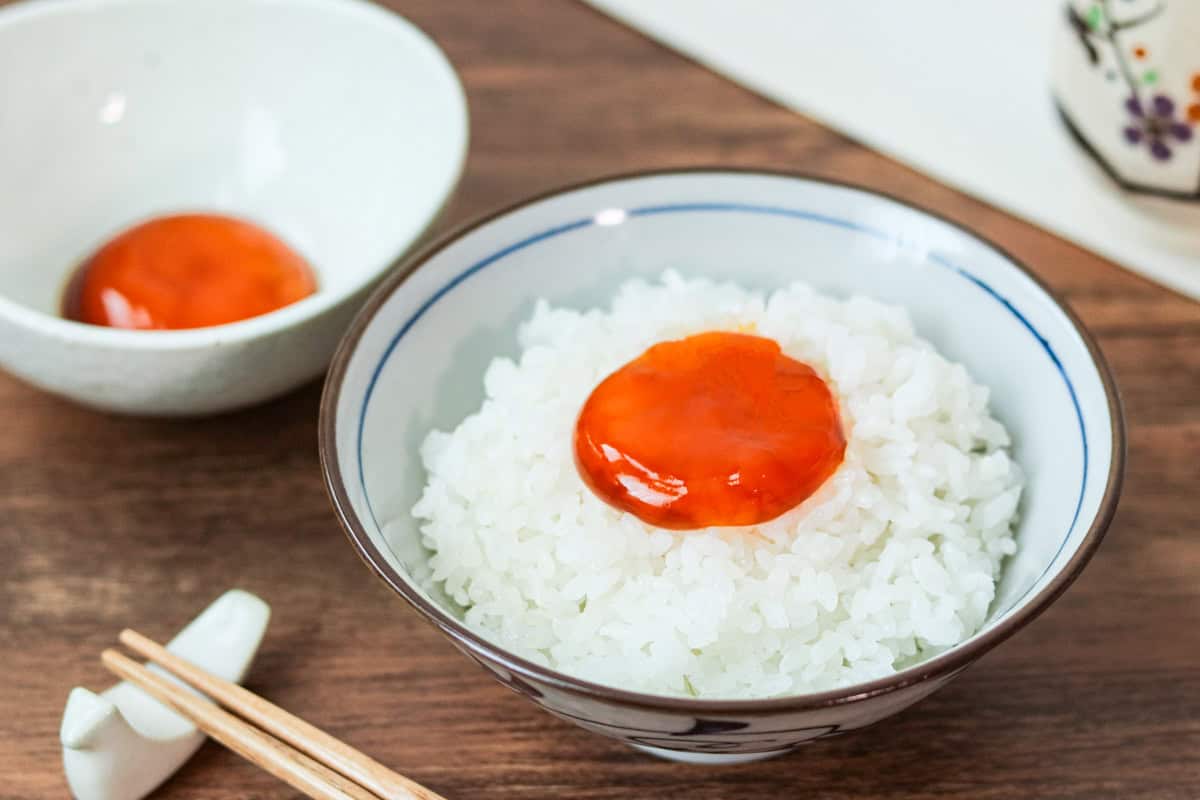
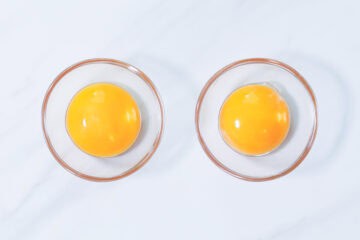
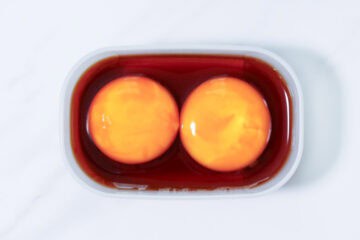
Soy Cured Egg Yolks are a Japanese rice topping that can be easily prepared by curing egg yolks in soy sauce. Each bite offers a rich, savory, and creamy flavor that lingers on your palate.
Jump to:
What are Soy Cured Egg Yolks?
Soy Cured Egg Yolks are a Japanese rice topping, as the name suggests, made by curing egg yolks in soy sauce. Since using soy sauce alone can make them overly salty, mirin is often added to create a more balanced, mellow flavor. As the egg yolks cure in the seasoning mixture, some of their moisture is gently drawn out, allowing their creamy flavor to blend beautifully with the deep umami of the soy sauce.
One of the most enjoyable aspects of this topping is that its flavor and texture change depending on how long the yolks are cured. A shorter curing time results in a smooth texture with a runny consistency, while a longer cure creates a chewier texture and a richer flavor. They are easy to make with just a few ingredients, so try them at different stages of curing to discover the texture and depth of flavor you enjoy most.
How egg yolks change during curing
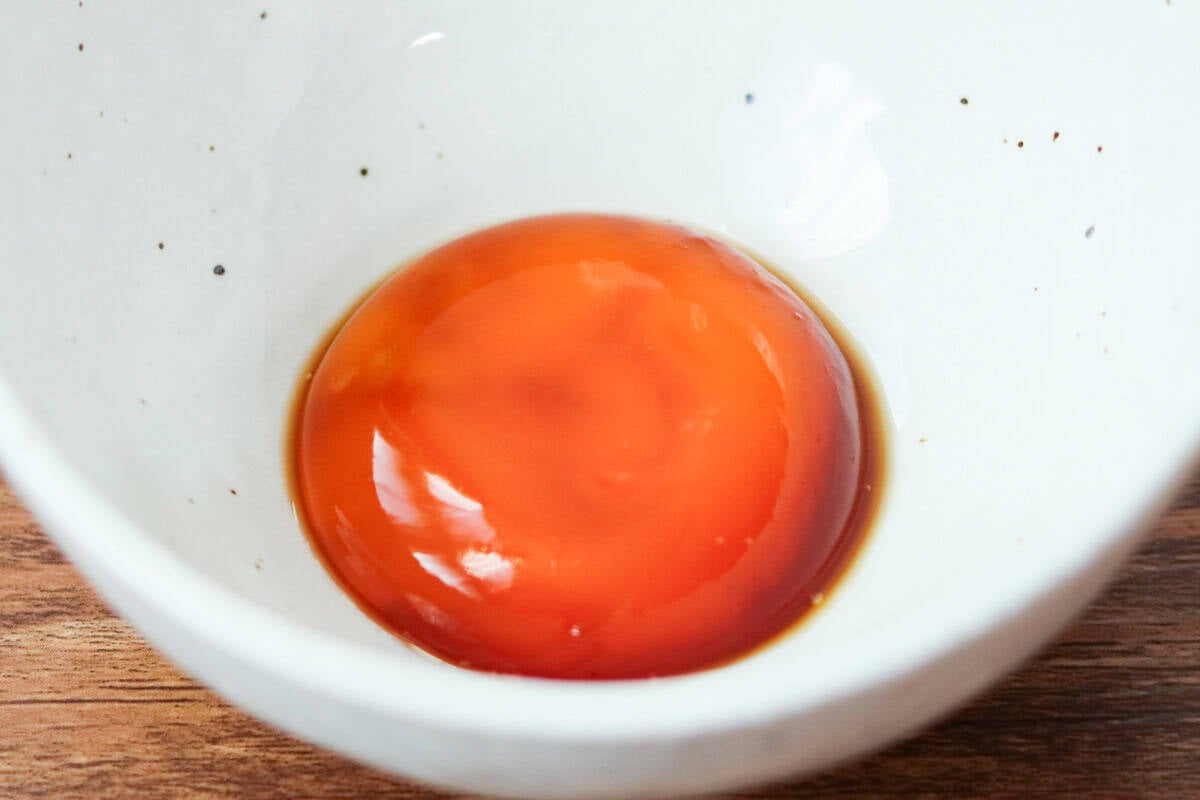
Let's take a closer look at how the egg yolk changes over time as it cures in a soy sauce-based mixture.
- 4 hours: The seasoning mixture begins to penetrate the surface of the yolk, while the inside remains raw.
- 6-18 hours: The flavors have nicely permeated the yolk, making it ideal for enjoying with rice. The longer the curing time, the more seasoning the yolk absorbs, resulting in a richer, more savory flavor and a chewier texture.
- 24 hours or more: The yolk absorbs too much of the seasoning, giving it a slightly salty taste. At this stage, it is better suited for use as a filling for onigiri (rice balls).
If you are making soy cured egg yolks for the first time, I recommend starting with a curing time of 8-12 hours. After that, feel free to adjust the curing time to suit your preferences and how you plan to use the yolks.
Raw eggs vs. frozen-and-thawed eggs
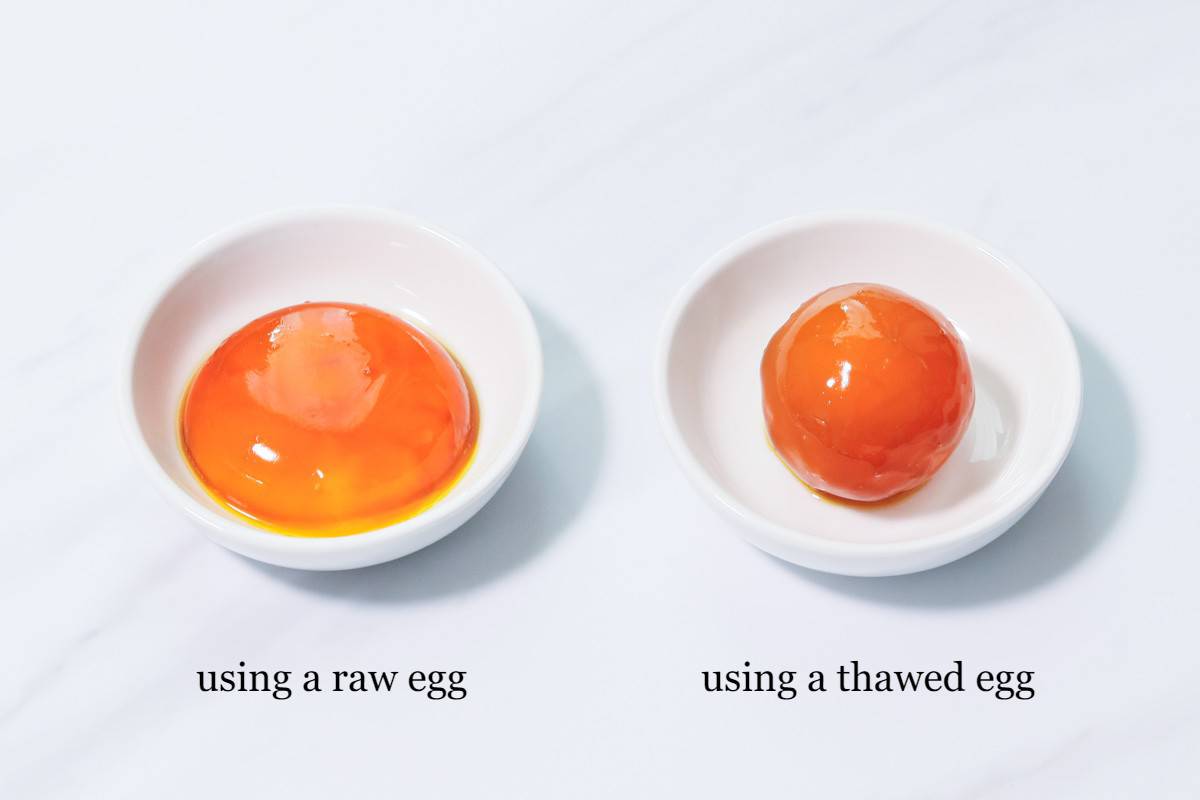
You can also make soy cured egg yolks that keep their beautiful, round shape.
The process is quite simple: freeze the eggs ahead of time, then thaw them before use. Freezing alters the protein structure of the yolk, allowing it to retain a firmer, springier texture even after thawing, rather than becoming liquid again. As a result, the yolk is less likely to lose its shape when cured in a soy sauce-based mixture, helping it maintain its round shape.
This method of using thawed eggs is especially recommended if you plan to use this rice topping as a filling for onigiri. Since thawed egg yolks hold their shape well, there is less risk of the filling leaking out when shaping the onigiri, and the yolk itself has a firmer, more pleasant texture.
It does take a little more effort than using raw eggs, but if presentation is important to you, it is definitely worth trying.
Flavor variations
You can also easily customize the flavor of soy cured egg yolks by adding extra ingredients.
For example, adding garlic gives them a bolder, more distinctive flavor, while ginger adds a refreshing note. A drizzle of sesame oil gives them a unique, rich depth of flavor.
I recommend enjoying the basic version as suggested in the recipe first, but once you have tried it, it can be fun to experiment with different ingredients and find your own favorite flavor combinations.
📋Step-by-step recipe
Ingredients
- 2 pasteurized eggs
- 1 Tbsp mirin
- 1 Tbsp soy sauce
Instructions
🕒 Total: 8 hrs 5 mins
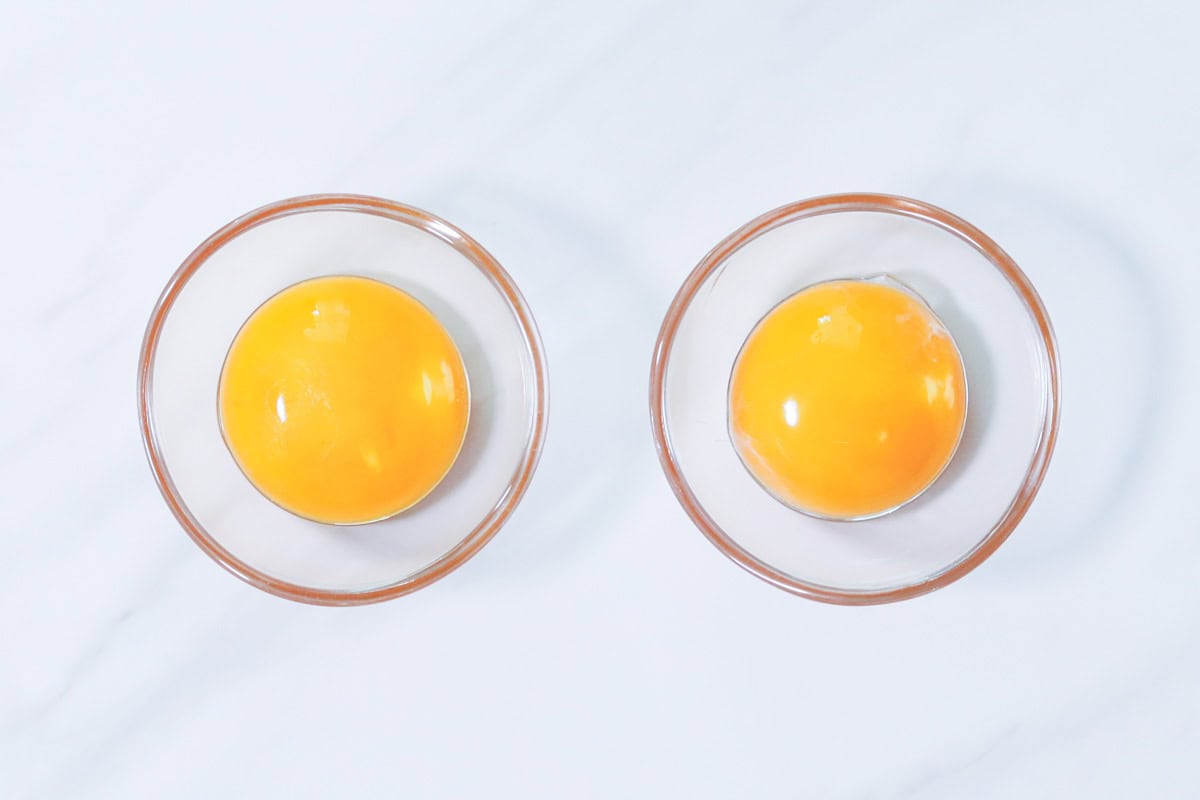
Step 1
Crack the eggs and remove the whites and chalazae, leaving the yolks intact.
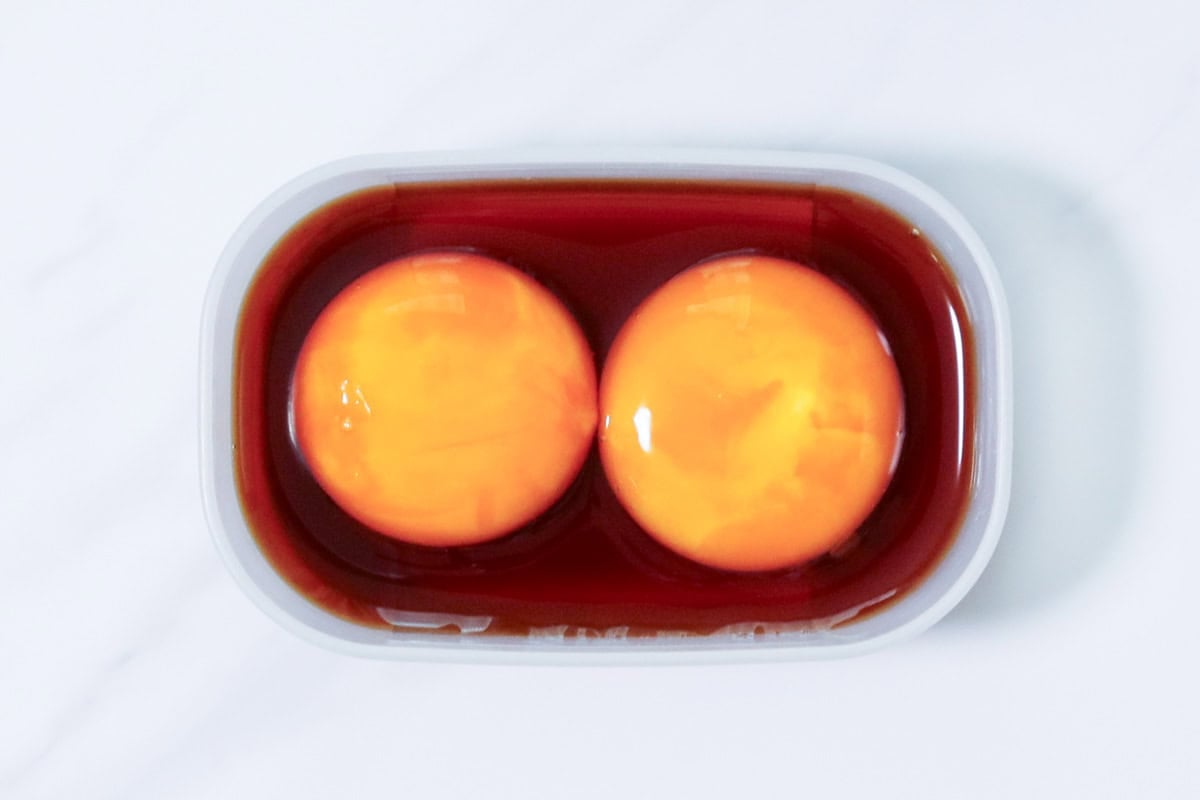
Step 2
Carefully place the yolks in a small container, then add mirin and soy sauce. Let them cure in the refrigerator for about 8-12 hours.
Note: The flavor and texture will vary depending on how long the yolks are cured in the seasoning mixture. For more details on these variations, see the "How Egg Yolks Changes During Curing" section.
How to store
The yolks can be kept in the container with the seasoning mixture in the refrigerator for up to 2 days.
Cooking tips
- Even when cured in the seasoning mixture, the egg yolks don't sink, which prevents the exposed surfaces from being fully cured. If you want them to be fully immersed, flip the yolks halfway through the process to ensure even curing.
- If using thawed eggs, you can keep the yolks nicely rounded. (For more details, please refer to the "Raw eggs vs. Frozen-and-Thawed Eggs" section.) In this case, add the following Step 0 before Step 1:
Step 0
Place the eggs in a bowl or plastic bag and freeze them for at least half a day. Then, let the frozen eggs thaw naturally at room temperature or in the refrigerator.
The yolks can be used in step 2 even if they are not fully thawed. The reason for placing the eggs in a bowl or plastic bag is to prevent the egg whites from sticking to the inside of the freezer in case the shells crack.
Food safety note
This rice condiment is not suitable for pregnant women, older adults, young children, or people with weakened immune systems, as the egg is not cooked. Please avoid consuming it if you belong to any of these groups.
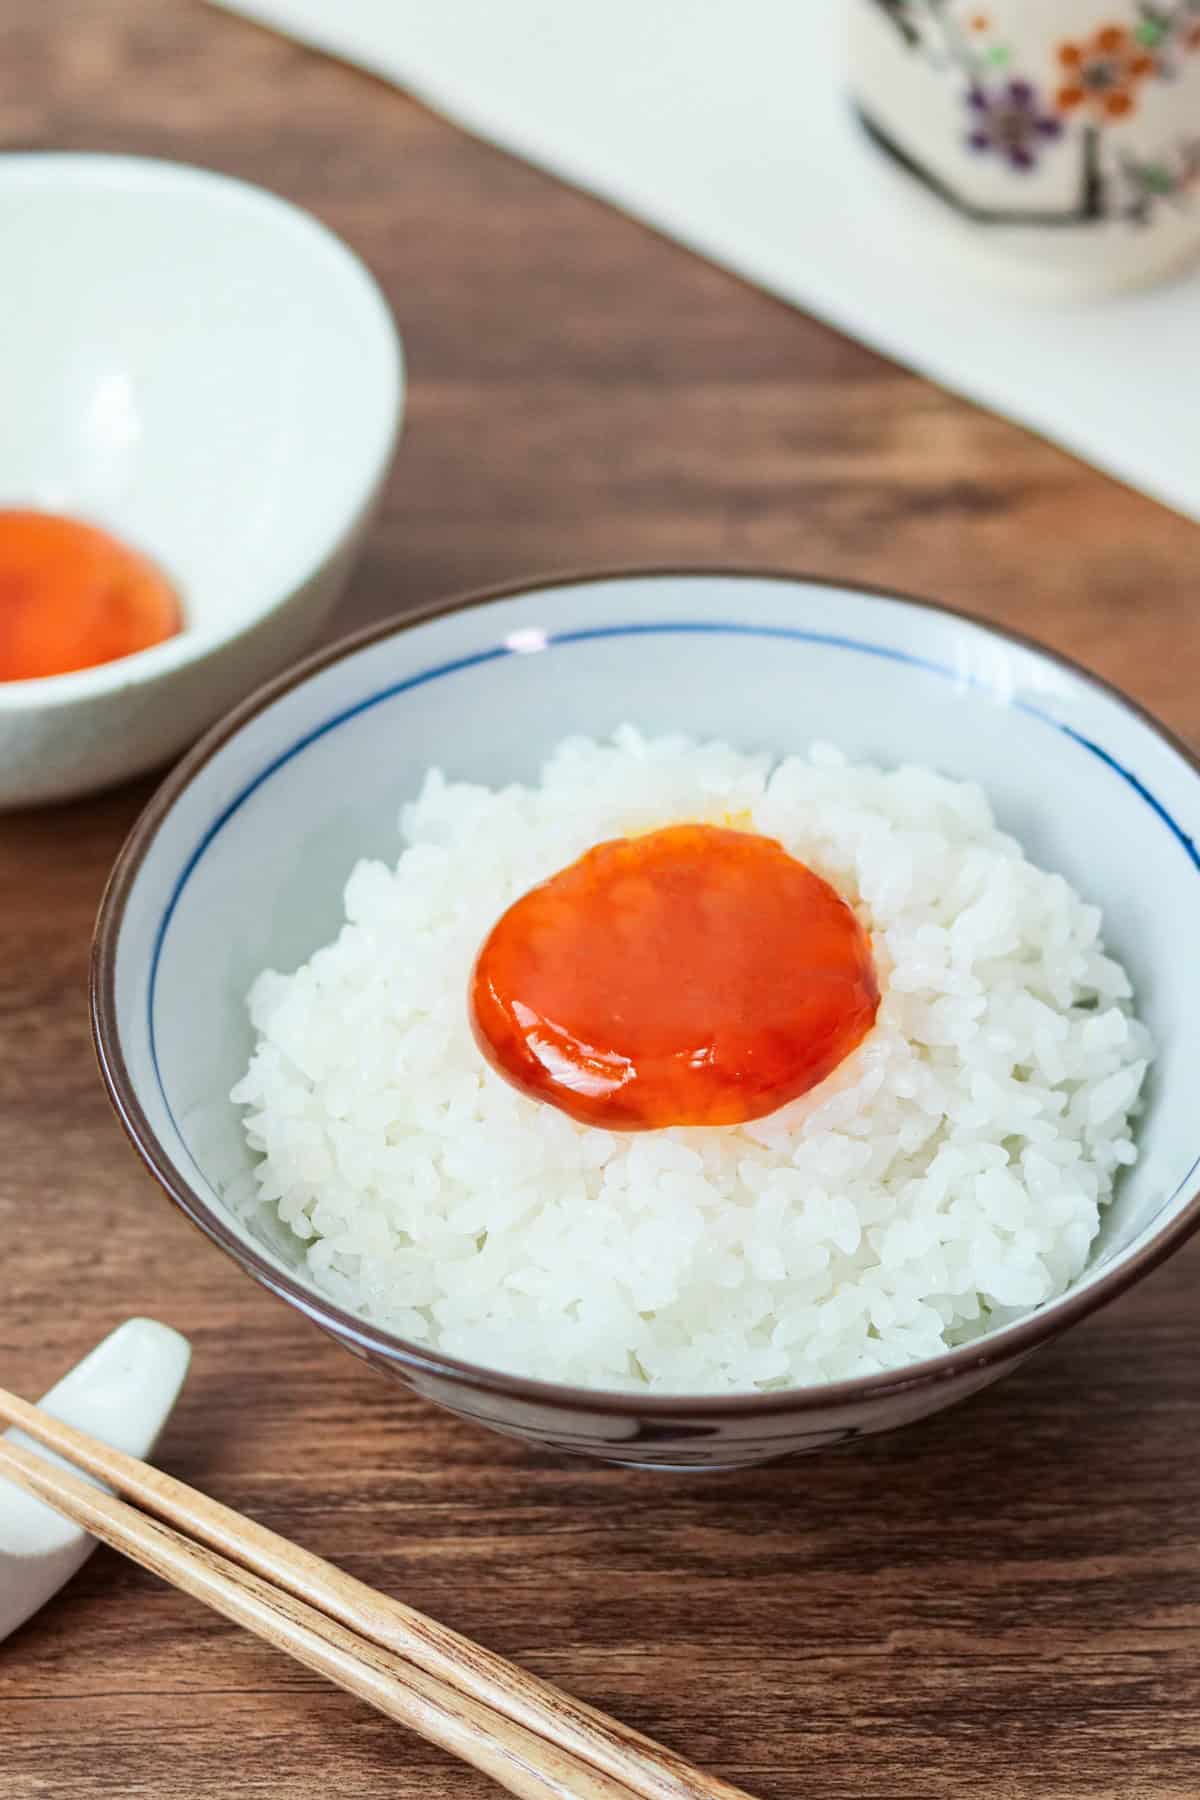
I hope you enjoy this recipe!
If you try it, I’d love to hear how it turned out. Please leave a review 💬 and a star rating ⭐ in the comment below. Your support and feedback means so much to me!
More egg recipes you'll love
Printable Recipe Card
Soy Cured Egg Yolks
Ingredients
- 2 pasteurized eggs
- 1 Tbsp mirin
- 1 Tbsp soy sauce
Instructions
- Crack the eggs and remove the whites and chalazae, leaving the yolks intact.

- Carefully place the yolks in a small container, then add mirin and soy sauce. Let them cure in the refrigerator for about 8-12 hours.Note: The flavor and texture will vary depending on how long the yolks are cured in the seasoning mixture. For more details on these variations, see the "How Egg Yolks Changes During Curing" section.
Notes
- The yolks can be kept in the container with the seasoning mixture in the refrigerator for up to 2 days.
- The Nutrition Facts label assumes that approximately 10% of the mirin and soy sauce is absorbed into the egg yolks.
- If using thawed eggs, you can keep the yolks nicely rounded. (For more details, please refer to the "Raw eggs vs. Frozen-and-Thawed Eggs" section.) In this case, add the following Step 0 before Step 1:
- Step 0: Place the eggs in a bowl or plastic bag and freeze them for at least half a day. Then, let the frozen eggs thaw naturally at room temperature or in the refrigerator.
Leave a Rating and a Comment