

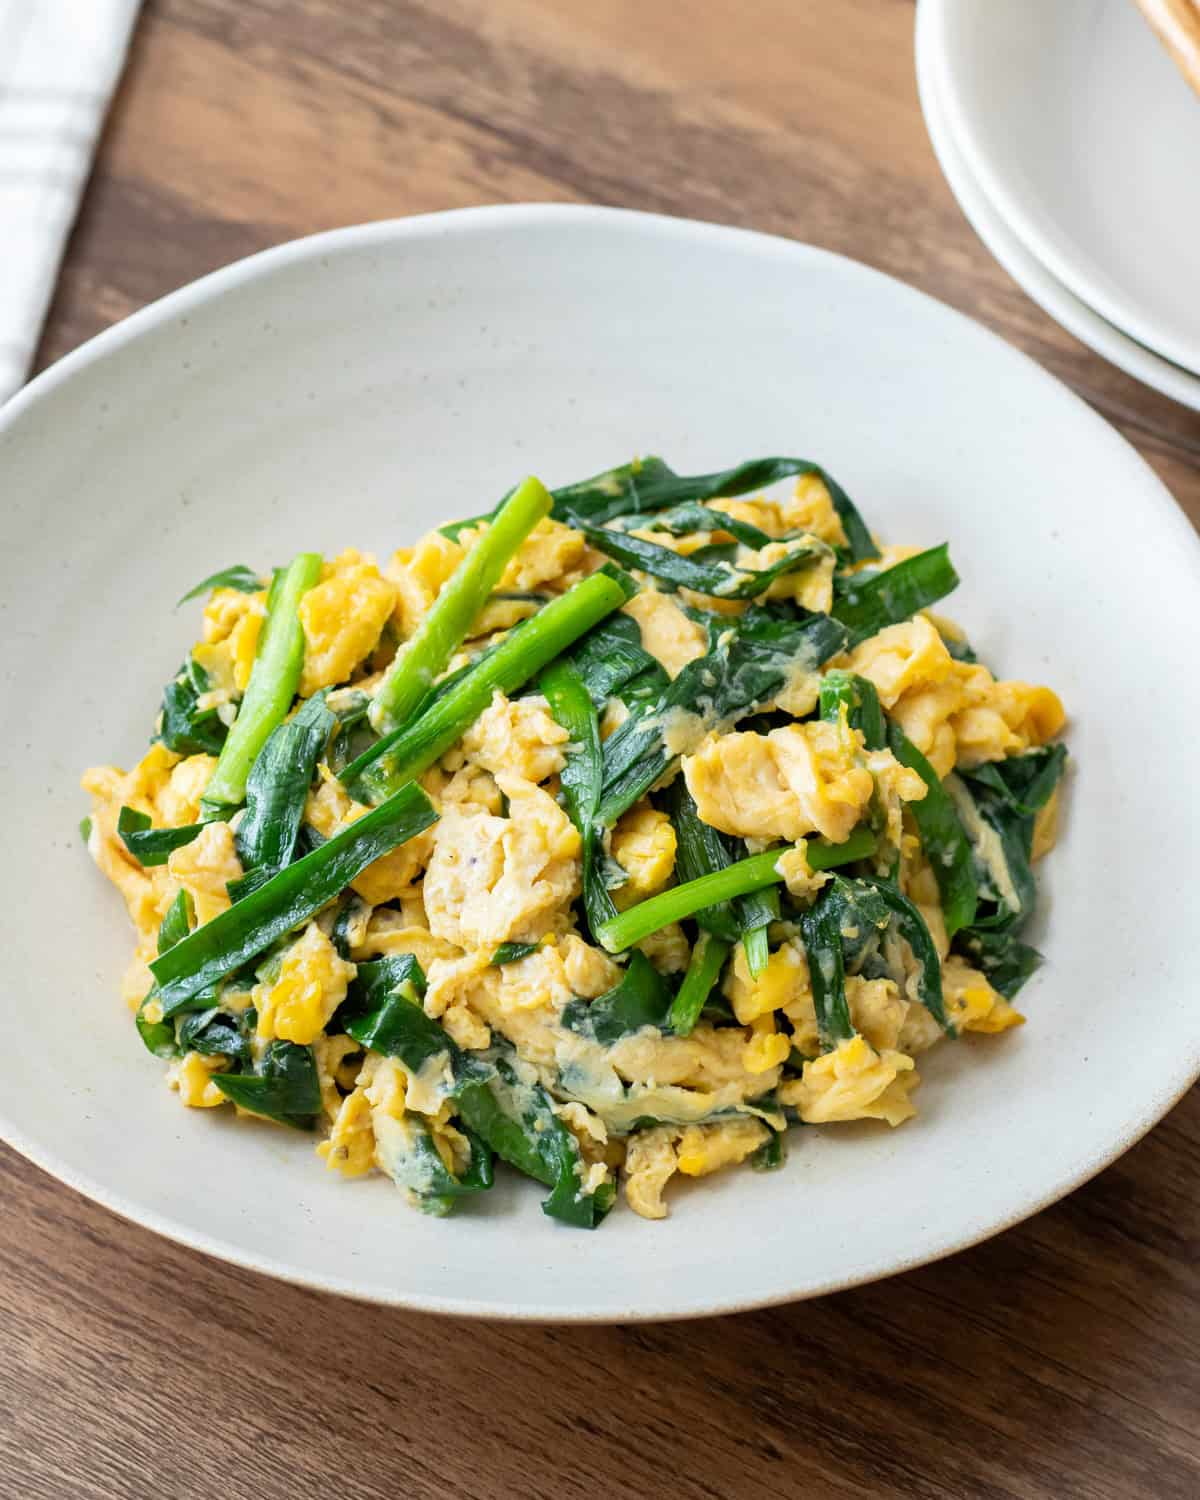
Niratama is a Japanese dish that highlights the unique flavor and texture of garlic chives, combined with fluffy eggs. It is easy to make, offers a good nutritional balance, and delivers a simple yet rich and satisfying flavor.
Jump to:
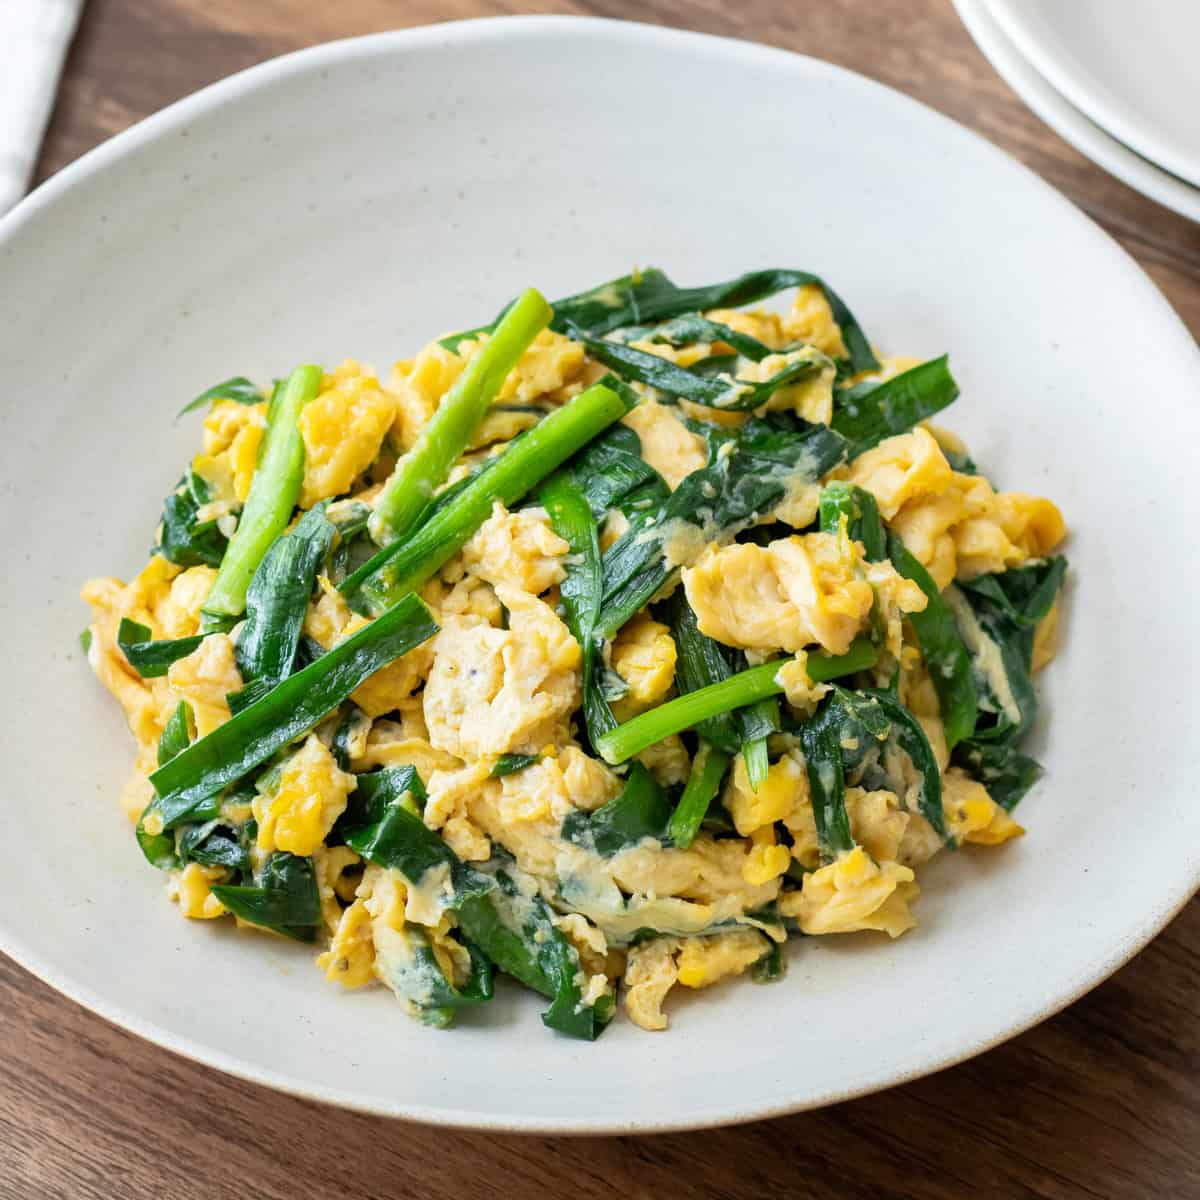
What is Niratama?
Niratama is a Japanese dish made by quickly stir-frying garlic chives and eggs together. “Nira” refers to garlic chives, and "tama" is short for "tamago," which means egg. The dish was originally inspired by the Chinese dish 韭菜炒蛋 (jiǔcài chǎo dàn), and its comforting flavor, along with the way garlic chives and eggs blend beautifully, has made it popular in Japan—not only as a home-cooked dish but also as a common item at izakayas (Japanese pubs) and casual restaurants.
Since both the chives and eggs lose their texture if overcooked, the key to making it delicious is cooking it quickly over high heat. This also means it can be prepared in no time, making it a great option when you are craving something easy yet tasty.
It is typically served as a side dish, but you can easily turn it into a hearty main course by adding pork. Feel free to enjoy it however you like.
Introduction to garlic chives
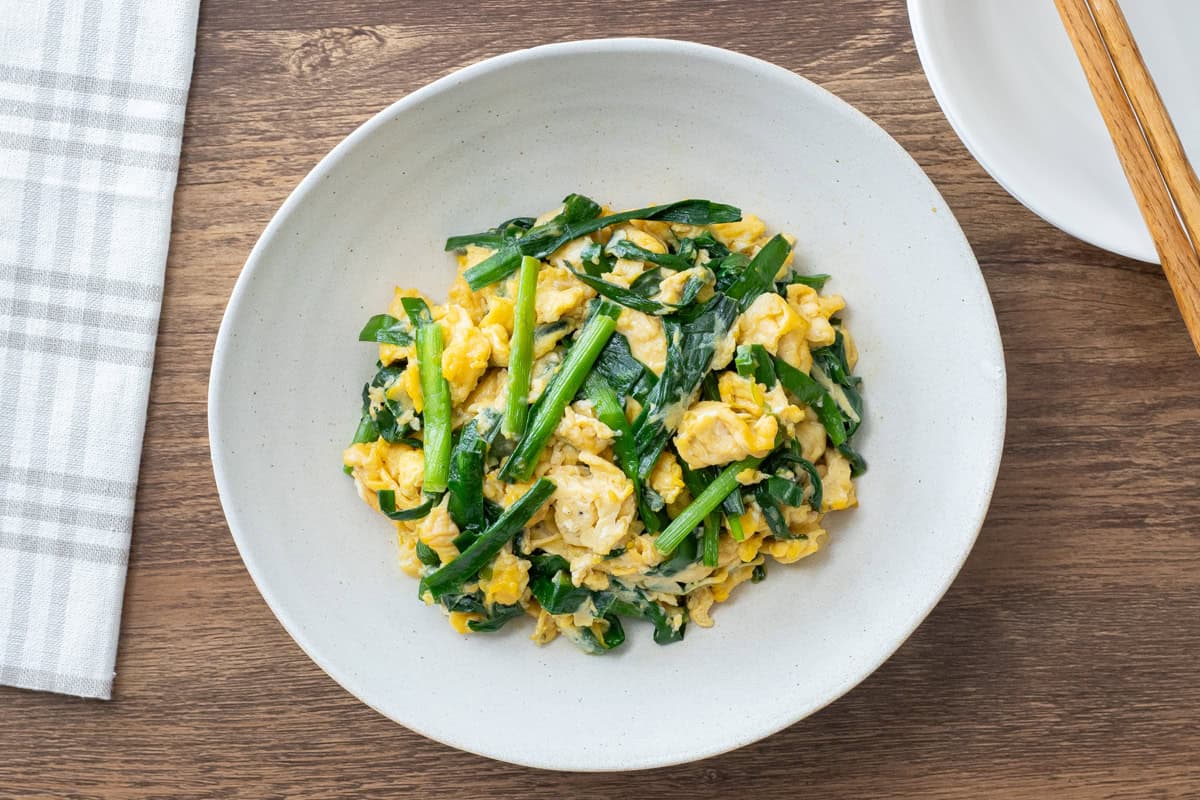
Are you familiar with garlic chives?
For those living in Asia, they are a common ingredient, but for many people outside the region, they may be less well-known. They have long, flat green leaves that resemble green onions or scallions, along with a distinct garlic-like aroma. When cooked, the aroma becomes milder and a subtle sweetness develops. They are highly nutritious and especially rich in:
- Vitamin A
- Vitamin C
- B vitamins
- Allicin
Since the base of the stalks is firmer than the rest, it is best to stir-fry them in stages to achieve a more even texture. Be careful not to overcook them, as they burn easily and lose their pleasant crunch.
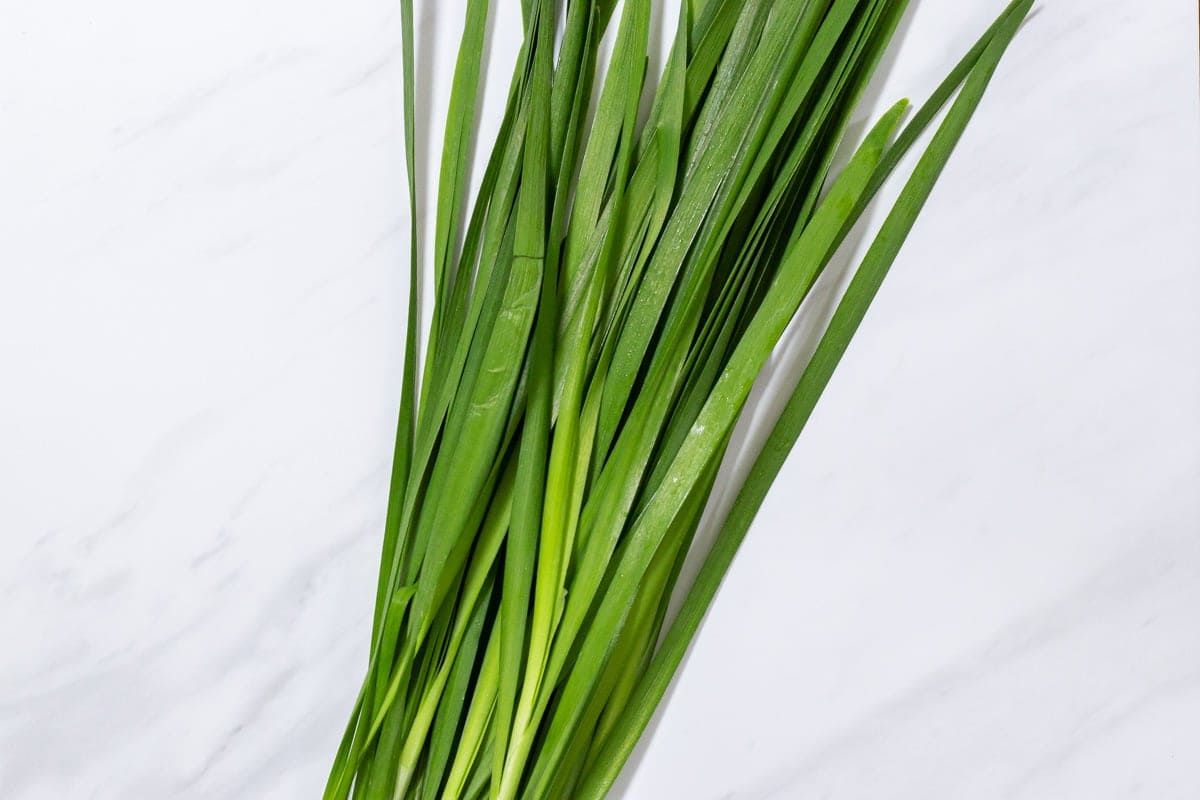
Niratama incorporates almost all the basic techniques for preparing garlic chives, making it a great choice even for those new to cooking with them. Give this recipe a try and experience their unique aroma and flavor for yourself.
The best way to cook eggs for Niratama
When making niratama, it is also important to pay attention to how you cook the eggs.
If you overcook them, they will become dry and rubbery, which can ruin the overall texture of the dish. To keep the eggs soft and fluffy, it is best to rely on residual heat.
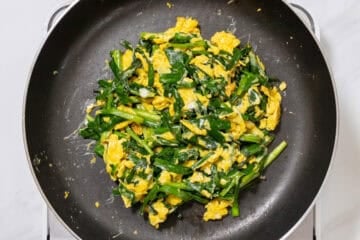
In practice, pour the beaten eggs into a pan and turn off the heat once they begin to set. Then, combine them with the garlic chives that have already been stir-fried. This way, the eggs gently firm up while staying soft and fluffy, complementing the texture of the chives.
Another method involves cooking the eggs first, transferring them to a separate dish, and then adding them back after the garlic chives have been stir-fried. However, this adds extra steps and tends to make the textures of the eggs and chives more distinct, so I still recommend the method described above.
Niratama with pork: a hearty variation
You can make this dish with garlic chives and eggs, but you can also add pork to turn it into a heartier main course.
The reason for using pork instead of beef or chicken is that its distinct flavor helps balance the strong aroma of the chives. The eggs further round everything out, resulting in a dish that is rich yet not overpowering.
If you are adding pork, first stir-fry it in a pan and season it with salt and pepper, then set it aside. Once the garlic chives are stir-fried, return the pork to the pan and combine everything. The recipe I’m sharing here is for a basic niratama, but adding pork is a common variation in Japan, so feel free to give it a try if you like.
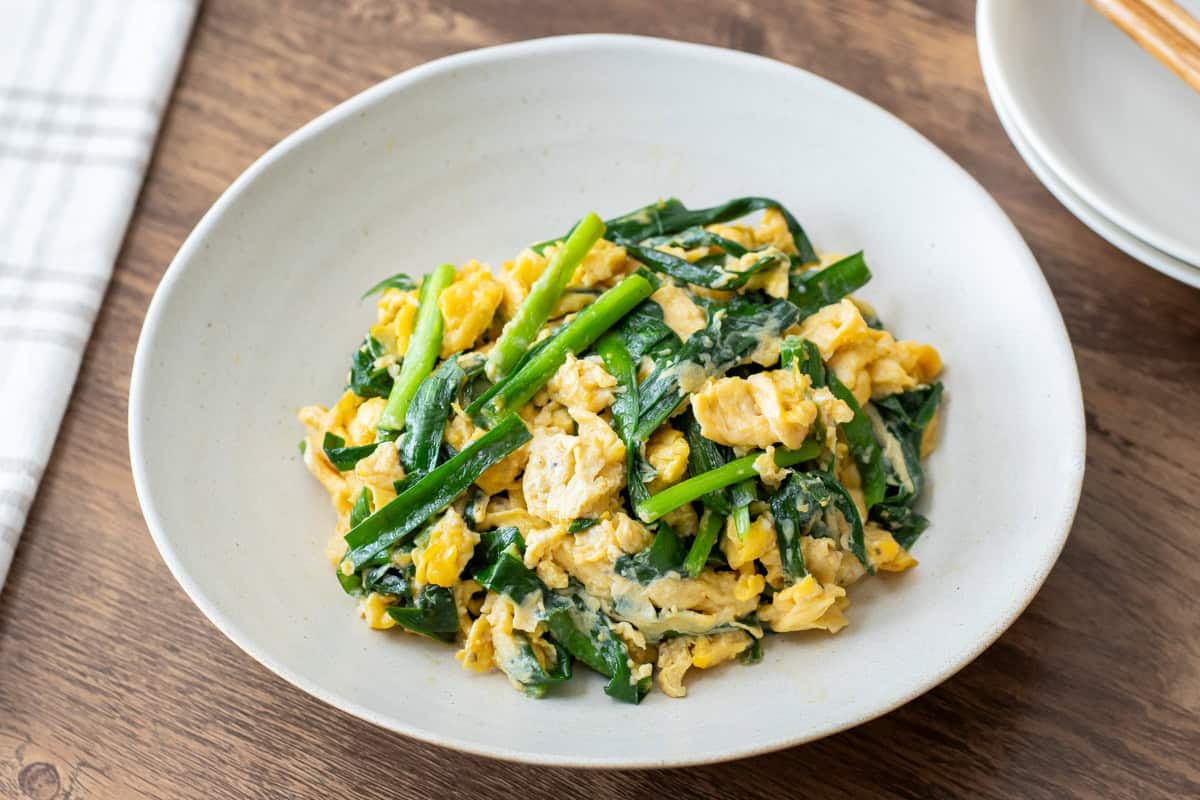
📋Step-by-step recipe
Ingredients
- 1 bunch garlic chives (about 3.5 oz/100 g)
- 3 large eggs (about 2.1 oz/60 g each, including the shell; if egg safety is a concern, use pasteurized eggs)
- 1 Tbsp toasted sesame oil
- 1 tsp soy sauce
For seasoning the eggs
- ½ tsp Chinese-style chicken bouillon powder
- ⅙ tsp salt
- a pinch of ground black pepper
Instructions
🕒 Total: 5 mins
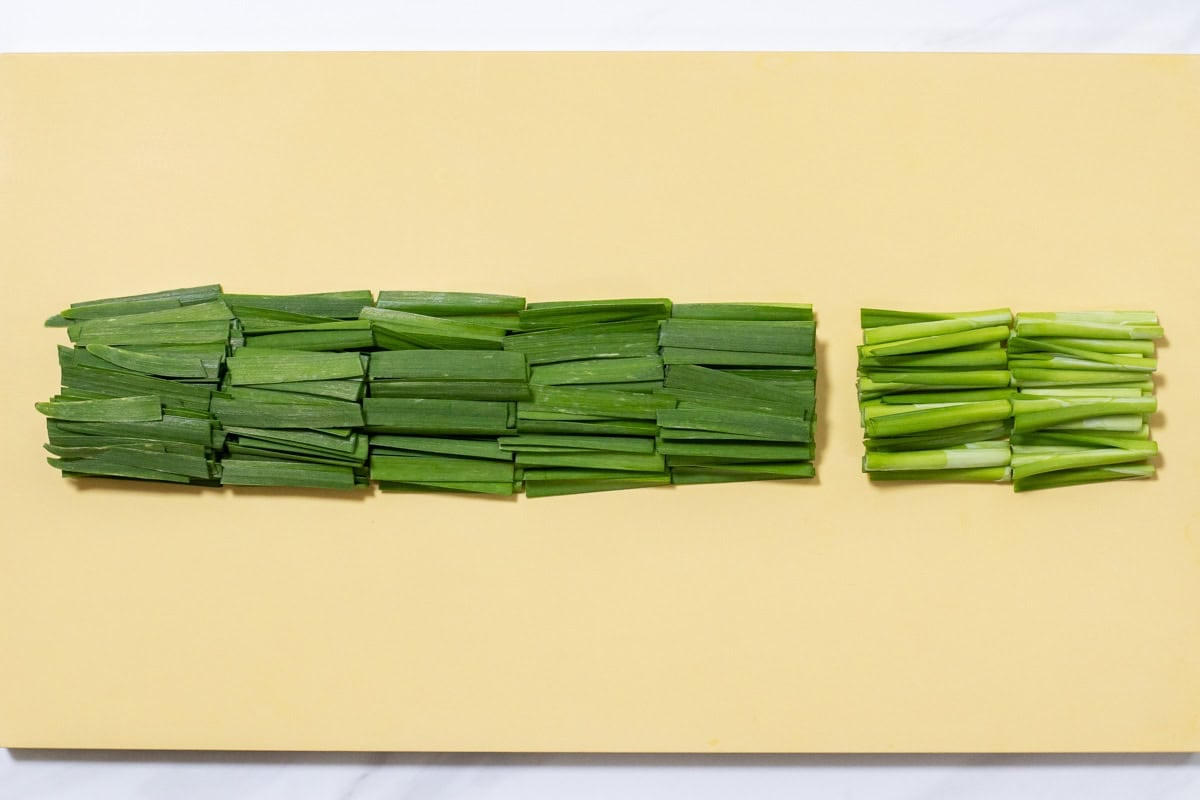
Step 1
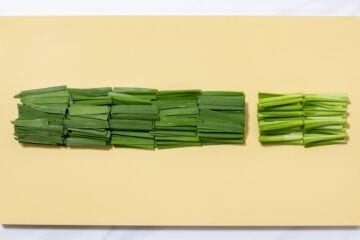
Cut the garlic chives into about 1.5-inch (4 cm) pieces, separating the tough root ends from the tender leafy parts.
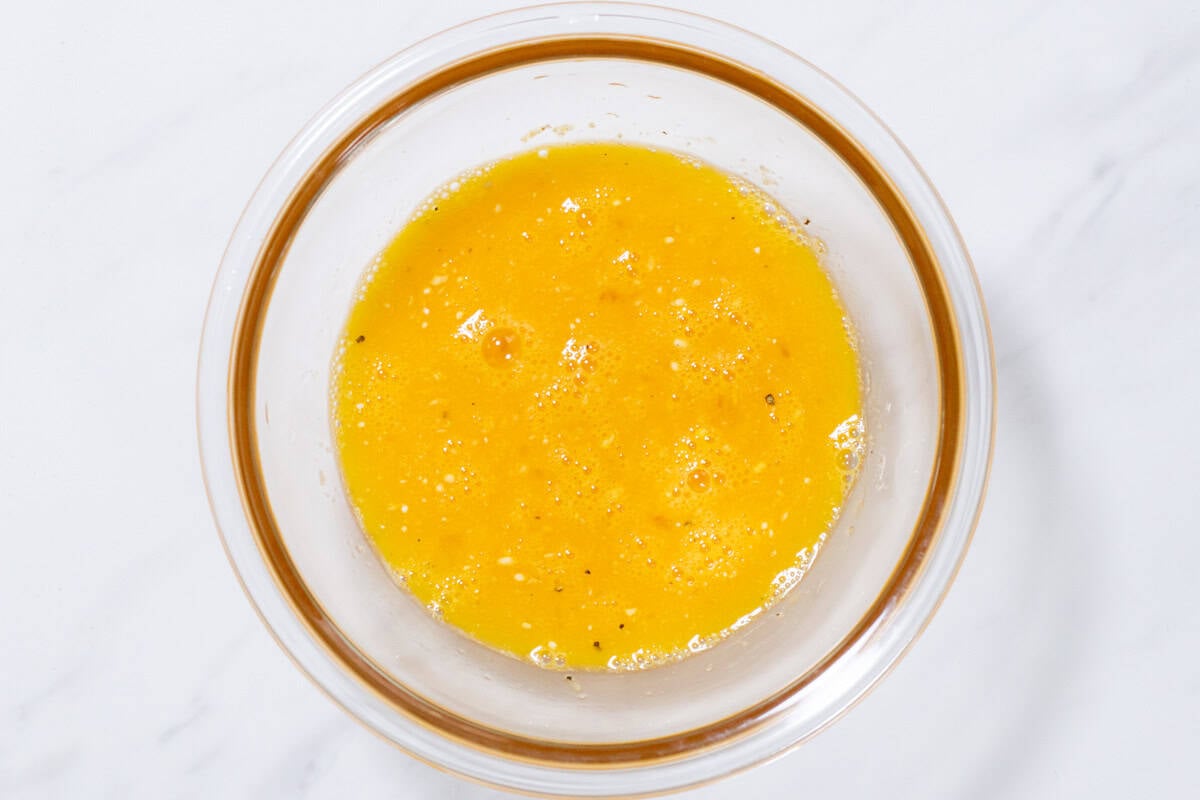
Step 2
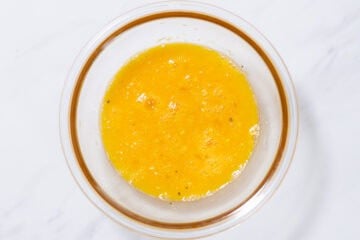
Crack the eggs into a bowl, add chicken bouillon powder, salt, and black pepper, and beat well to combine.
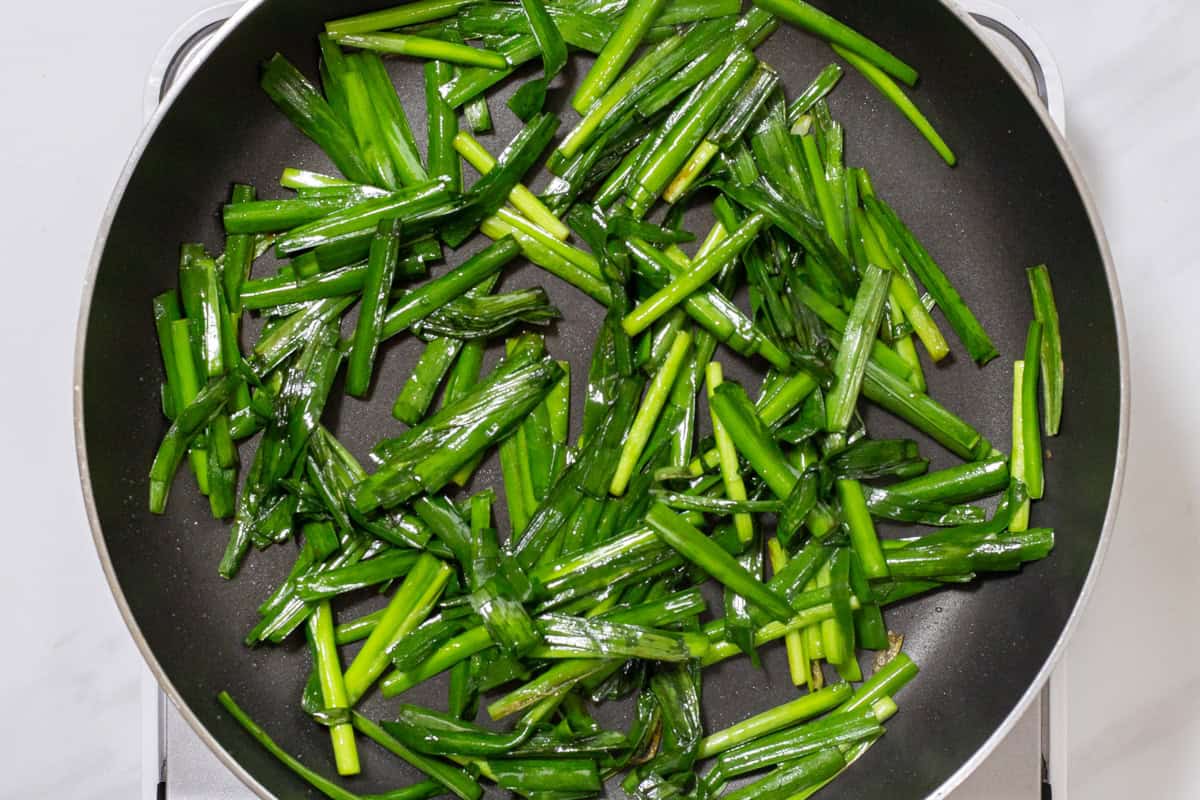
Step 3
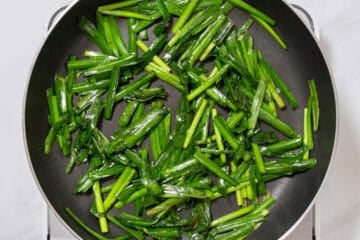
Heat sesame oil in a pan. Once the pan is hot, add the tough parts of the garlic chives and stir-fry over high heat. (Be careful, as any moisture on the garlic chives can cause the oil to splatter.) When they start to soften, add the remaining leafy parts and continue stir-frying until wilted. Then, season with soy sauce.
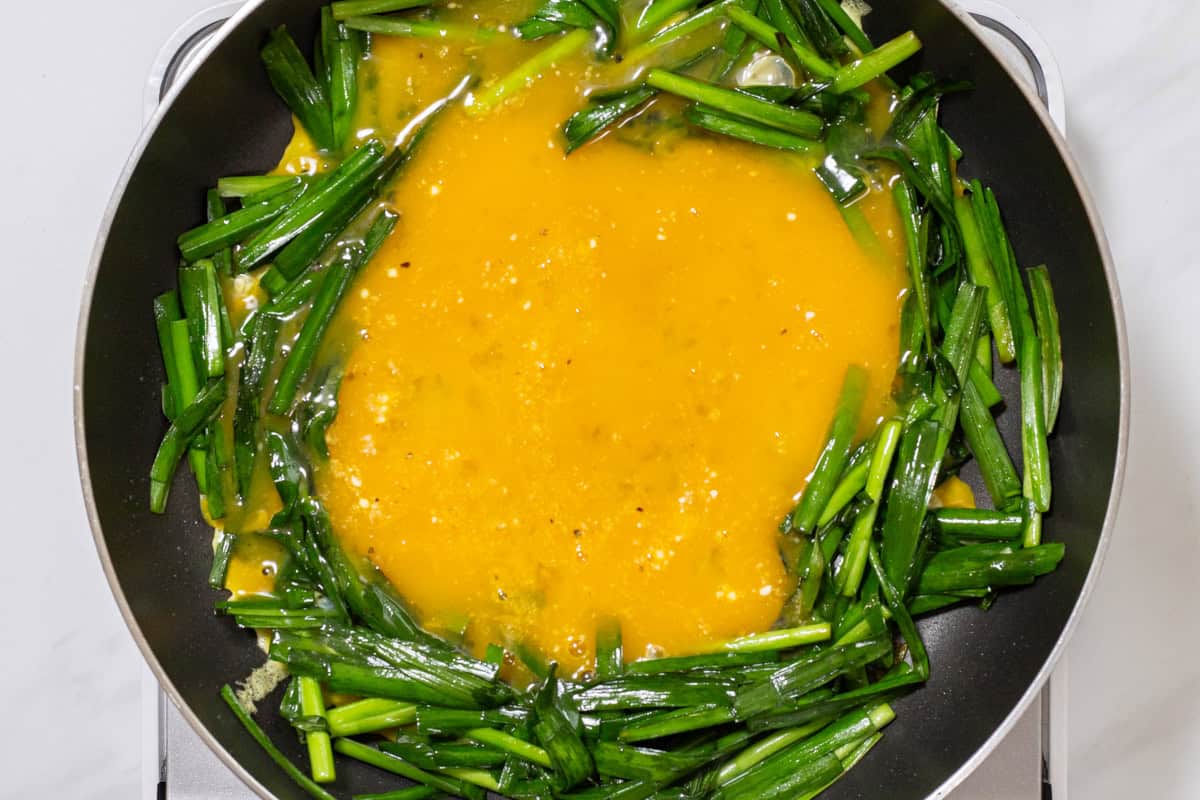
Step 4
Push the chives to the edges of the pan and pour the egg mixture into the center.
Step 5
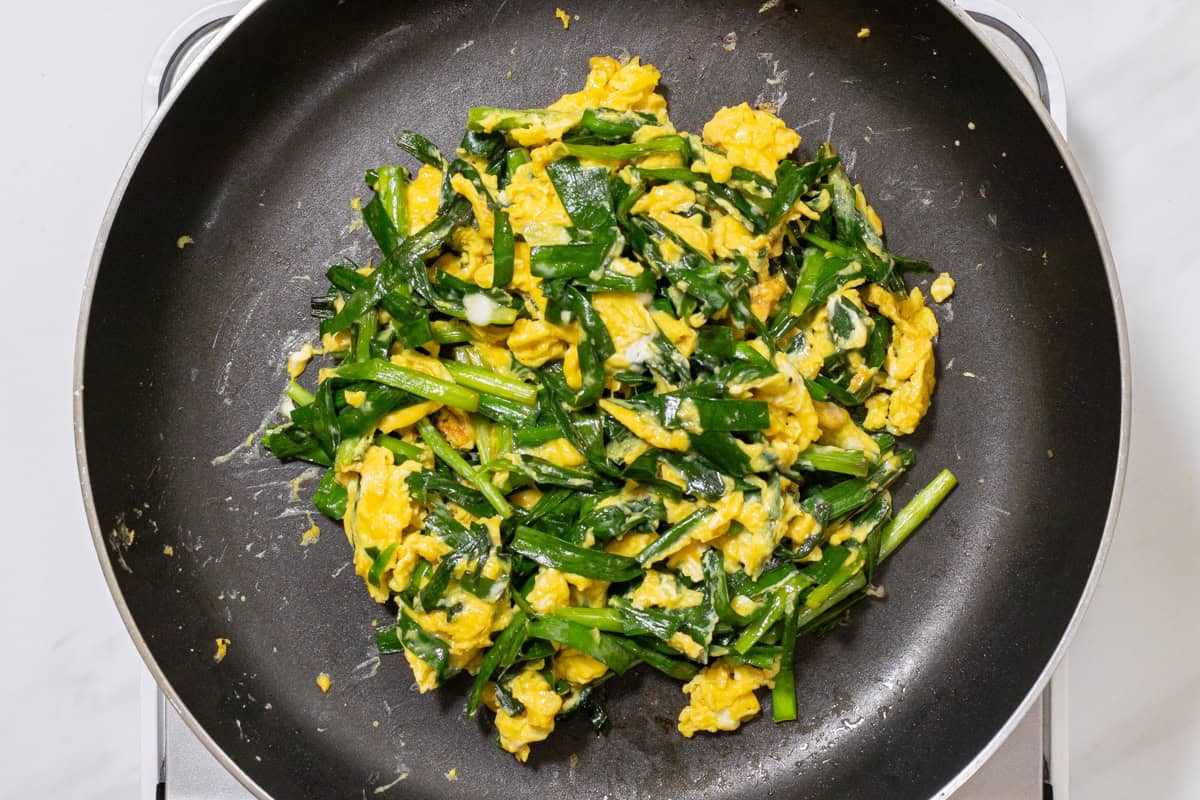
Once the eggs begin to set around the edges, turn off the heat. (The eggs are still mostly liquid at this stage, which is exactly how it should be.) Gently stir the eggs and chives together, letting the residual heat finish cooking the eggs.
How to store
You can store it in the refrigerator for up to 2 days. Since the egg is partially cooked, make sure to reheat it thoroughly before eating.
I hope you enjoy this recipe!
If you try it, I’d love to hear how it turned out. Please leave a review 💬 and a star rating ⭐ in the comment below. Your support and feedback means so much to me!
More Chinese-inspired Japanese recipes you'll love

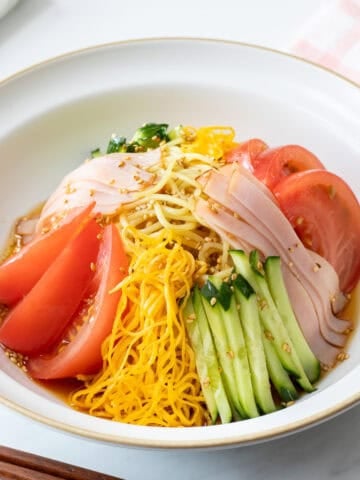
Printable Recipe Card
Niratama (Stir-Fried Garlic Chives with Eggs)
Ingredients
- 1 bunch garlic chives (about 3.5 oz/100 g)
- 3 large eggs (about 2.1 oz/60 g each, including the shell; if egg safety is a concern, use pasteurized eggs)
- 1 Tbsp toasted sesame oil
- 1 tsp soy sauce
For seasoning the eggs
- ½ tsp Chinese-style chicken bouillon powder
- ⅙ tsp salt
- a pinch of ground black pepper
Instructions
- Cut the garlic chives into about 1.5-inch (4 cm) pieces, separating the tough root ends from the tender leafy parts.
- Crack the eggs into a bowl, add chicken bouillon powder, salt, and black pepper, and beat well to combine.
- Heat sesame oil in a pan. Once the pan is hot, add the tough parts of the garlic chives and stir-fry over high heat. (Be careful, as any moisture on the garlic chives can cause the oil to splatter.) When they start to soften, add the remaining leafy parts and continue stir-frying until wilted. Then, season with soy sauce.
- Push the chives to the edges of the pan and pour the egg mixture into the center.
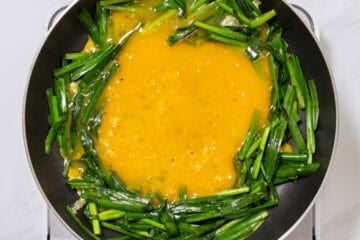
- Once the eggs begin to set around the edges, turn off the heat. (The eggs are still mostly liquid at this stage, which is exactly how it should be.) Gently stir the eggs and chives together, letting the residual heat finish cooking the eggs.
Notes
- You can store it in the refrigerator for up to 2 days. Since the egg is partially cooked, make sure to reheat it thoroughly before eating.
Leave a Rating and a Comment